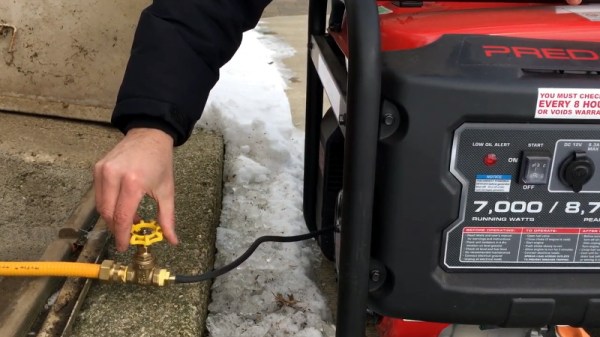
Many small gasoline engines can be safely modified to run on natural gas or propane with a kit that replaces the carburetor and adds a regulator, providing a reliable alternative fuel source in the event that gasoline is difficult to obtain in an emergency situation. This seat of the pants hack by [HowToLou] is definitively not the safe way to run your generator on natural gas, but if you ever find yourself in a situation where getting the power back on might be a literal matter of life or death, it’s a tip worth keeping in mind.
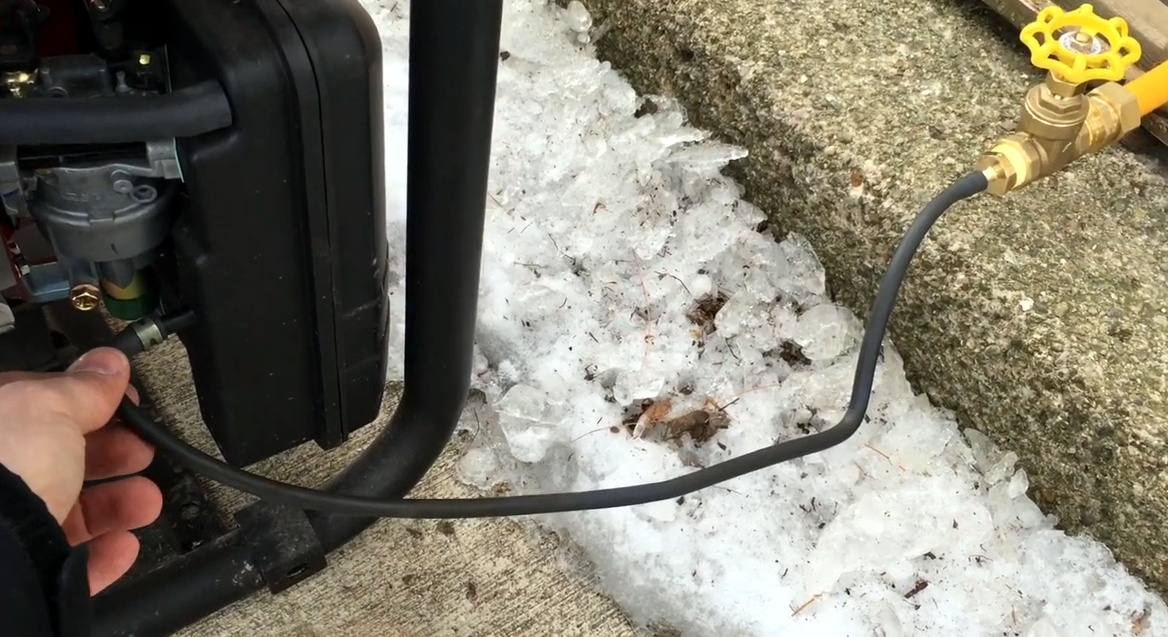
The basic idea here is that you feed natural gas (though propane should also work) directly into the engine’s intake by way of a hose attached to the air filter box. While cranking the engine, a valve on the gas line is used to manually adjust the air–fuel mixture until it fires up. It’s an extremely simple hack that, in a pinch, you can pull off with the parts on hand. But as you might expect, that simplicity comes at a cost.
 There are a few big problems with this approach, but certainly the major one is that there’s nothing to cut off the flow of gas when the engine stops running. So if the generator stalls or you just forget to close the valve after you shut it down, there’s the potential for a very dangerous situation. Additionally, the manual gas valve will be at odds with a generator that automatically throttles up and down based on load. Though to be fair, there are certainly generators out there that simply run the engine flat-out the whole time.
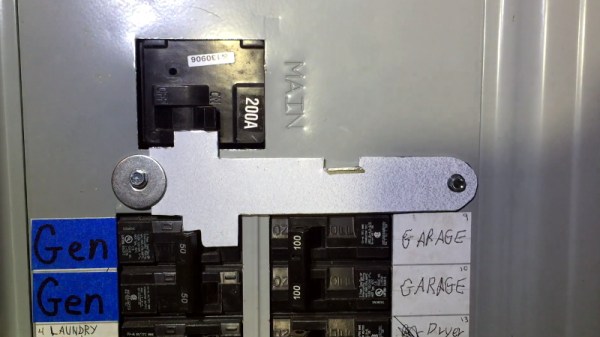
Much like his DIY generator interlock plate that we covered last month, we imagine this project may rub some folks in the wrong way. Admittedly, this isn’t a modification that you should take lightly and certainly not something you’d want to rely on for long-term use. But as the recent situation in Texas has reminded us, drastic times can occasionally call for drastic measures.
Continue reading “Generator Runs On Natural Gas With Field Expedient Tip”