An electric guitar is all about stage presence. Need to be cooler than a single guitar? No problem — there are double neck guitars. Need to be cooler than that? No problem, the guy from Cheap Trick has a five-neck guitar. Need to be cooler than that? Robbie Robertson played a guitar with an extra mandolin neck on The Last Waltz. Where do you go from there? Obviously, the solution is putting a TV in your guitar with a boatload of individually addressable LEDs in a guitar. That’s what [Englandsaurus] is doing, and the build thread is now getting into how to turn a bunch of LEDs into a display.
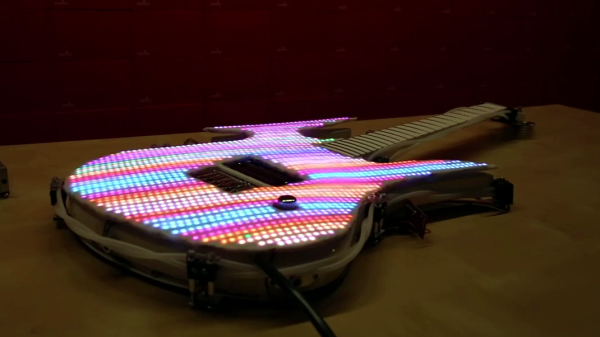
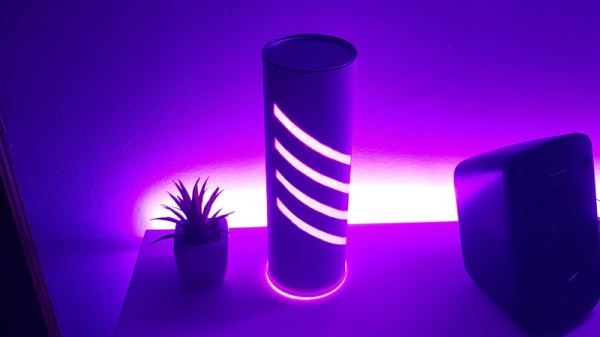
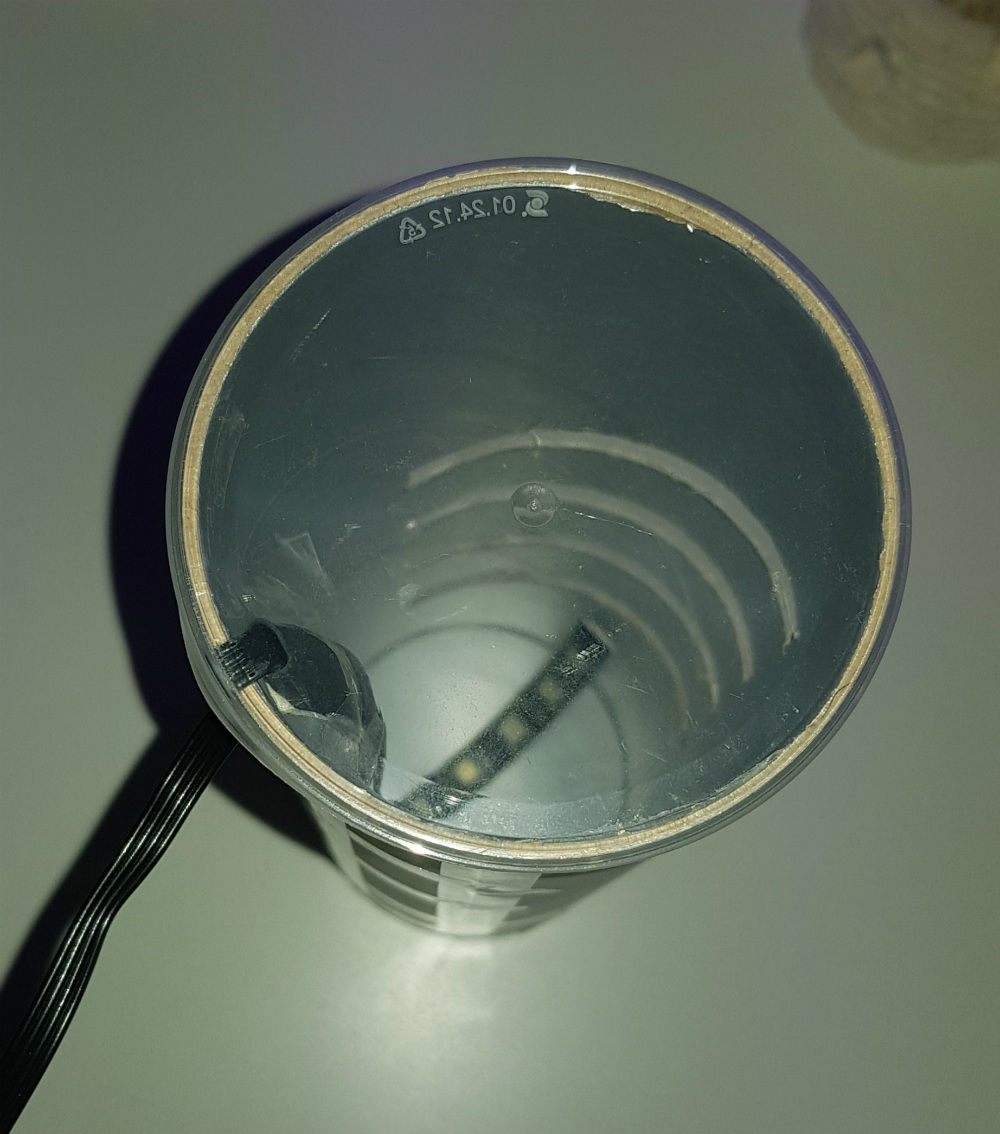
 In the first installment of this build thread, [Englandsaurus] went over the construction of the guitar itself and how a hundred individually addressable RGB LEDs were installed inside two pieces of plexiglass. When the guitar is displaying white at full brightness, the power draw is 500 W. This, in itself, is remarkable; no sane person would ever plug a guitar into a 500 W amp, and even 100 Watts is just too damn loud. There’s more power going to the lights here than the amplifier, and that’s awesome.
Simply sticking LEDs in a guitar does not a build log make, so how are these pixels addressed? How do you make a display out of a bunch of LEDs? This is a hell of a problem, but with Artnet and Resolume Arena 6 these pixels can be mapped into a cartesian grid, and from there it’s just putting video on the guitar.
While the first installment of this build is great and shows you how far you can take electronics in a guitar, this installment is a great demo of turning a bunch of LEDs into a display, something that applies to more than just a gigantic glowey guitar.
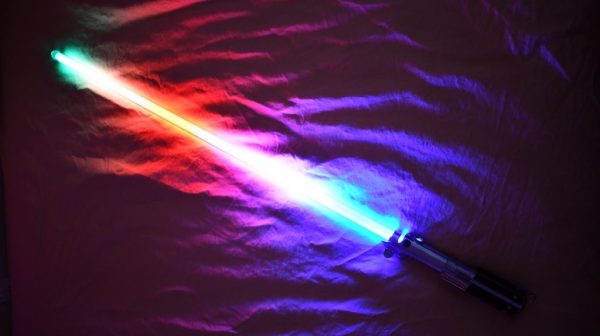
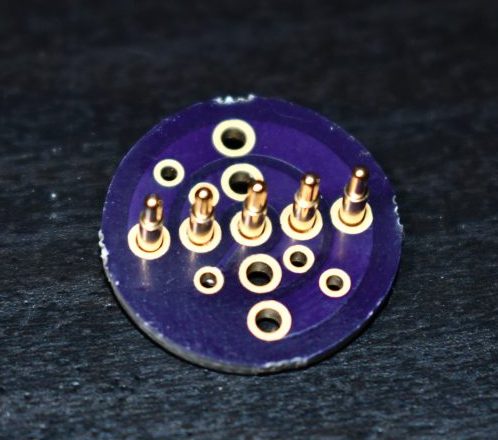
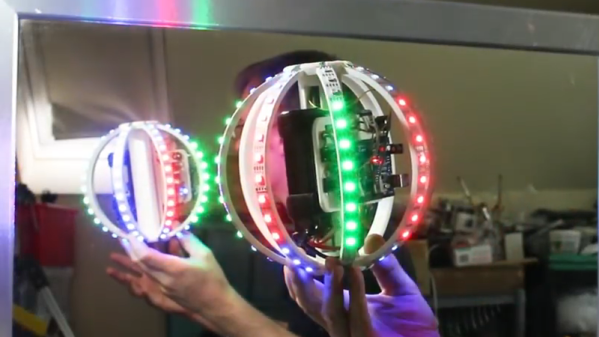
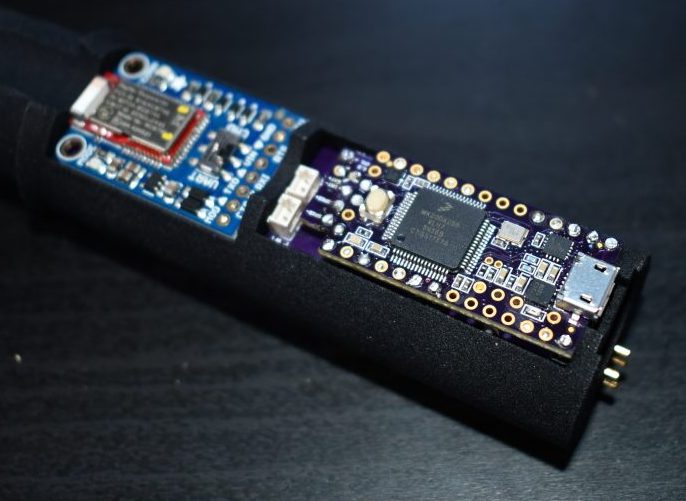 The hilt is filled with an assembly of 18650’s and a Teensy mounted with a custom shield, all fit inside a printed midframe. The whole build is all about robust design that’s easy to assemble. The main board is book-ended by perpendicular PCBs mounted to the ends, one at the top to connect to the blade and one at the bottom to connect to a speaker. Towards the bottom there is space for an optional Bluetooth radio to allow remote RGB control.