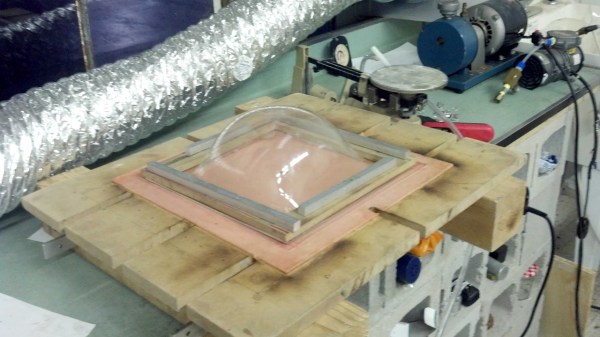
Blowing an acrylic sheet after heating it is an easy way to make a smooth and transparent canopy or bubble for anything from clams to light fixtures. [Michael Barton-Sweeney] does it using plastic blow ovens he made cheaply, mainly from stuff which most of us already have in our workshops.
 All you need is a way to heat the plastic, to then clamp it down around the edges, and finally to blow air into it as you would when blowing up a balloon. Of course, there are things to watch out for such as making sure the plastic is heated evenly and letting it cool slowly afterward but he covers all that on his hackaday.io page.
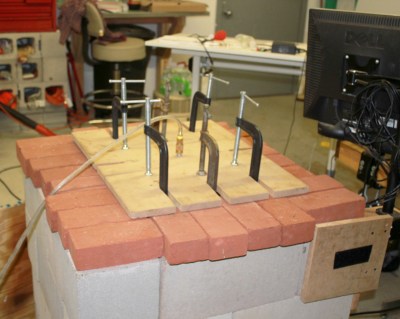
He’s also on his second plastics blow oven. The first one worked very well and is perhaps the easiest to make, building up an enclosure of CMUs (cinder blocks) and brick. He had success heating it with both propane and with electric current run through Kanthal wire. But the CMUs absorbed a lot of heat, slowing down the process. So for his second one he made a cast concrete enclosure with aluminum reflectors inside to focus the heat more to where needed.
We’re not sure of everything he’s blown acrylic bubbles for but we first learned of his ovens from the transparent clams in his underwater distributed sensor network. In fact, he was inspired to do plastics blowing from a childhood memory of the Air Force museum in Dayton, Ohio, where they visited the restoration hanger and watched the restorers blowing bubbles for a B-17 ball turret.
Though if you want to go smaller and simpler for something like a light fixture then you can get away with using a toaster oven, a PVC pipe, and a toilet flange.

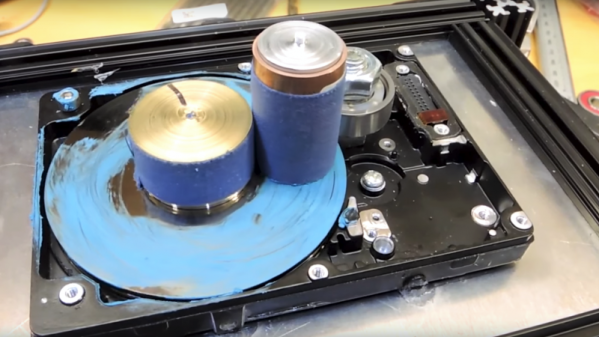
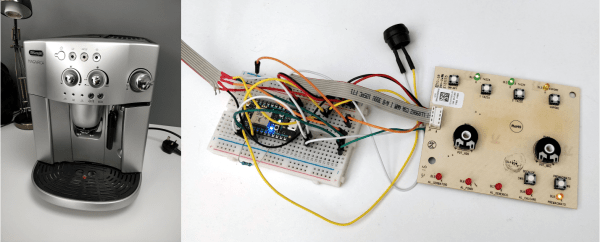
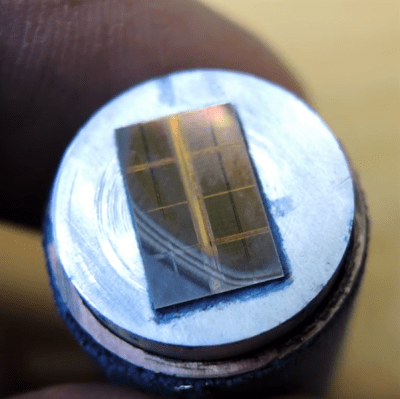 For those not into the anatomy and physiology of semiconductors, getting a look at the inside of the chip can reveal valuable information needed to reverse engineer a device, or it can just scratch the itch of curiosity. Lapping (the gentle grinding away of material) is one way to see the layers that make up the silicon die that lies beneath the epoxy. Hard drives designed to spin at 7200 rpm or more hardly seem a suitable spinning surface for a gentle lapping, but [electronupdate] just wanted the platter for its ultra-smooth, ultra-flat surface.