Back in the day, stoners were content to sit around, toke on a joint, mellow out, and listen to the Grateful Dead or something. Nowadays, they practically need a degree in electrical engineering just to get high. [Beiherhund] sent us his VapeBox build. Like so many projects on Hackaday, we’re not going to make one ourselves, but we appreciate a well-done project.
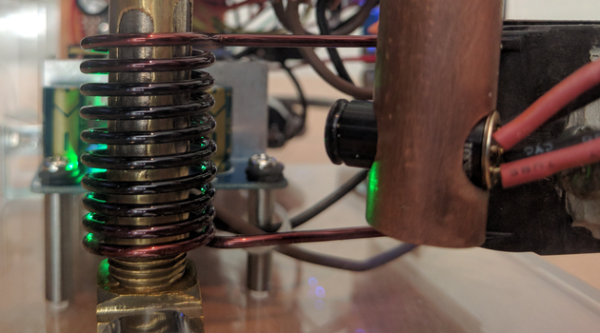
First off, there’s a home-built induction heater. A 30A current sensor and switch-mode power supply regulate the amount of juice going to the coil that surrounds the heating chamber. [Beiherhund] discovered that brass doesn’t have enough internal resistance to heat up in an induction heater, so he built a stainless steel insert into the chamber. Optimal temperature is monitored from outside the chamber by a MLX90614 IR thermometer.
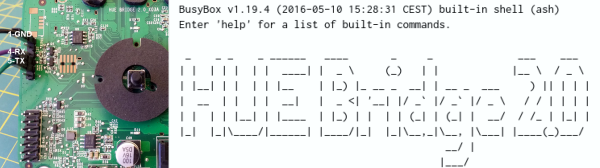
Fans, controlled by PWM, keep the box cool. Lights, an LCD, an HC-05 Bluetooth unit, and everything else are all tied to the obligatory Arduino that serves as the brains. A cell-phone application lets [Beiherhund] control all the functions remotely. (We’re guessing, just because he could.) It’s wrapped up in a nice acrylic case. The video, embedded below, starts with real details at 4:28.
Before you loyal Hackaday commenteers get on your high horses (tee-hee!) bear in mind that smoking dope is legal in a number of states in the USA, and that Hackaday has an international readership. We don’t encourage drug abuse or soldering in shorts and flip-flops.
https://www.youtube.com/watch?v=2xSBCHC3Vhs&t=4m28s