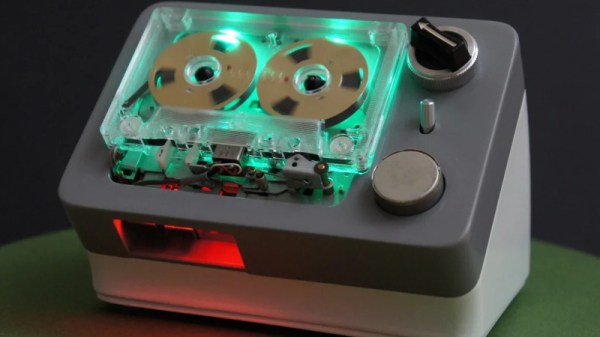
Vinyl has the audiophiles to keep it relevant, and CDs still have the people who are scared of streaming music, but who mourns for the cassette tape? Yesterday we would have said nobody, but now that [Igor Afanasyev] has unleashed his latest creation onto an unsuspecting world, we aren’t so sure anymore. A portable tape player that started as a $5 find from the Goodwill is now an outrageously gorgeous piece of electronic art thanks to 3D printing and a liberal application of LEDs.
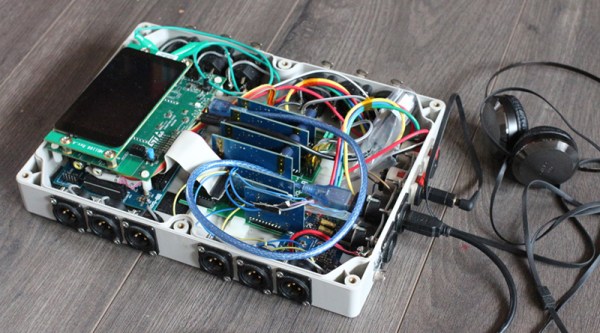
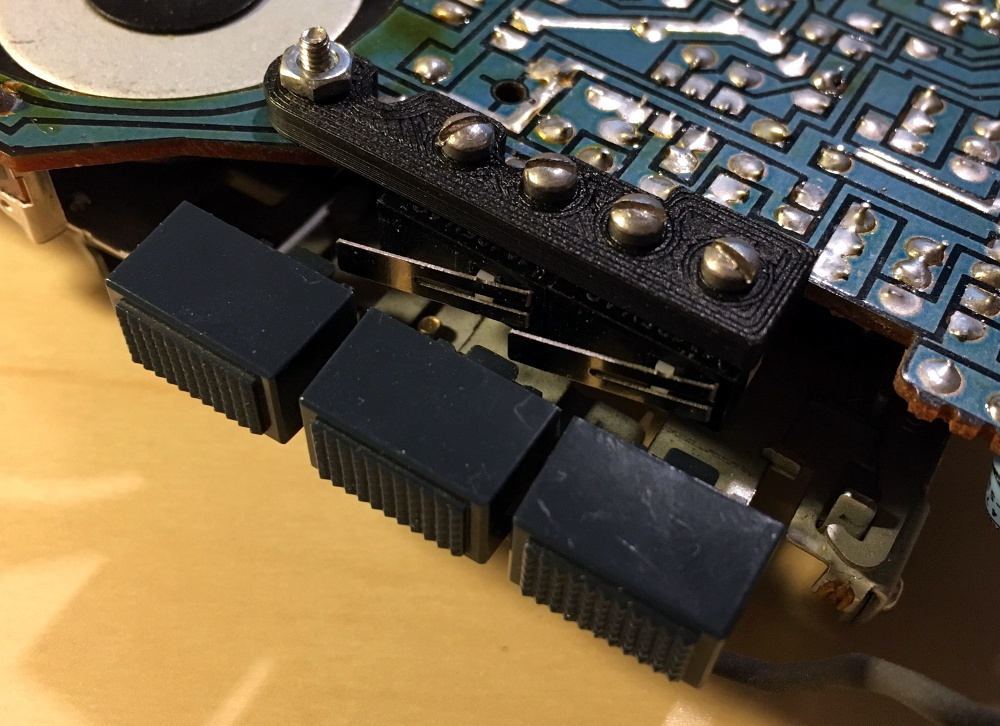 After freeing the tape mechanism from the original enclosure and extraneous electronics like the AM/FM tuner, [Igor] got to work designing a retro styled enclosure for the hardware which would show off the complex electromechanical bits which would traditionally be hidden. With the addition of a clever 3D printed holder, he was even able to add microswitches under the original player’s buttons so he could detect the player’s current state without having to modify the electronics. This lets the finished player change the color of the RGB LEDs based on what it’s currently doing.
[Igor] came up with a very clever way of integrating light-up icons into the case by placing bright LEDs behind specially crafted thin sections of the print. It looked awesome in his tests, but after the considerable sanding, priming, and painting it took to turn the 3D printed parts into a production-quality enclosure, the LEDs are no longer visible on the final product. Even though they didn’t work in this particular case, we think it’s a brilliant technique worthy of stealing further research.


The detail that [Igor] but into this build is phenomenal. Seeing all the individual components he had to design and print to make the final product come together is really nothing short of inspirational. Projects like these are where 3D printing really shines, as trying to replicate this build with traditional manufacturing techniques would be an absolute nightmare.
If you can’t quite shake the feeling that you’ve seen this name or attention to detail before, it’s for good reason. Last year we covered another build showing the knack [Igor] has for turning the ordinary into the extraordinary.
Continue reading “The Only Cassette Player Worth Owning In 2019”