We all have that friend who brings us their sad busted electronics. In [Leo’s] case, he had a MIDI sequencer from a musician friend. It had a dead display and the manufacturer advised that a driver IC was probably bad, even sending a replacement surface mount part.
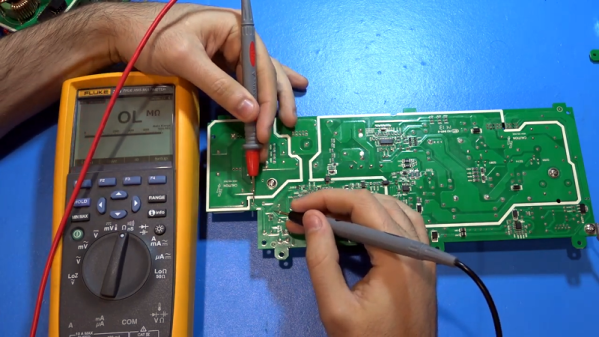
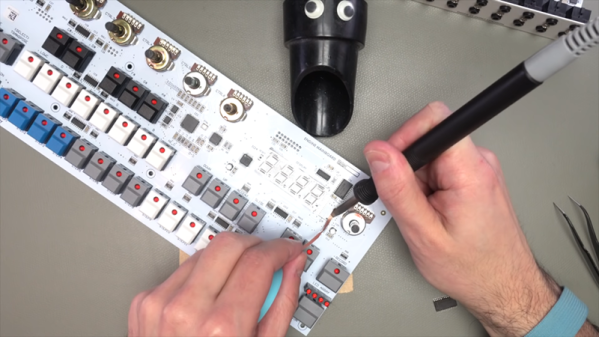
[Leo] wasn’t convinced though. He knew that people were always pushing on the switches that were mounted on the board and he speculated that it might just be a bad solder joint. As you can see in the video below, that didn’t prove out.
The next step was to fire up a hot air gun. Instead of removing the chip, he wanted to reflow the solder anyway. He was a little worried about melting the 7-segment LEDs so he built a little foil shield to protect it. That didn’t get things working, either.