Vectron Adds Basic And Christmas Tree Control

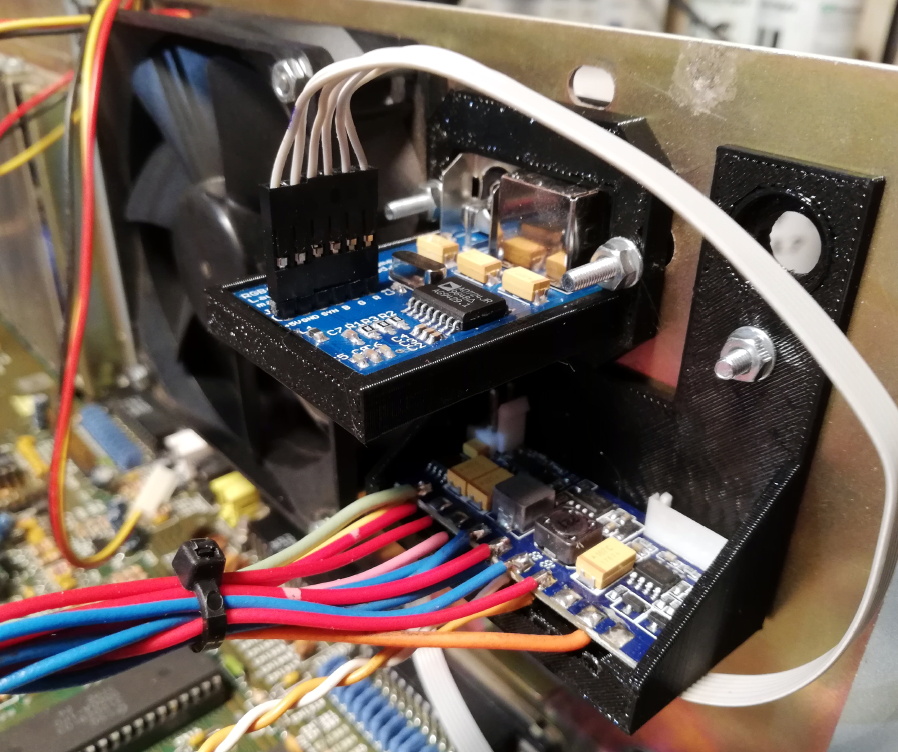
Not content to leave things alone, [Nick Bild] has updated his nearly practical breadboard 6502 Vectron project once again by adding Tiny Basic and home tree automation. Instead of using an LCD module like last time, or his custom-built VGA output using 7400-series logic, [Nick] chose to go modern this time and implemented a VGA output using a TinyFPGA BX.

Tiny Basic was one of the first versions of Basic released after Bill Gates famous open letter to hobbyists in 1976. While Altair Basic was selling for $150, Tom Pittman wrote Tiny Basic for the 6800 and sold it for only $5 (don’t worry, Tom has since made it free to use). We got a kick out of browsing the Tiny Basic manual and learning that our serial number can be found on the paper tape leader, and that a Teletype will generally receive one more character, at least, after getting the X-OFF control signal.

In the video, you can see [Nick] running a short Basic program and operating his Christmas tree lights from the Vectron, although it’s only on-off control. He suggests that a PCB version is in the works, but he’s having trouble deciding when to quit adding features.  That’s a conundrum we know all too well.

Continue reading “Vectron Adds Basic And Christmas Tree Control”

Fran Finds Four Foot Alphanumeric Displays From 1910

Video blogger and display technology guru [Fran Blanche] has discovered a splendid retro-tech alphanumeric display from 1910. (Video, embedded below.)

We have always enjoyed her forays into old and unusual displays, including her project researching and reverse engineering an Apollo DSKY unit. This time [Fran] has dug up an amazing billboard from the early 20th century. It was built by the Rice Electric Display Company of Dayton Ohio, and operated in Herald Square for about two years. Requiring $400,000 in 1910-US-dollars to build, this was clearly an Herculean effort for its day and no doubt is the first example of selling advertising time on a computer-controller billboard. It boasts characters that are about 1.3 m tall and 1 m wide which can display letters, numbers, and various punctuation and symbols. These are arrayed into a 3-line 18-character matrix that is about 27 x 4 meters, and that’s up only a third of the total billboard, itself an illuminated and dynamic work of art.

Diagram Depicting the 3×18 Character Display

There are quite a few tantalizing details in the video, but a few that jumped out at us are the 20,000 light bulbs, the 40 Hz display update rate, the 150 km of wire used and the three month long installation time. We would really like to learn more about these two 7.5 kW motorized switch controllers, how were they programmed, how were the character segments arranged, what were their shapes?

In the video, you can see triangles arranged in some pattern not unlike more modern sixteen segment displays, although as [Fran] points out, Mr Rice’s characters are more pleasing. We hope [Fran] can tease out more details for a future video. If you have any ideas or knowledge about this display, please put them in the comments section below. Spoiler alert after the video…

Continue reading “Fran Finds Four Foot Alphanumeric Displays From 1910”

Homebrew Slide Rule Gets Back To Mathematical Basics

In the grand scheme of things, it really wasn’t all that long ago that a slide rule was part of an engineer’s every day equipment. Long before electronic calculators came along, a couple of sticks of wood inscribed with accurate scales was all it took to do everything from simple multiplication to logarithms and trig functions.

While finding a slide rule these days isn’t impossible, it’s still not exactly easy, and buying one off the shelf isn’t as fun or as instructive as building one yourself. [JavierL90]’s slide rule build started, ironically enough, on the computer, with a Python program designed to graphically plot the various scales needed for the fixed sections of the slide rules (the “stators”) and the moving bit (the “slide”).  His first throught was to laser-engrave the scales, but the route of printing them onto self-adhesive vinyl stock proved to be easier.

With the scale squared away, work turned to the mechanism itself. He chose walnut for the wood, aluminum for the brackets, and a 3D-printed frame holding a thin acrylic window for the sliding cursor. The woodworking is simple but well-done, as is the metalwork. We especially like the method used to create the cursor line — a simple line scored into the acrylic with a razor, which was then filled with red inks. The assembled slide rule is a thing of beauty, looking for all the world like a commercial model, especially when decked out with its custom faux leather carry case.

We have to admit that the use of a slide rule is a life skill that passed us by, but seeing this puts us in the mood for another try. We might have to start really, really simple and work up from there.

Proper Cassettes For Your FPGA Retrocomputer

You can tell the age of someone in our community with a simple question: what were the first removable data storage media you used? Punched cards for the venerable, cassettes for the middle-aged, floppies for the thirtysomethings, Flash cards for the twentysomethings, and maybe even “What’s a removable storage medium?” for the kids brought up on cloud services.  Even with refreshed interest in retrocomputing the cassette hasn’t made a comeback, but maybe that owes something to the hardware. Createing a cassette interface for an FPGA is a task that’s often overlooked, and that’s a project [zpekic] has tackled.

Cassette data recordings are frequency shift keyed, with the 0 and 1 of the binary information represented by different tones. An expected solution to detect these might be to use a Fourier transform, but instead he opts for a simpler solution of counting zero crossings and timing their interval. The resulting stream of data is fed into a UART from which the data itself can be reconstructed. All this is implemented on a Mercury FPGA board which contains a Xilinx Spartan 3A FPGA, but it’s a technique that could be used on other devices too.

So your FPGA retrocomputer deserves an authentic cassette interface, and now it can have one. We’d be especially impressed if all this 2020s wizardry could produce a more stable chuntey field, but we guess that might take a bit more work.

As a final aside, the project is dedicated to the memory of the pioneering Yugoslavian broadcaster [Zoran Modli], whose innovative 1980s radio show featured broadcasts of tape software for the computers of the time including our Hackaday colleague [Voja Antonić]’s Galaksija. Broadcasting software over the radio? That’s a cool hack.

Procedurally Generated Retrocomputer Emulators

[Marquis de Geek] has a profound love of old systems. Tired of writing new emulators from scratch for each project, his newest project EMF generates the emulator for him. An XML document describes the layout of the memory, CPU description, and screen handler. The output is currently a single-page Javascript emulator application with an assembly and a dissembler. However, but that backend can easily be swapped to another language such as Rust or C++.

Since EMF is a framework that provides a common way to describe the emulated machine, you get a common emulator user interface for free. There’s a lot of flexibility offered here as well. Opcodes can be implemented as a large switch statement or individual functions, depending on the target language’s performance. Self-modifying code can be detected and handled separately. Custom features or hardware can be injected easily by writing a module in the target language.

While the source code for the EMF hasn’t been released yet, several of the machines that [Marquis de Geek] has built with EMF are open-source on GitHub. So far the list includes Dragon32, Sinclair ZX80, Sinclair ZX81, Sinclair ZX Spectrum, Elliott 903, Chip8, Cosmac VIP, and the MegaProcessor. Each has a live emulator that runs in your browser.

While [Marquis de Geek] hopes to release a binary version of the EMF soon, we’re very much looking forward to the EMF source coming out once the code has been cleaned up. We love the trend towards creating easier and more accessible emulators, such as this Twitter bot that runs Atari programs.

Continue reading “Procedurally Generated Retrocomputer Emulators”

Rebuilding A Hero (the Robot, Not The Sandwich)

When [Scott Baker] found a Heathkit Hero Junior on eBay, he grabbed it. He had one as a kid, but it was long sold. The robot arrived with no electronics, so the first order of business is to give it some new modern brains including an ATMega328 and a Raspberry Pi. You can see the start of the project in the video below.

So far, you can see a nice teardown of the chassis and what’s left of the little robot’s drive system. This wasn’t the big Hero-1 that you probably remember, but it was still a pretty solid platform, especially for the time it was on the market.

Continue reading “Rebuilding A Hero (the Robot, Not The Sandwich)”

“Brain In A Vat” 6502

The 6502 was a revolutionary processor for its time. Offered at a small fraction of the cost of other processors available when it was released, it became adopted in such iconic computers at the Atari 2600, the Apple II, the NES, and the Commodore 64. For that reason it’s still extremely popular among retrocomputing enthusiasts who will often go to great lengths to restore these computers or build them from scratch. [jamesbowman] had an idea to build a 6502-based computer with the processor only, leaving the rest of the computer up to an FPGA.

He describes the system as a “brain in a vat” since a real 6502 is used as the “brain” and all other functions are passed off to the FPGA. In his build he uses an FPGA board with built-in graphics abilities, but the truly interesting part of this build is how the FPGA handles memory. If a particular value is placed on the data bus of the 6502, it loops forever through the entire memory and executes all of the instructions it finds. This saved a lot of time getting this system up and running, and he is able to demonstrate it by showing a waveform on the video output of the device.

Of course you can take an FPGA and emulate an entire computer based on a 6502, but using the actual silicon in a build like this really ensures that the user can learn and understand the hardware involved without some of the other tedium of doing things such as converting old video signals to HDMI for example. It’s a great take on retrocomputing that we expect to see more of in the future.