Beginning metalworkers are often surprised at just how cheap steel can be. It’s a commodity made by the gigaton, and there are always plenty of extra pieces and scraps left over from big projects that are available for pennies a pound. But what you’ve got is often not what you need, especially when it’s steel tubing with welded seams that prevents one tube from fitting inside another.
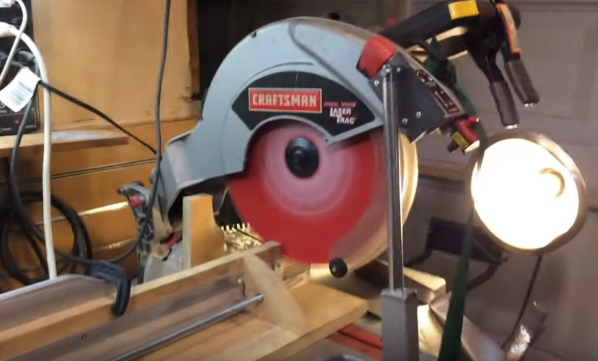
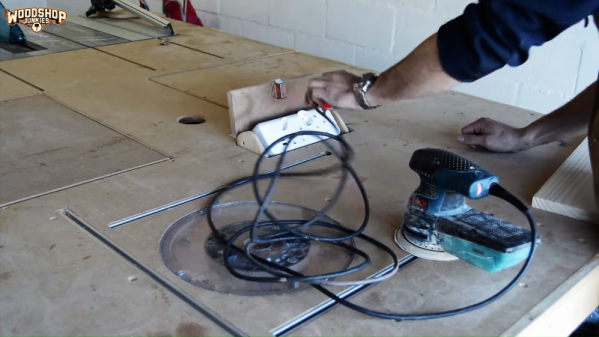
[Jason Marburger] from Fireball Tool has some great tips for cleaning interior welds in steel tubing. The first part of the video below details manual methods for cleaning off seam welds, including chiseling, sanding with a narrow belt sander, and grinding them down with a die grinder. Those all work well, but only for short lengths of tubing. Longer tubes need special treatment, which is where the clever tools [Jason] designed come in handy.
By attaching a chunk of high-speed steel to a slug made from the next size tube down and driving it through the tube to be cleaned with a hefty piece of threaded rod, he basically created ain internal shaper to shave the weld down. It works like a charm, as does the tool he made for round tubing by laying a bead of hard facing welding rod around the edge of a mild steel slug. Driving this tool into the seamed round tubing with a shop press cleaned up the weld nicely too.
Hats off to [Jason] for coming up with a couple of great shop tips to keep in mind. We’ve seen similar expedient tools for metalworking lately, like this homemade die-punching tool and a linear track to keep your plasma cutter in line.
Continue reading “Shop-Made Tools Turn Cheap Steel Into Telescoping Tubes”

 The tray rides on short drawer glides and, thanks to a small pneumatic spring, pops up when the door is unlatched. There was a little trouble with some slop in the glides causing the tray to jam, but that was taken care of with a simple roller bearing. The video below shows its construction and how it stays entirely out of the way until needed.