[Térence Grover] had a very special coin—a €1,000 commemorative piece only available to Monégasque nationals. If you want to flip one, normally you’d have to go snatch one up from somebody in Monaco—or you could just do it online!
Yes, he built an automated online coin flipper to flip this very special piece of coinage. A 12-volt solenoid is fired to flip the coin into the air. It then lands on its 3D-printed tray, where a Raspberry Pi-based computer vision system built with OpenCV and a TFLite model classifies whether the result is heads or tails via a machine learning algorithm. An iris mechanism operated by servo motor then centers the coin on the tray, so it sits back over the solenoid, ready to flip once again. [Térence] was eventually able to refine this simple homemade build to the point that it ran autonomously for a full 50,000 flips on a livestream without issue.
The mechanism in this build is not dissimilar to a coin flipper we’ve seen before. We’ve also explored the statistics involved, too. Video after the break.
Continue reading “Autonomous Coin Flipper Flips Expensive Coin”


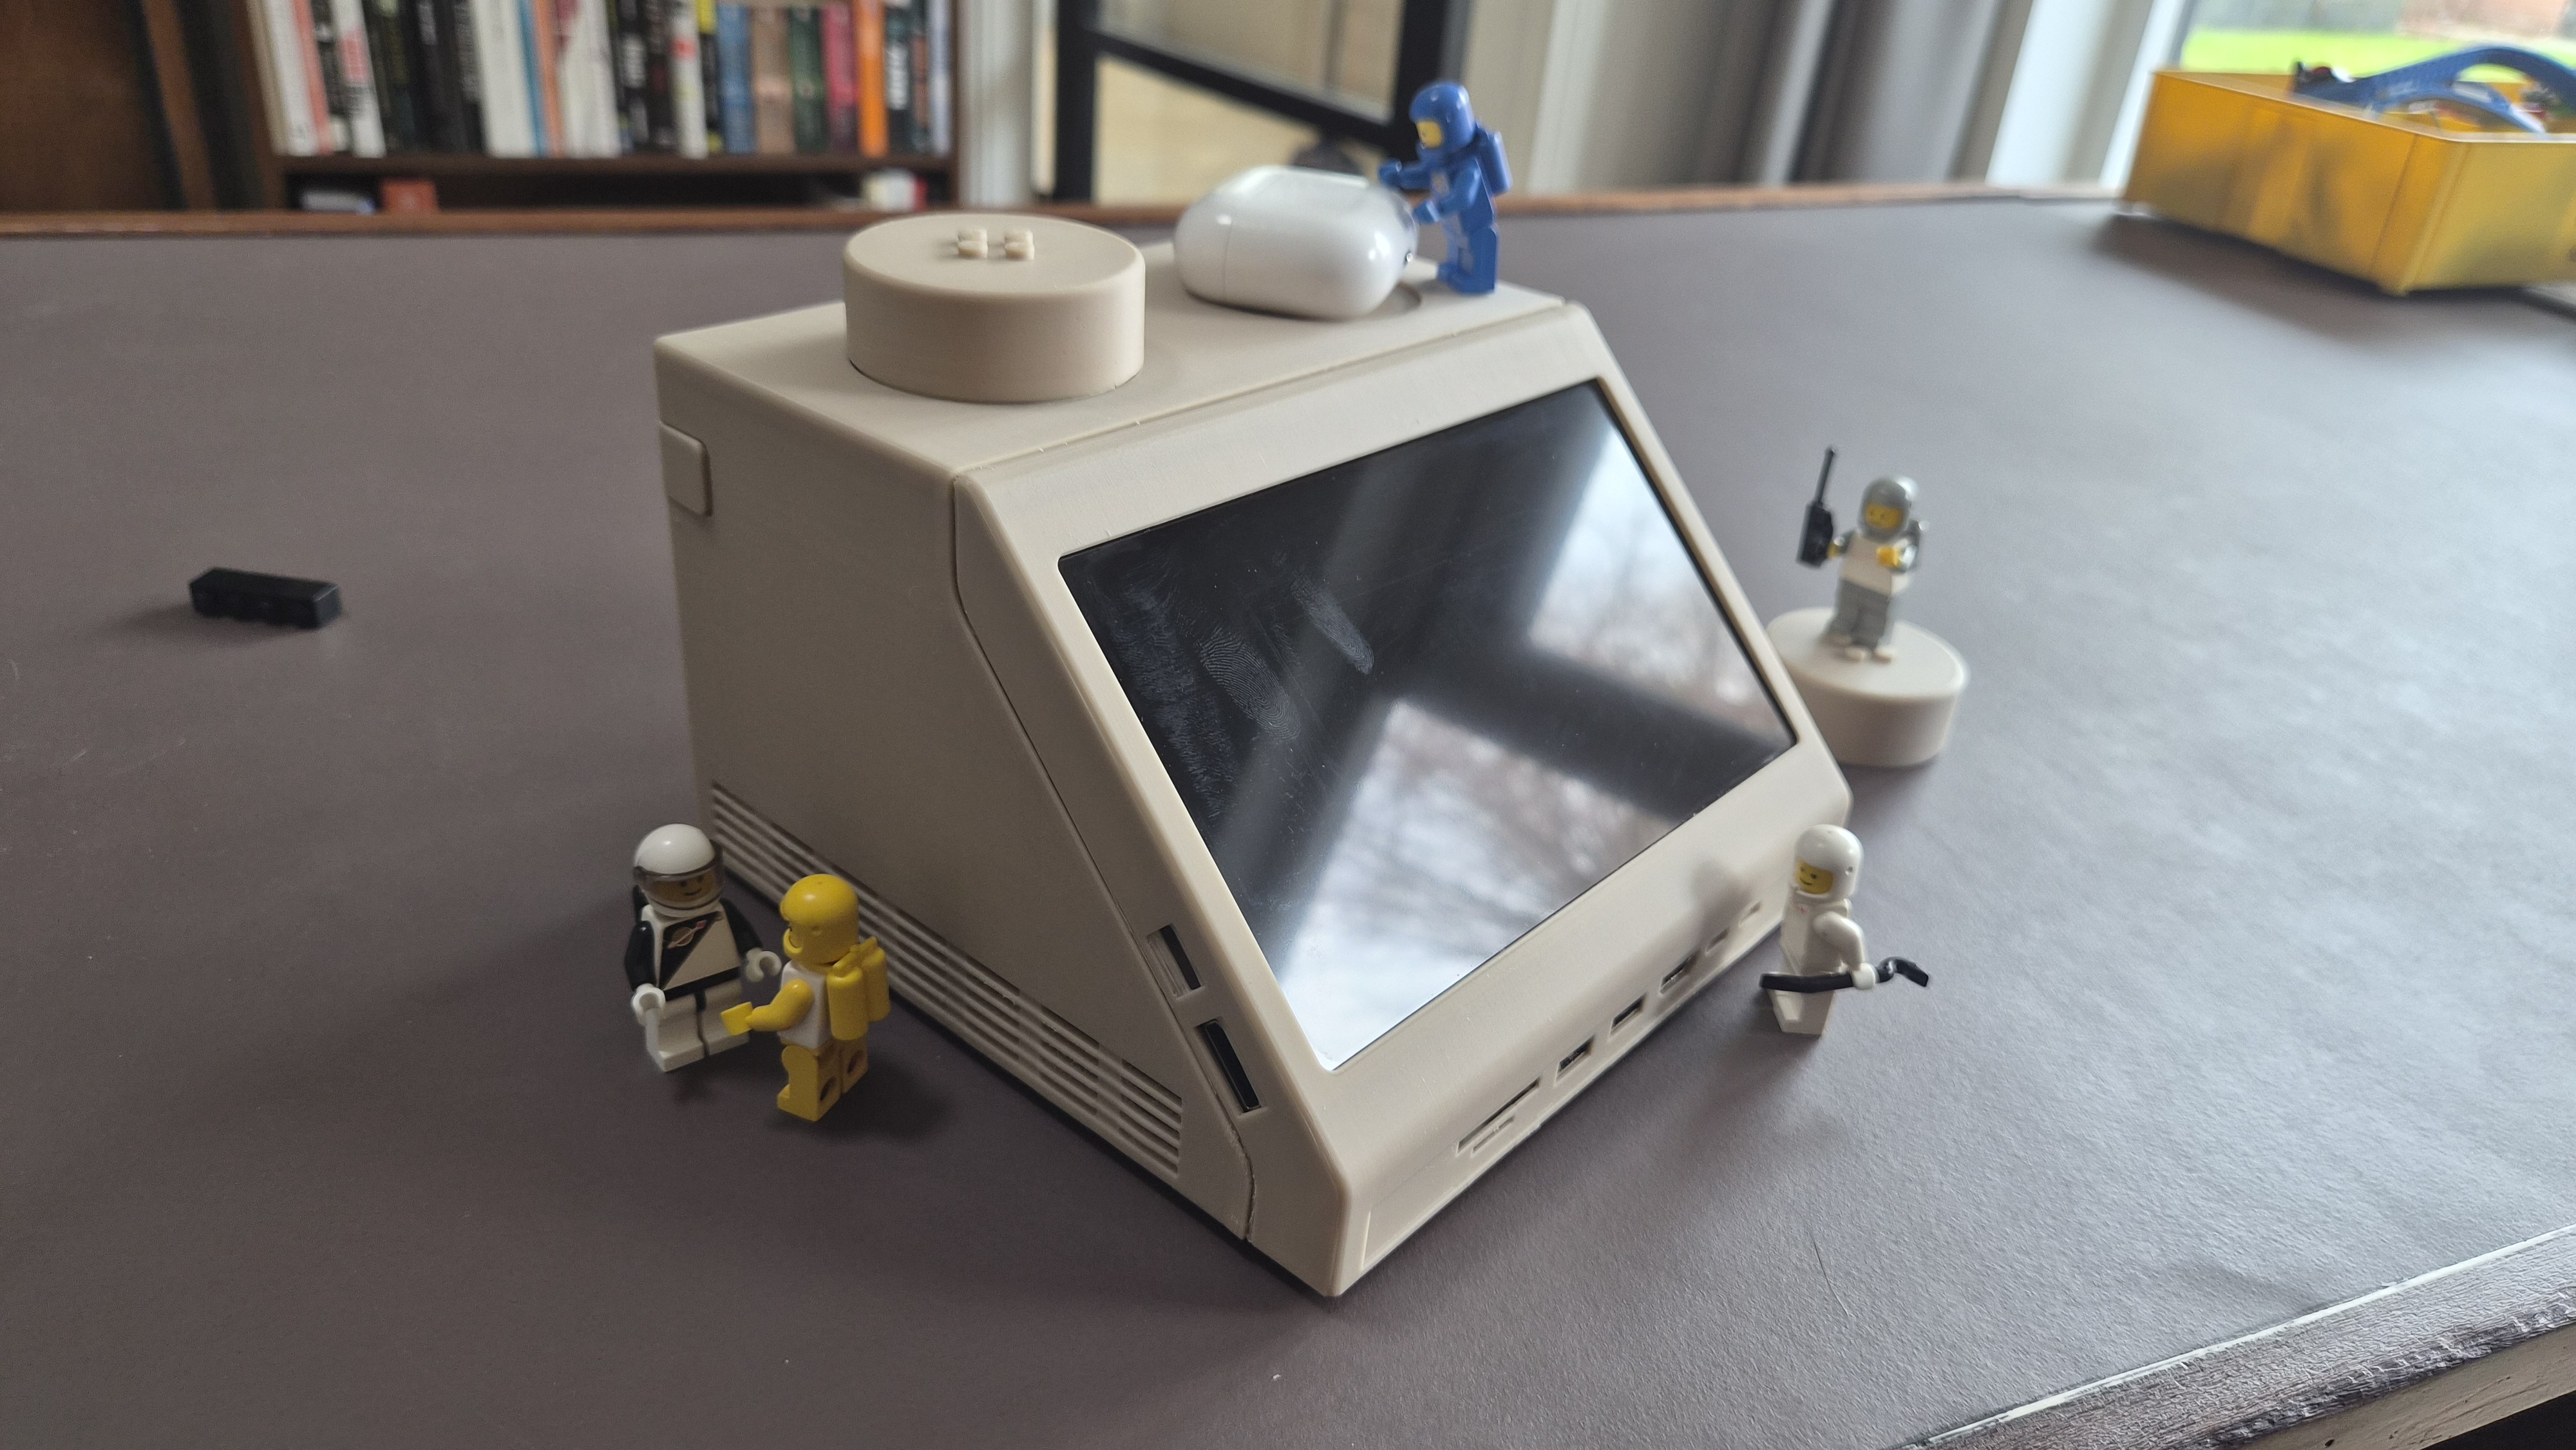
![The LEGO-lookalike displaying [Paul]'s dashboard](https://hackaday.com/wp-content/uploads/2026/03/Screenshot-2026-03-04-at-14-08-38-Watt-IV-–-the-M2x2.png?w=600&h=450)