[Dave] is an avid hacker and no stranger to Hackaday. When he decided to give his IoT weather display an upgrade, he pulled out all the stops.
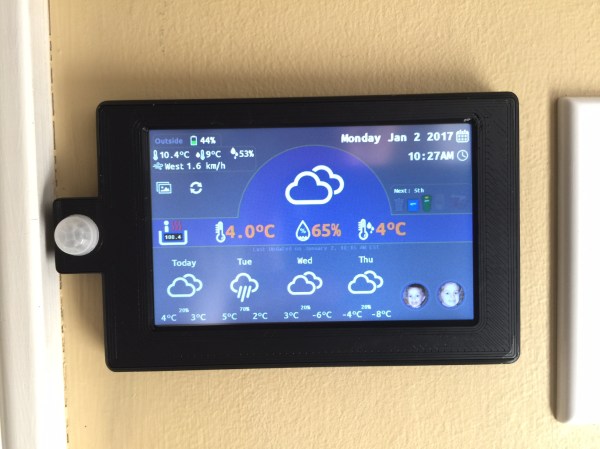
The WIoT-2 is less of a weather station and more of an info center for their house — conveniently located by their front door — for just about anything [Dave] or his partner need to know when entering or exiting their home. It displays indoor temperature and humidity, date, time, garbage collection schedule, currency exchange rates, whether the garage door is open or closed, the hot tub’s temperature, a check in for his kids, current weather data from a custom station [Dave] built outside his house, and the local forecast.
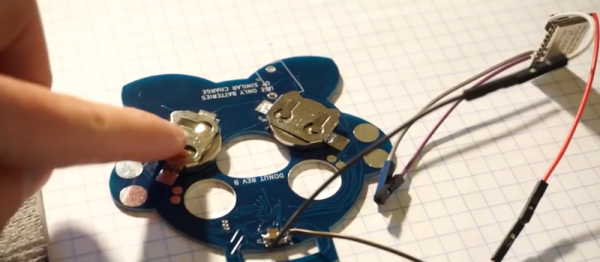
WIoT-2’s display is a Nextion TFT and the brains behind the operation is a NodeMCU 8266. He made extensive use of Blynk to handle monitoring of the various feeds, and will soon be integrating master control for all the networked outlets in the house into the system. He found setting up the hardware to be fairly clear-cut but notes that he cannot have the screen powered on when uploading sketches to the NodeMCU. He circumvented the problem by adding a latching switch to the screen’s power line.
[Dave] curated a robust explanation of his build that includes tips, tricks, code — and a how-to to boot! If you’re not already starting your own build of this info suite, you may be tantalized by some of his other projects.