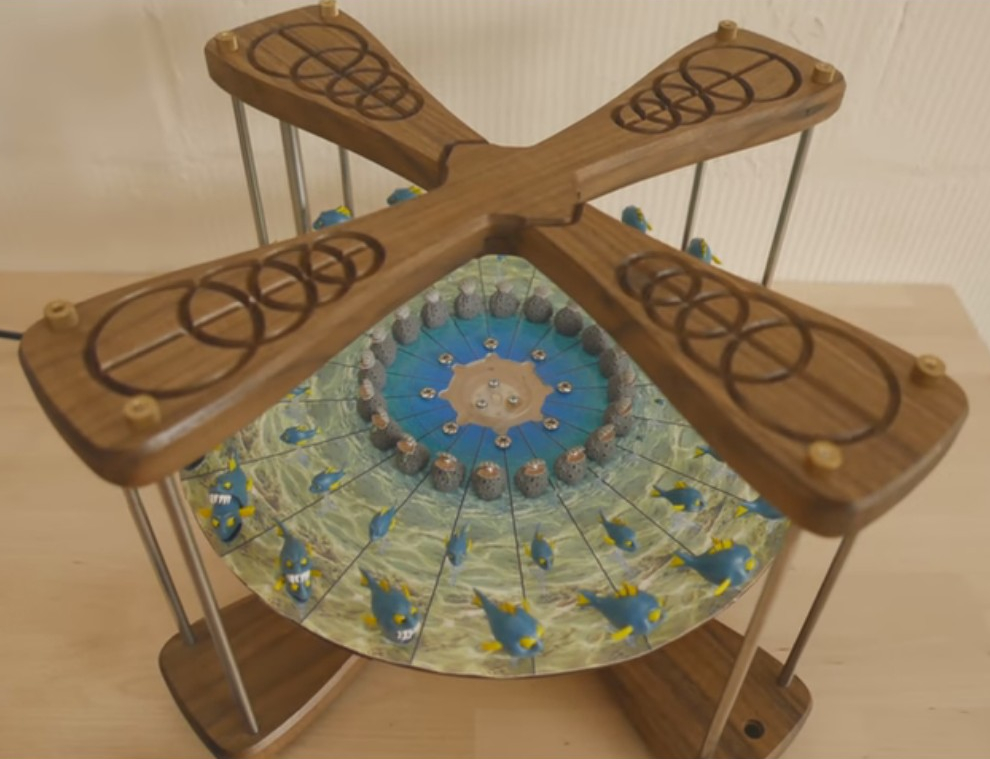
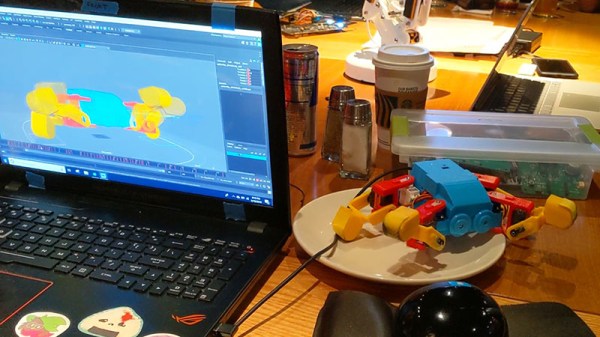
Once [Shabab] clued us in to the brilliant animations of [Jared Owen], we pretty much lost an afternoon exploring this incredible YouTube channel. Self-taught Blender wizard [Jared] combines fantastic animations with clear and concise explanations for the inner workings of everything from Nerf guns and Fisher-Price corn poppers to the International Space Station.
Space nerds and casuals alike should check out [Jared]’s crowning achievement: a three-video Apollo spacecraft series, which covers many details in a short amount of time. Want more Apollo? Here’s a deeper dive into the lunar module. [Jared] uses music to great effect in these videos, especially in the Apollo series.
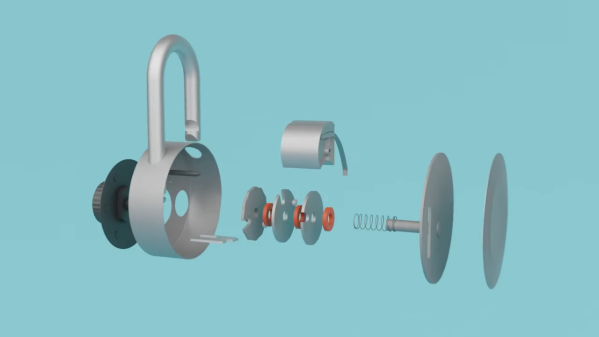
Several videos are devoted to mechanisms, like the humble gumball machine, the grand piano, and the combination lock. In addition to all the great how-it-works videos, [Jared] explores various noteworthy buildings. You know there’s a bowling alley in the White House, right? [Jared]’s tour shows you exactly where it is.
We love the diversity of the videos, all of which [Jared] researches in great detail. He enjoys working from user suggestions, so let him know what you’re dying to see dissected in detail.
Thanks for the tip, [Shabab].

 Light painting is the process of moving a light while taking a long-exposure photograph, which creates a sort of drawing from the path of the light source. It’s been done in one way or another since at least the early-to-mid 1900s, but modern hardware and methods have allowed for all kinds of new spins on this old idea. [Josh Sheldon]