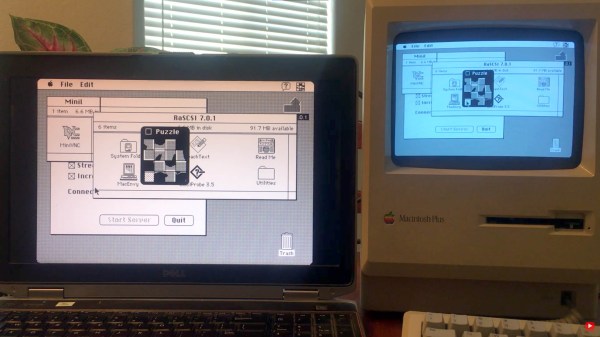
Remotely accessing your computer’s desktop, files and network from anywhere has enabled remote working (i.e. ‘work from home’) for the last several decades. Modern PCs have more than enough computational grunt for Virtual Network Computing (VNC), but where does that leave our retro computing community? [Marcio Teixeira] has it covered with MiniVNC, a brand-new remote desktop server for (very) vintage Macintosh computers.
Now before you say anything, it’s true that ChromiVNC has existed for some time, and is a pretty decent remote desktop server for old Macs. However MiniVNC has several significant advantages, most notably, MiniVNC is fully compatible with MacTCP. Apple’s very first TCP/IP networking stack landed on the Macintosh platform with System 6. As such, MiniVNC can serve up a remote desktop on some of the oldest Mac computers, including the Macintosh Plus.
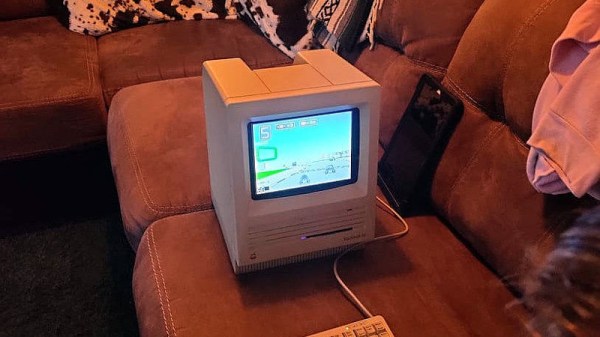
It’s hard to overstate just how cool that is – the iconic Macintosh Plus was released in 1986, runs at a pedestrian 8MHz and supports a maximum of 4MB memory. While much of MiniVNC was written in C++, portions of the software (including TRLE encoding) had to be handwritten in 68K assembly language to ensure decent performance. The entire focus of MiniVNC was on performance and flexibility, with accuracy coming in second, which seems like the right decision. The odd screen artifact and missed update seems to be reasonable trade-off to get this running somewhat smoothly on a Motorola 68000 processor.
Continue reading “Remote Desktop Fun For Your Old Macintosh”