What keeps people from playing music? For one thing, it’s hard. But why is it hard? In theory, it’s because theory is confusing. In practice, it’s largely because of accidentals, or notes that sound sour compared to the others because they aren’t from the same key or a complementary key.
 What if there were no accidentals? Instruments like this exist, like the harmonica and the autoharp. But none of them look as fun to play as [Bardable]’s Starshine, the instrument intended to be playable by everyone. The note buttons on the outside are laid out and programmed such that [Bardable] will never play off-key.
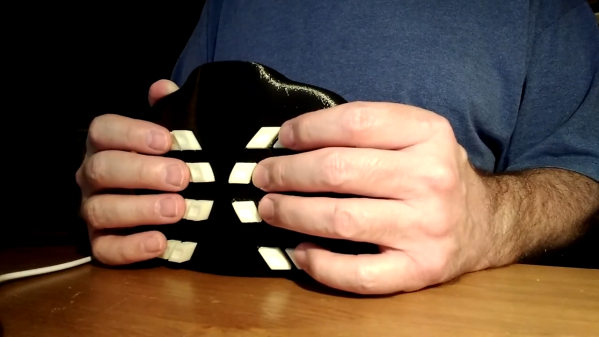
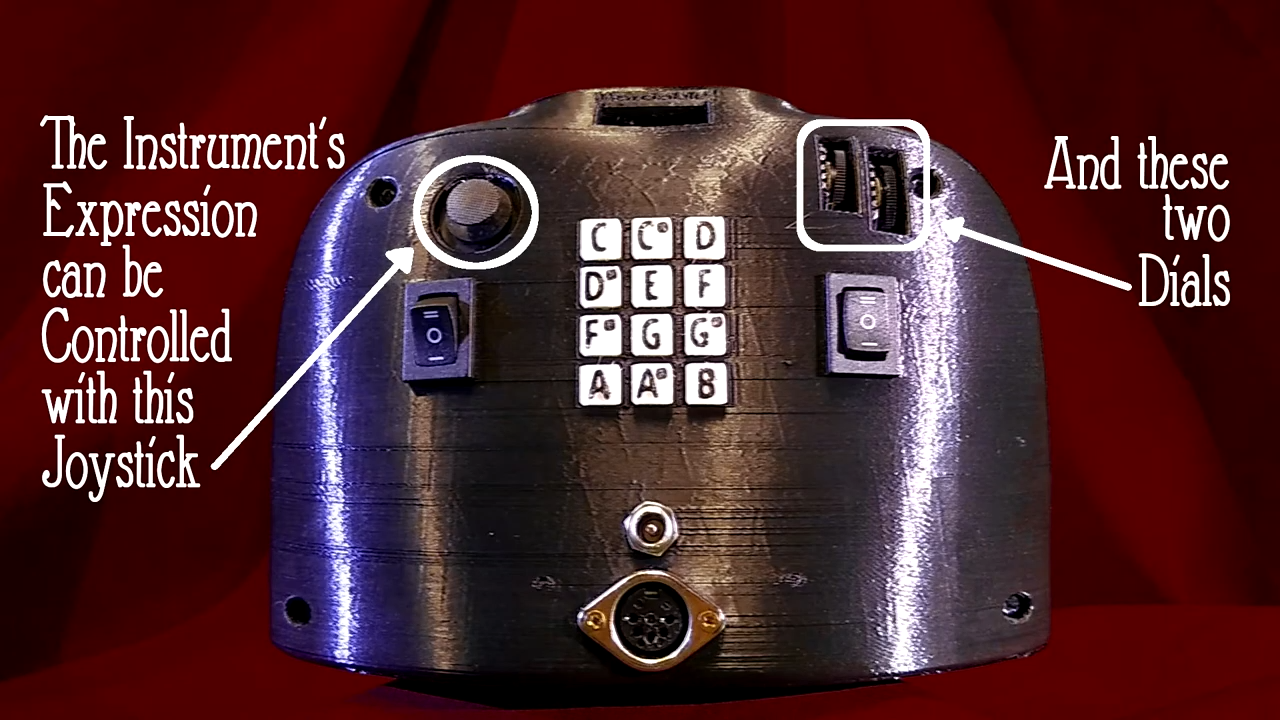
We love the game controller form factor, which was also a functional choice. On the side that faces the player, there’s a PSP joystick and two potentiometers for adding expression with your thumbs. The twelve buttons on this side serve several functions like choosing the key and the scale type depending on the rocker switch position. A second rocker lets [Bardable] go up or down an octave on the fly. There’s also an OLED to show everything from the note being played to the positions of the potentiometers. If you want to know more, [Bardable] made a subreddit for this and other future instruments, and has a full tour video after the break.
If this beginner-friendly MIDI controller isn’t big enough for you, check out Harmonicade’s field of arcade buttons.
Continue reading “Starshine Is A MIDI Controller For The Musically Shy”
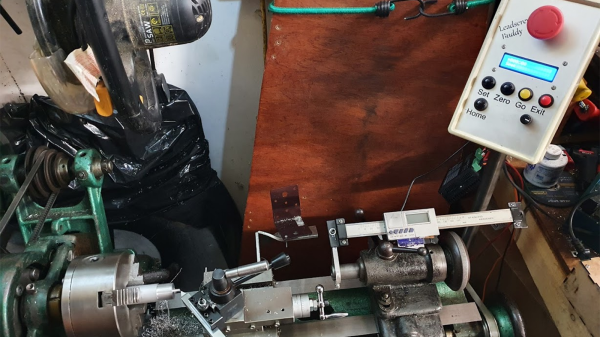
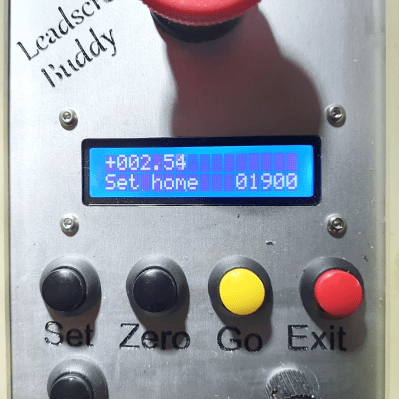 [Tony Goacher] took this idea a few steps further when he created the