Painting With Light And A Little G-Code

Most photographs are made in the fraction of a second that the camera’s shutter is gathering reflected light from the scene. But there’s fun to be had by leaving the shutter open and directing light into the camera. Called light painting, it can be as simple as a camera on a tripod in a dark room and a penlight spelling out dirty words – not like we’d know – or as complicated as this CNC dot-matrix light printer.

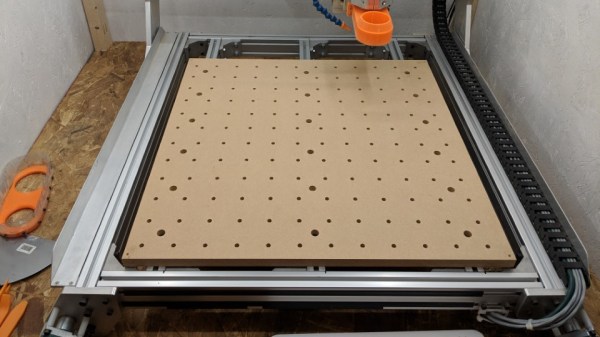
The first idea that [Jeremy S. Cook] had for this build didn’t go so well. He fitted an LED to the gantry of his 3D-printer, intending to send it G-code representing bitmaps. The idea would be to set it up in a dark place, open the shutter, and let the machine build up the image by rastering through the X- and Y- axes while blinking the LED on and off at the right time. But since the gantry only moves in one axis, he abandoned the printer in favor of his CNC router. He printed a collar to fit the dust collector shroud we previously featured, added a battery-powered LED, and affixed a pushbutton switch to the let the Z-axis turn on the light. It took some tweaking such as adding a translucent PLA diffuser, to get decent images, but in the end it worked. We like the soft look of the floating voxels, which were really helped by the later addition of a Nano and a Neopixel. Check out the build in the video below.

One thing we’d suggest is better reflection control. [Jeremy] used a black platen as a background, but it wasn’t quite enough. We suggest going none more black next time.

Continue reading “Painting With Light And A Little G-Code”

Creating Lenses On Cheap CNC Machines

There are a lot of CNC machines sitting around in basements and garages, but we haven’t seen anything like this. It’s making lenses using a standard CNC machine and a lot of elbow grease.

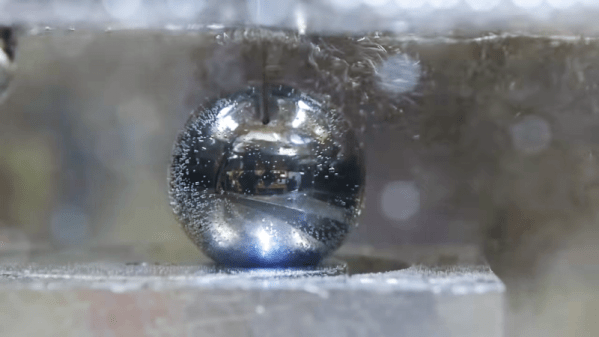
The process of making a lens with a CNC machine begins by surfacing a waste board and taping an 8mm sheet of cast acrylic down with double-stick tape. The lens is then cut out with an 8mm endmill, removed from the stock material, and wet sanded to remove the tool marks. Wet sanding begins at 400 grit and progresses to 2000 grit, after which the lens is polished with a polishing compound meant for high-gloss car finishes. This was done by hand, but in this instance there’s no shame in using a real buffing wheel.

Several other lenses are demonstrated, including a cylindrical convex lens, but these are only planoconvex lenses, or lenses that are flat on one side. Biconvex lenses can be constructed by gluing two planoconvex lenses back to back, which is done with an acrylic glue, in this case Acrifix adhesive. The result is remarkable: with a lot — and we mean a lot — of sanding and polishing, you can make an acrylic lens on a cheap hobby CNC machine. The trick is just a very small stepover on your CNC path.

There are a few more videos planned in this series, including one on using Fusion 360 on defining the shape of the lens to have the right focal length. We can’t wait to see that.

Continue reading “Creating Lenses On Cheap CNC Machines”

CNC Your Own PCB With This Tutorial

It is getting so easy to order a finished printed circuit board that it is tough to justify building your own. But sometimes you really need a board right now. Or maybe you need a lot of fast iterations so you can’t wait for the postal service. [Thomas Sanladerer] shows how he makes PCBs with a CNC machine and has a lot of good advice in the video below.

He starts with Eagle, although, you could use any creation package. He shows what parameters he changes to make sure the traces don’t get eaten away and how to do the CAM job to get the files required to make the boards. If you don’t use Eagle, you’ll need to infer how to do similar changes and get the same kind of output.

We’ve only heard a few people pronounce Gerber (as in Gerber file) with a soft G sound, but we still knew what he meant. We have the same problem with GIF files. However, once you have Gebers, you can join the video’s workflow about 5 minutes in.

At that point, he uses FlatCAM to convert the Gerbers to a single G-code file that integrates the paths and drill files. There were a few tricks he used to make sure all the tracks are picked up. Other tricks include leveling a spoil board by just milling it down and mounting different size bits. He also has ideas on aligning the Z axis.

Continue reading “CNC Your Own PCB With This Tutorial”

Vacuum-Powered Rotary Tool Redux, This Time Machined

We love to see projects revisited, especially when new materials or methods make it worth giving the first design another go around. This twin-turbine vacuum-powered Dremel tool is a perfect example of what better tools can do for a build.

You may recall [JohnnyQ90]’s first attempt at a vacuum powered rotary tool. That incarnation, very similar in design to the current work, was entirely 3D-printed, and caused no little controversy in the comments about the wisdom of spinning anything made on an FDM printer at 43,000 RPM. Despite the naysaying, [Johnny] appears to have survived his own creation. But the turbo-tool did have its limitations, including somewhat anemic torque. This version, machined rather than printed and made almost completely from aluminum, seems to have solved that problem, perhaps thanks to the increased mass of the rotating parts. The twin rotors and the stator were milled with a 5-axis CNC machine, which has been a great addition to [JohnnyQ90]’s shop. The turbine shaft, looking like something from a miniature jet engine, was meticulously balanced using magnets mounted in the headstock and tailstock of a lathe. The video below shows the build and a few tests; we’re not big fans of the ergonomics of holding the tool on the end of that bulky hose, but it sure seems to work well. And that sound!

We first noticed [JohnnyQ90] when he machined aluminum from soda cans to make a mini Tesla turbine. His builds have come a long way since then, and we look forward to what he’ll come up with next.

Continue reading “Vacuum-Powered Rotary Tool Redux, This Time Machined”

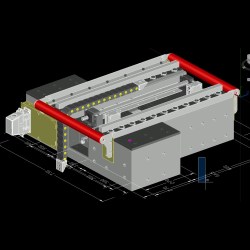
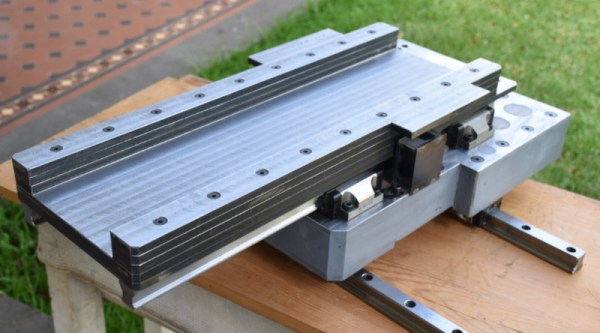
Casting The Bed Of A CNC Machine In Granite

If you’re looking at CNC machines, or machine tools in general, heavier is better. That old drill press or mill made of a few hundred pounds of cast iron isn’t just better because it’s stood the test of time for a hundred years — greater mass equals less vibration. Thanks to modern epoxy resins, we now have a replacement for tons and tons of iron. Epoxy granite, or chips of granite bound together with epoxy resin, is a viable and very good base for CNC machines, mills, and other tools that are served well with a ton of mass. [Joerg Beigang] is building his own CNC router, and he’s building the base out of epoxy granite. Here’s how he’s doing it.

Before you pour epoxy into a mold, you’ll need to figure out how you’re going to attach your ways, linear rails, and ball screws. [Joreg] is bolting these parts to pieces of aluminum he cut on his home made panel saw before carefully drilling and tapping them to accept the linear rails. These aluminum plates were then mounted to the bottom panel of the mold, in this case melamine-coated plywood.

As you would expect, the most intricate part of this build isn’t globbing up a mold with epoxy resin. No, the real trick here is making sure the rails of the CNC are aligned perfectly before the epoxy goes in. This was done by bolting the linear rails to the mold box and checking everything with a dial indicator. Once that was done it was time to pour.

The bed itself is made of 18kg of epoxy granite, with the entire pour done in four batches. The best way to settle a big pour of epoxy granite is through vibration, just like concrete, but it looks as though [Joreg] is getting some good results by tamping it down with a few sticks. You can check out the first part of this build series below.

If we’ve captured your interest, it’s worth reminding you that this isn’t the first epoxy granite CNC machine we’ve featured.

Continue reading “Casting The Bed Of A CNC Machine In Granite”

Polar Platform Spins Out Intricate String Art Portraits

We have semi-fond memories of string art from our grade school art class days. We recall liking the part where we all banged nails into a board, but that bit with wrapping the thread around the nails got a bit tedious. This CNC string art machine elevates the art form far above the grammar school level without all the tedium.

Inspired by a string art maker we recently feature, [Bart Dring] decided to tackle the problem without using an industrial robot to dispense the thread. Using design elements from his recent coaster-creating polar plotter, he built a large, rotating platform flanked by a thread handling mechanism. The platform rotates the circular “canvas” for the portrait, ringed with closely spaced nails, following G-code generated offline. A combination of in and out motion of the arm and slight rotation of the platform wraps the thread around each nail, while rotating the platform pays the thread out to the next nail. Angled nails cause the thread to find its own level naturally, so no Z-axis is needed. The video below shows a brief glimpse of an additional tool that seems to coax the threads down, too. Mercifully, [Bart] included a second fixture to drill the hundreds of angled holes needed; the nails appear to be inserted manually, but we can think of a few fixes for that.

We really like this machine, both in terms of [Bart]’s usual high build-quality standards and for the unique art it creates. He mentions several upgrades before he releases the build files, but we think it’s pretty amazing as is.

Continue reading “Polar Platform Spins Out Intricate String Art Portraits”

Honda Key Fob Turned CNC Work Of Art

Now that nearly every car on the road comes with an electronic key fob, people are desperate to find ways to repair these indispensable little gadgets without coughing up potentially hundreds of dollars at the dealership. There’s a whole market for replacement shells which you can transplant your (hopefully) still functional electronics into, but if you’re going to go through the trouble of putting the electronics into a new case, why not make it special?

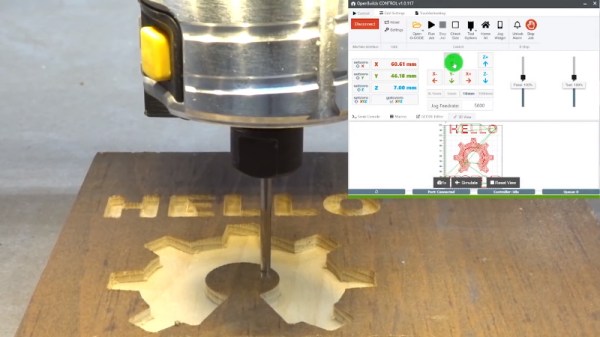
That’s what [Michicanery] was thinking when he decided to build his own custom key fob. The end result is an utterly magnificent feat of engineering that’s sure to be a conversation for the life of the vehicle, if not beyond. Made of wood and aluminum cut on his OpenBuilds Lead CNC 1010, this build just might inspire you to “accidentally” drop your existing fob from a great height. Oh no, what a shame.

[Michicanery] starts by disassembling his original fob, which is the type that has a key integrated directly into the device. This meant his replacement would need a bit more thought put into it than a separate stand-alone fob, but at least it wasn’t one of the ones where you have to stick the whole thing into the dashboard. To make sure the build was strong enough to survive a lifetime of being turned in the ignition and generally fiddled with, he cut the central frame and buttons out of 1/4″ thick aluminum.

The top and bottom of the fob were then cut from Chechen wood and then chamfered on a table router so it felt a bit better in the hand. He applied oil to the pieces to bring out the natural color and grain of the wood, but not before engraving his own logo onto the back of the case for that extra touch of personalization. Not that we think [Michicanery] is going to have trouble identifying his keys from this point on.

Like the incredible watch cases we’ve seen recently, this is a perfect example of an everyday object getting a new lease on life as a bespoke creation thanks to a custom built enclosure. Granted we’re not sure Honda key fobs have quite the heirloom potential of a good watch, but we’d still prefer it over the black plastic original.

[via /r/DIY]