The caterers for the volunteer workforce behind the summer’s MCH hacker camp in the Netherlands served all-vegan food. This wasn’t the bean sprouts and lentils that maybe some of the more meat-eating readers might imagine when confronted with vegan food, nor was it a half-as-good array of substitutes with leathery soy hamburgers and rubbery fake cheese smelling suspiciously of feet.
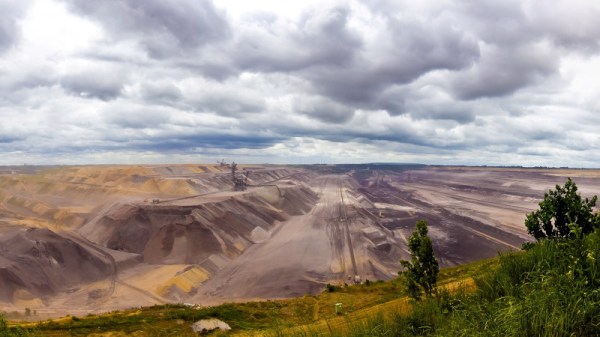
Instead it was a well-crafted, interesting, and tasty menu that was something to look forward to after several hours driving a vanload of handwashing sinks. It was in one of their meals that I found food for thought when driving a week later past the huge Garzweiler open-cast lignite mine on my way through Germany to Luxembourg’s Haxogreen as part of my European hacker camp summer tour.
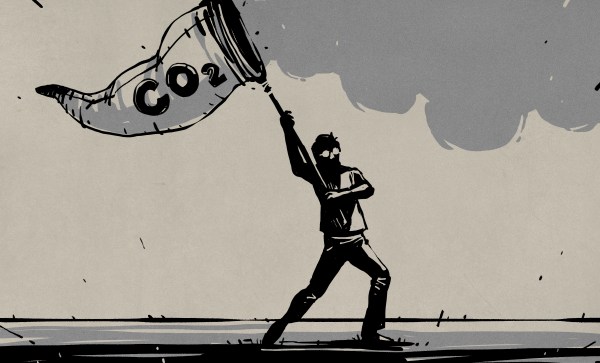
The meal was deep-fried soy protein strips and the mine is probably one of Western Europe’s dirtiest and most problematic CO2 sources in a country that likes to imagine itself as environmentally friendly, so where in this unlikely connection did I find a pairing? Continue reading “Engineers: Be Subversive To Be Green”