The plethora of wireless technologies has made internet-connected devices the norm, but it’s not always necessary if you don’t need real-time updates. Whether it’s due to battery life, or location and range constraints, downloading data directly from the device whenever possible might be a viable solution. [Malcolm Mackay] demonstrates an elegant solution on the open source cuplTag temperature/humidity logger, using any NFC-enabled smartphone, without requiring a custom app.
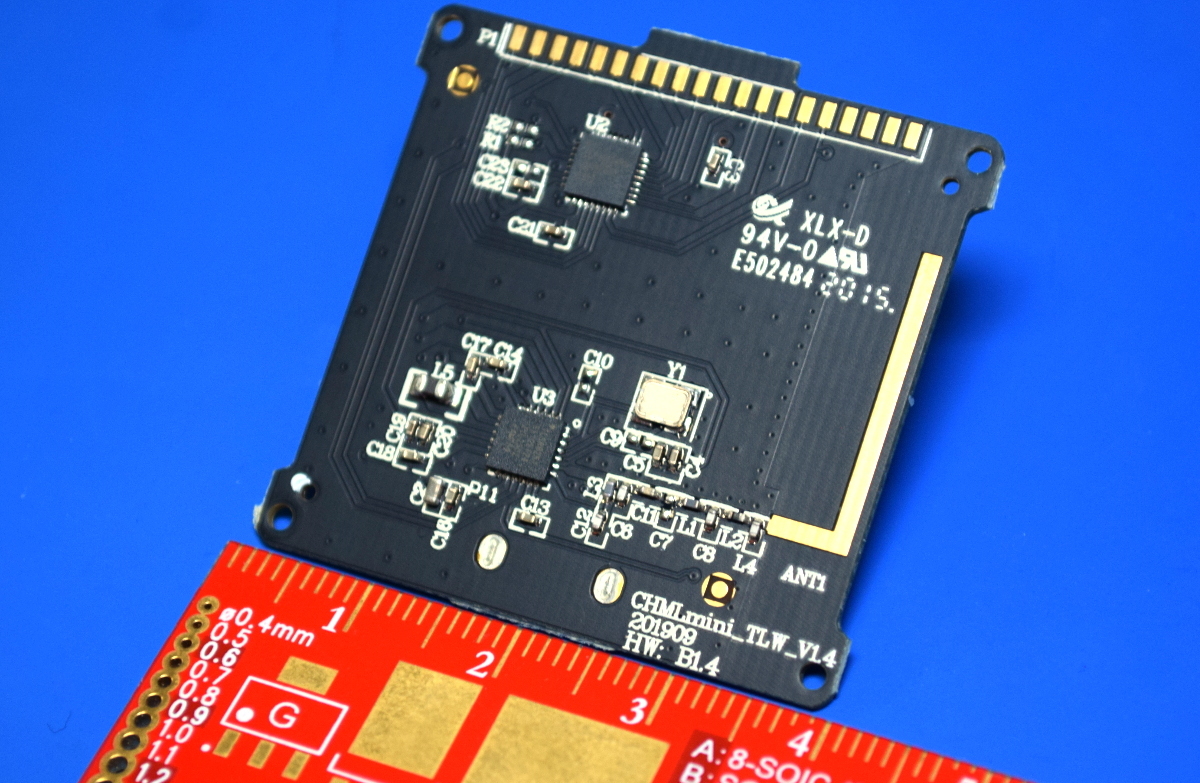
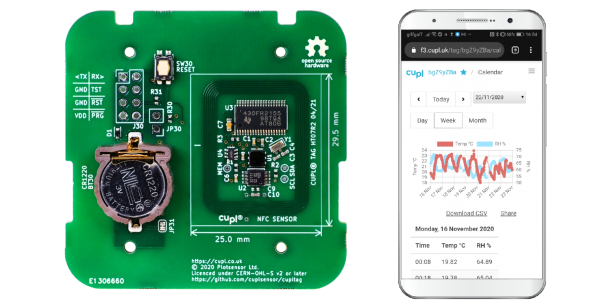
The cuplTag utilizes the feature on NFC-enabled smartphones to automatically open a URL provided by the cuplTag. It encodes the sensor data from the sensor unit as a circular buffer in a ~1 kB URL, which automatically uploads to a web frontend that plots the data. (You can use their server or run your own.)
This means that data can be collected by anyone with the appropriate phone with zero setup. The data is displayed on the web app and can be downloaded as a CSV. To deter spoofing, each tag ships with a secret key which is used to generate a unique HMAC every time the circular buffer changes.
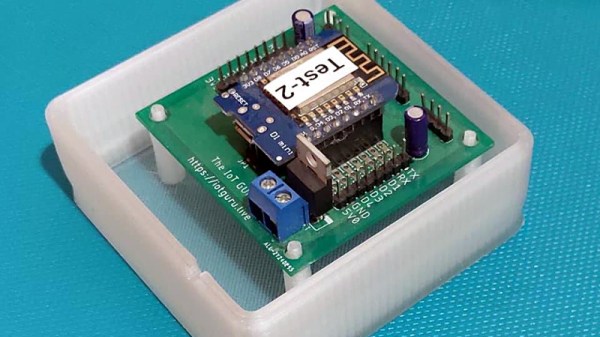
Battery life is a priority on the cuplTag, and it’s theoretically capable of running seven years on a single CR1220 coin cell using the current-sipping Texas Instruments MSP430 microcontroller. The hardware, firmware, and server-side frontend and backend code are all open source and available on GitHub.
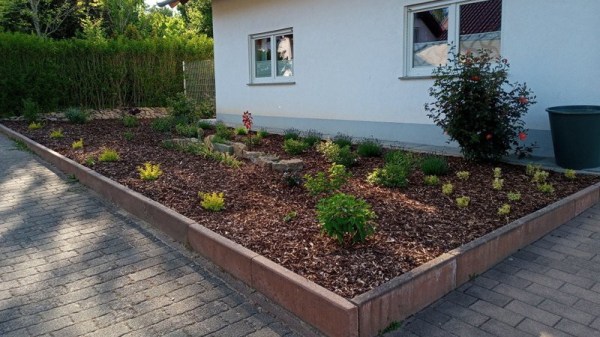
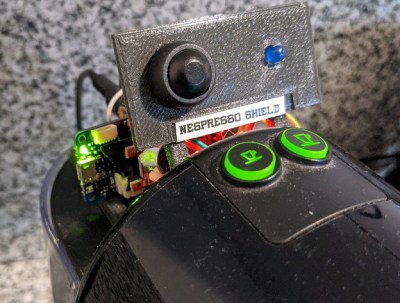
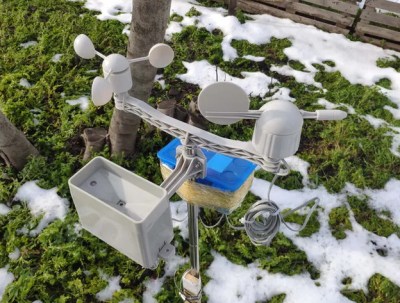
Earlier this year, we held a data logging contest, and featured submissions that monitored everything from your garden’s moisture levels to your caffeine intake.