It’s getting close to the time of year when we need to start carefully vetting projects here at Hackaday. After all, nobody likes to get punked by an early April Fool’s joke. But as silly as this outsized PC fan looks, it sure seems like a legit build, if a bit on the pointless side.
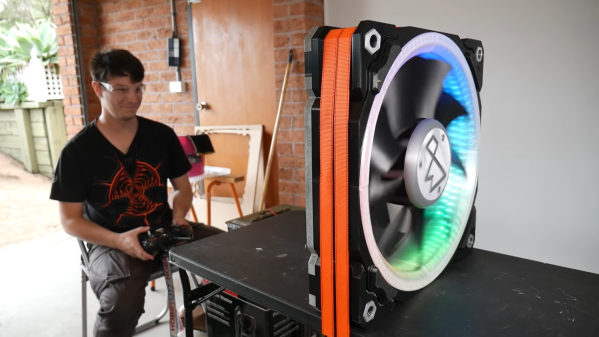
Then again, perhaps pointless is too harsh a word to use. This 500-mm fan is by [Angus] over at Maker’s Muse, and it represents a lot of design work to make it buildable, as well as workable and (mostly) safe. Using both CNC-cut MDF and printed parts, the fan is an embiggened replica of a normal-sized case fan. The fan’s frame had to be printed in four parts, which lock together with clever interlocking joints. Each of the nine blades locks into a central hub with sturdy-looking dovetails.
And sturdy is important, as the fan is powered by a 1,500 Watt brushless DC motor. With a 4:1 reduction thanks to a printed gear train, the fan spins at around 3,300 RPM, which makes a terrifying noise. There’s a little bit of “speed-wobble” evident, but [Angus] managed to survive testing. The fan, however, did not — the 3D-printed gears self-destructed after a full-speed test, but not before the fan did its best wind tunnel imitation. And the RGB LEDs looked great.
This one reminds up of something we might see [Ivan Miranda] come up with. In fact, his super-sized 3D printer might have been just the thing to shorten [Angus]’ print times.
Continue reading “3D-Printed Parts Let You Assemble Your Own Biggest Fan”