The first person shooter genre found its feet in the PC world, relying on the holy combination of the keyboard and mouse for input. Over time, consoles have refined their own version of the experience, and the gamepad has become familiar territory for many FPS fans. [Tech Yesterday] was a die hard controller player, but after trying out a mouse, didn’t want to go back. Instead, he built a truly impressive hybrid device.
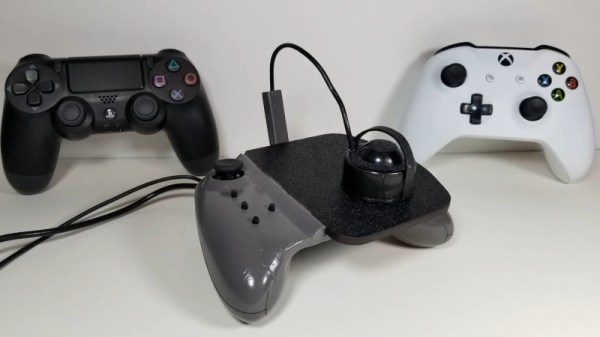
The build begins with a standard Xbox 360 wired controller, somewhat of a defacto standard for PC gamepads. The left analog stick and triggers remain untouched, however the face buttons are all relocated using mechanical keyboard switches. The D-pad has been relocated to the left hand side with tactile switches, and the right analog stick removed entirely. In its place, a cut-down optical mouse is used on a flat 4″x4″ mousepad attached to the controller, strapped to the player’s thumb.
The resulting controller combines the benefit of analog stick movement and the precision aiming of a mouse. We’re amazed at how comfortable the controller looks to use, particularly in the improved second revision. While currently only used on PC, we can imagine such controllers shaking up the console FPS scene in a serious way.
We see some great controller hacks around these parts; the force-feedback mouse is a particularly amusing example. Video after the break.
Continue reading “Mouse-Controller Hybrid Aims To Dominate In First-Person Shooters”