
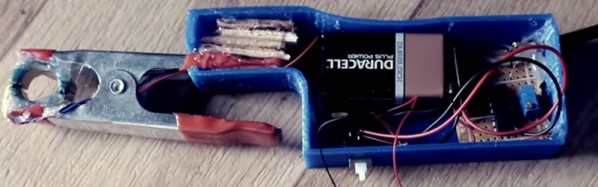
If you want to measure AC or DC current with an oscilloscope, a current clamp is a great way to do it. The clamp surrounds the wire, so you don’t need to break the connection to take your measurements. These used to be expensive, although we’ve seen some under $100, if you shop. We don’t know if it was cost or principle that motivated [Electronoobs] to build his own current clamp, but he did.
This probe design is little more than a 3D printed case, an old power supply toroid, and a conventional alligator clamp to make the business end. The sensor uses a ferrite core and a hall effect sensor. The ferrite toroid is split in half, one half in each side of the clamp. An opamp circuit provides a gain of 100 to boost the hall effect sensor’s output.
In addition to building a homebrew probe, the video also shows a teardown of a Hantek current probe and explains the theory behind the different kinds of current probes, including some tricks like using a compensation winding to prevent core magnetization.
Does it work? You bet. After calibration, it did just fine. It’s not as pretty as a $100 unit, but beauty is in the eye of the beholder, and we are suckers for homebrew gear so we will say it is certainly more interesting. If you have a fair junk box (and a 3D printer), this probe could be made very inexpensively. The hall effect and a BNC connector are likely to be the most expensive parts. Even if you bought everything and used a non-printed case, we would be hard-pressed to think you’d spend more than $25.
If you want to see how the big boys do it, Keysight had a good break down last year. We’ve seen other homebrew builds for current probes and some of them are very accurate.
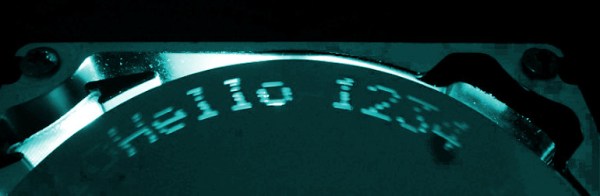
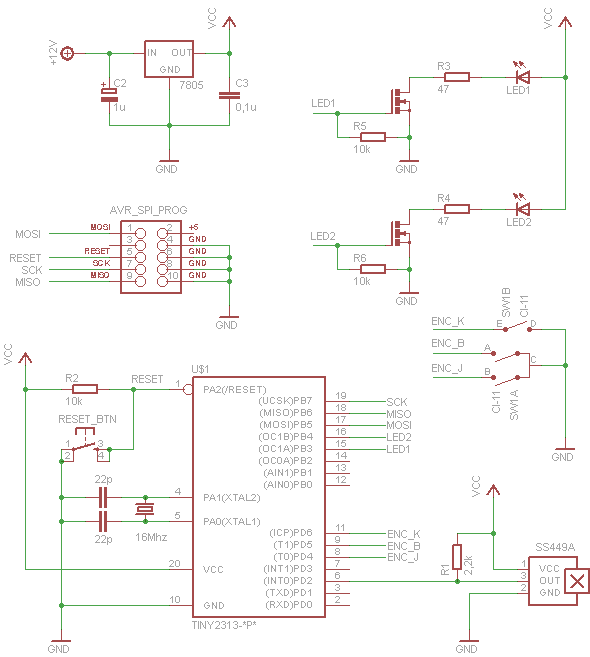 He used the frame, disk and motor from a drive and added LEDs under the spinning disk as the light source. The disk has 8 small holes drilled equidistant around the disk, and spiraling slightly toward the center. As the holes pass by the LEDS they are flashed by the ATtiny2313 processor to create images. To determine the position of the platters a Hall effect sensor is monitored by the 2313 to detect a magnet on the underside of the disk. There is room to display ten characters at one time. Each cursor position can scroll through the character set by rotating an encoder. For all the precision needed to coordinate the LEDs with the spinning holes the electronics and software code are amazingly simple. That’s a really nice job, [Adam]!
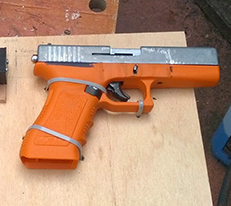 Last year, [Tony] was asked to develop a lasertag system with ultimate realism. This meant a system that used a blank firing replica gun, and a system to detect blank rounds being fired. Very cool,








