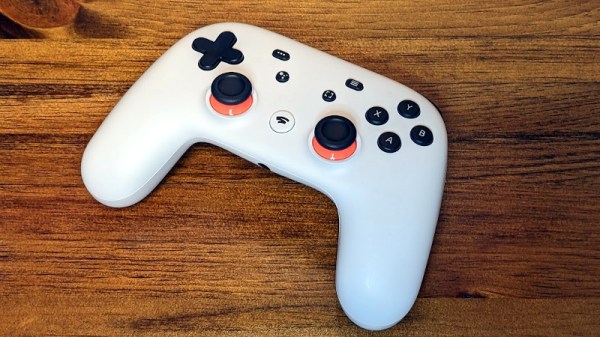
The Google Stadia game streaming service relied on a proprietary controller. It was a pretty neat piece of hardware that unfortunately looked destined for landfills when Google announced that Stadia would discontinue. Thankfully it’s possible to use them as normal gamepads, and related to that, [Thomas Steiner] has a developer blog post about how to talk to the Stadia controller via WebHID. Continue reading “Stadia Controller’s Two Extra Buttons Get Seen With WebHID”
hid84 Articles
Want To Use A Classic Mac Mouse On A Modern Computer? No? Here’s How To Do It Anyway
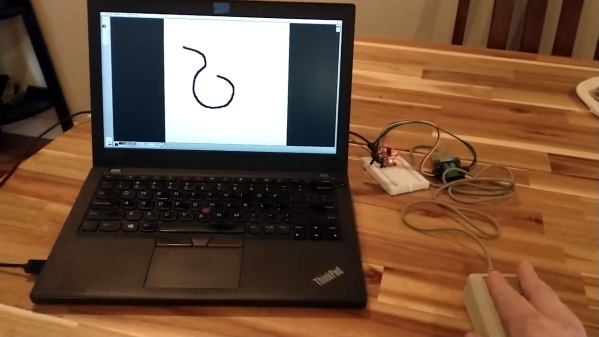
Need to hook a classic Mac mouse up to your modern machine with the help of a DIY USB adapter? [John Floren] has you covered. [John]’s solution uses a board with an ATmega32U4 microcontroller on it to connect to the Mac mouse on one end, and emulate a USB HID (Human Interface Device) on the other. A modern machine therefore recognizes it like it would any other USB input device.
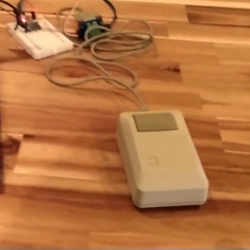 Why is this necessary? The connector on the classic Mac mouse may look like a familiar DE-9 connector, but it is not an RS-232 device and wouldn’t work if it were plugged into a 9-pin serial port. The classic Mac mouse uses a different pinout, and doesn’t have much for brains on the inside. It relies on the host computer to read its encoders and button states directly.
This project is actually a bit of an update to a piece of earlier work [John] did in making a vintage Depraz mouse work with modern systems. He suspected that it wouldn’t take much to have it also work with a classic Mac mouse, and he was right — all it took was updating the pin connections and adding some pull-up resistors. The source code and design files are on GitHub.
Even if one does not particularly want to use a classic Mac mouse for daily work, there’s definitely value in this kind of thing for those who deal in vintage hardware: it allows one to function-check old peripherals without having to fire up a vintage machine.
Overwhelmed By Odd Inputs: The Contest Winners And More
The Odd Inputs and Peculiar Peripherals Contest wrapped up last week, and our judges have been hard at work sifting through their favorite projects. And this was no easy task – we had 75 entries and so many of them were cool in their own right that all we can say is go check them all out. Really.
But we had to pick winners, not the least because Digi-Key put up three $150 gift certificates. So without further ado, here are the top three projects and as many honorable mentions as you have fingers and toes – if you don’t count your thumbs.
The Prize Winners
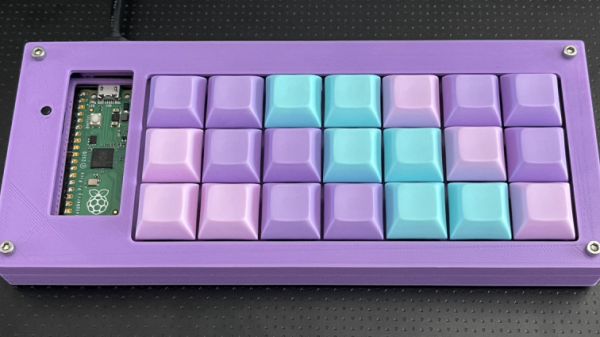
Keybon should be a mainstream commercial product. It’s a macro keypad with an OLED screen per key. It talks to an application on your desktop that detects the program that you currently have focused, and adapts the keypress action and the OLED labels to match. It’s a super-slick 3D-printed design to boot. It’s the dream of the Optimus Maximus, but made both DIY and significantly more reasonable as a macro pad. It’s the coolest thing to have on your desk, and it’s a big winner!
On the ridiculous side of keyboards, meet the Cree-board. [Matt] says he got the idea of using beefy COB LEDs as keycaps from the bad pun in the name, but we love the effect when you press down on the otherwise blinding light – they’re so bright that they use your entire meaty finger as a diffuser. Plus, it really does look like a keypad of sunny-side up eggs. It’s wacky, unique, and what’s not to love about that in a macropad?
Finally, [Josh EJ] turned an exercise bike into a wireless gamepad, obliterating the choice between getting fit and getting high scores by enabling both at the same time. An ESP32-turned-Bluetooth-gamepad is the brains, and he documents in detail how he hooked up a homebrew cadence sensor, used the heart-rate pads as buttons, and even added some extra controls on top. Watching clips of him pedaling his heart out in order to push the virtual pedal to the metal in GRID Autosport, we only wish he were screaming “vroooom”. Continue reading “Overwhelmed By Odd Inputs: The Contest Winners And More”
Odd Inputs And Peculiar Peripherals: The Morse Keyboard
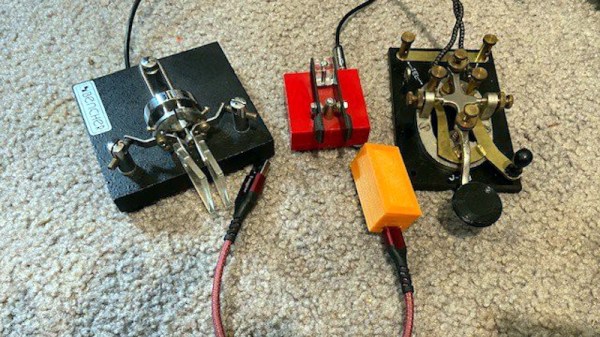
When it comes to rendering text input into an electronic form,the newest keyboards use USB for wired interfacing, while the oldest Morse keys use a single conductor. Shall the two ever meet? For [Matthew Sparks] the answer is yes, with his “The Gadget” Morse-to-USB HID interface which presents a Morse key to a computer as though it were a USB keyboard.
At its heart is a Seeduino Arduino clone, upon which the Morse key waggles a pin, and which through the extensive magic of software recognizes the keyed characters and converts them into USB key presses for the computer. It’s thus a surprisingly simple project, and the write-up spends far more time proselytizing the art of the carrier wave than it does on Arduino code.
Morse is simultaneously a manual art form, an efficient means of communicating through congested radio bands, and an anachronism, which probably explains its continued appeal in the radio amateur fraternity. We’re not sure how many keyboard warriors will switch to the single key with this project, but we can see that it might be a useful aid to learning as well as a pretty quick input method for the owner of an experienced fist.
Morse has featured in many projects here before, not least in this assistive Morse keyboard.
Capacitive Touch Controller For FPGAs
Most projects that interface with the real world need some sort of input device. Obviously this article is being written from a standardized “human interface device” but when the computers become smaller the problem can get more complicated. We can’t hook up a USB keyboard to every microcontroller since we often only need a few buttons, but even buttons can be a little bit too cumbersome for some applications. For something even simpler, we would like to turn your attention to capacitive touch controllers.
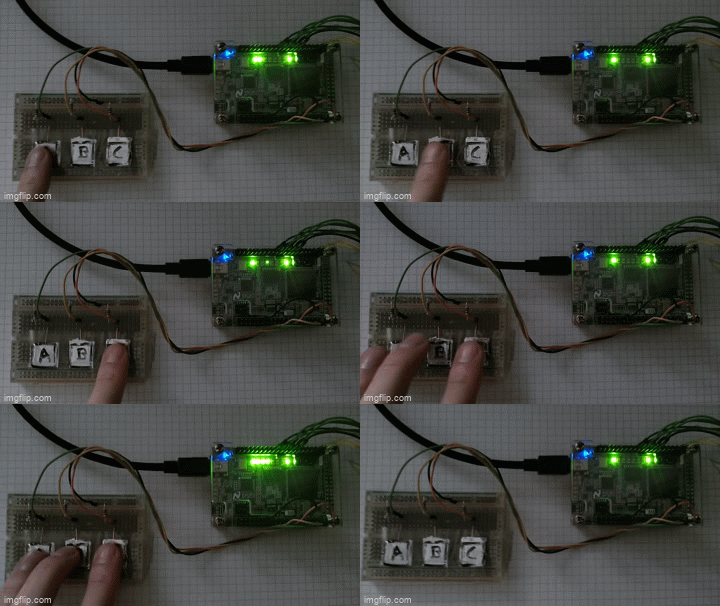
Granted, these devices are really only simpler from a hardware perspective. Rather than a switch that can be prone to failure either when its moving parts break or its contacts become corroded, a capacitive touch button only needs a certain conductive area on something like a PCB, along with a few passive components, to work. The real difficulty is in the software, so this project aims to make it simpler to bring these sort of devices to any FPGA that needs some sort of interface like this. It can operate in stand-alone mode or in a custom user interface, and was written to be platform-independent in VHDL without the need for any dependencies or macros.
The project’s page goes into a great amount of detail on how capacitive touch sensors like these work in general, and describes the operation of this specific code as well. Everything is open source, so it’s ready to be put to work right away. If you need capacitive touch capabilities on something like a microcontroller, though, take a look at this tiny Atmel-powered musical instrument instead.
Python Your Keyboard Hack Chat With Adafruit
Join us on Wednesday, July 21 at noon Pacific for the Python Your Keyboard Hack Chat with the Adafruit crew!
Especially over the last year and a half, most of us have gotten the feeling that there’s precious little distinction between our computers and ourselves. We seem welded together, inseparable even, attached as we are day and night to our machines as work life and home life blend into one gray, featureless landscape where time passes unmarked except by the accumulation of food wrappers and drink cans around our work areas. Or maybe it just seems that way.
Regardless, there actually is a fine line between machine and operator, and in most instances it’s that electromechanical accessory that we all love to hate: the keyboard. If you buy off the shelf, it’s never quite right — too clicky, not clicky enough, wrong spacing, bad ergonomics, or just plain ugly design. The only real way around these limitations is to join the DIY keyboard crowd and roll your own, specifically customized to your fingers and your needs — at least until you realize that it’s not quite perfect, and need to modify it again.
Hitting this moving target is often as much a software problem as it is a hardware issue, but as is increasingly the case these days, Python is ready to help. To go into depth on how Python can be leveraged for the custom keyboard builder, our good friends at Adafruit, including Limor “Ladyada” Fried, Phillip Torrone, Dan Halbert, Kattni Rembor, and Scott Shawcroft will stop by the Hack Chat. We suspect they’ll have some cool stuff to show off, in addition to sharing their tips and tricks for making DIY keyboards just right. If you’re building custom keebs, or even if you’re just “keyboard curious”, you won’t want to miss this one.
 Our Hack Chats are live community events in the Hackaday.io Hack Chat group messaging. This week we’ll be sitting down on Wednesday, July 21 at 12:00 PM Pacific time. If time zones have you tied up, we have a handy time zone converter.
Flashpen Is A High Fidelity Pen Input Device
Pen input has never really taken off in the computing mainstream, though it’s had somewhat of a renaissance in the last decade or so. Various smartphones and tablets are shipping with the technology, and some diehard users swear by it as the best way to take notes on the go. Recently, researchers at the Sensing, Interaction and Perception Lab at ETH Zurich have been working on Flashpen, a high-fidelity pen interface for a wide range of applications.
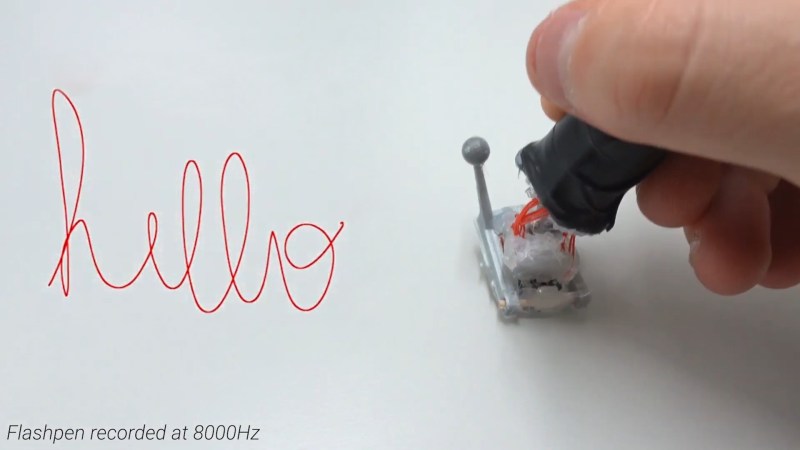
 The fundamental technology behind the pen is simple, with the device using an optical flow sensor harvested from a high-end gaming mouse. This is a device that uses an image sensor to detect the motion of the sensor itself across a surface. Working at an update rate of 8 KHz, it eclipses other devices in the market from manufacturers such as Wacom that typically operate at rates closer to 200Hz. The optical sensor is mounted to a plastic joint that allows the user to hold the pen at a natural angle while keeping the sensor parallel to the writing surface. There’s also a reflective sensor on the pen tip which allows cameras to track its position in space, for use in combination with VR technology.
The team show off the device being used in several ways, primarily in VR tasks, but also in simple handwriting and coloring work. It’s a project that could readily be replicated by any eager experimenter by gutting a gaming mouse and getting down to work; our writers will expect six of your submissions by June 1st to the tipsline. Those eager to learn more can check out the project paper, and may also find the team’s TapID technology interesting. Video after the break. Continue reading “Flashpen Is A High Fidelity Pen Input Device”

