A few years ago, a professor at the University of Delaware started a project called Go Baby Go. It’s designed to bring fun and affordable mobility to small children with disabilities. The idea is to modify Power Wheels cars to make them easier for disabled kids to operate, and to teach as many people as possible how to do it in the process. The [South Eugene Robotics Team] is taking this a step further by replacing the steering wheel with a joystick that controls two motors with an Arduino Nano.
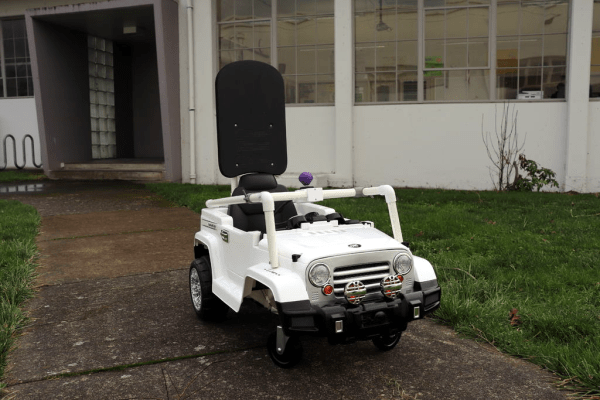
In the first instance you replace the foot pedal with a push button. The plans also call for a PVC frame, a high-backed seat, and a seat belt to make it safer. The end result is a fun ride the kid can control themselves that functions a lot like a power wheelchair, but is much more affordable. It has the added bonus of being a fun conversation piece for the other kids instead of a weird scary thing.
They also replace the front wheels with 5″ casters, because being able to spin around in circles is awesome. Their project shows how to do the entire conversion in great detail, starting with a standard ride-on car that comes with some assembly required. Motor past the break to check out a short demo with an extremely happy child tooling around in a fire truck.
If these kids get too wild, they’re gonna need traction control for these things.