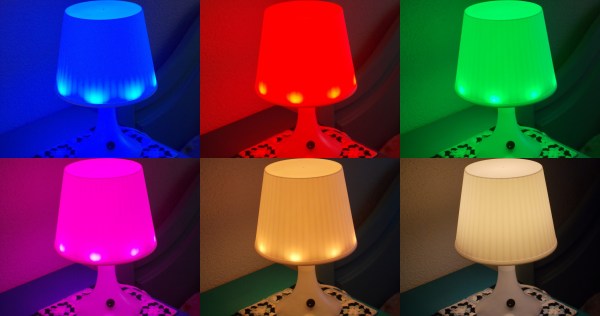
Sometimes too much overkill isn’t enough. [Jesus Echavarria] hacked an IKEA Lampan light for his daughter to add color LEDs, a timer, Bluetooth control over the hue, and a local override knob. The result: a $5 lamp with at least $50 of added awesomeness. Let’s have a look at the latter.
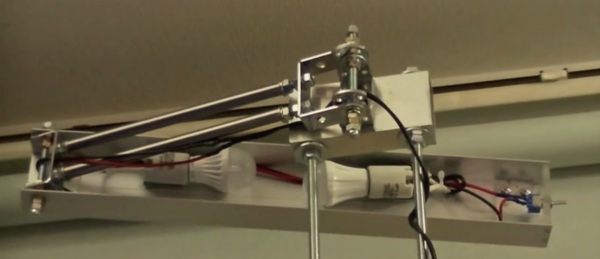
The whole lamp system is based around a PIC microcontroller and WS2811 LEDs for the color light show. Since the lamp was already built to run a 40W lightbulb, and [Jesus] wanted to retain that functionality, he added an SSR to the build. Yeah, it’s rated for 5,000W, but it’s what he had on hand.
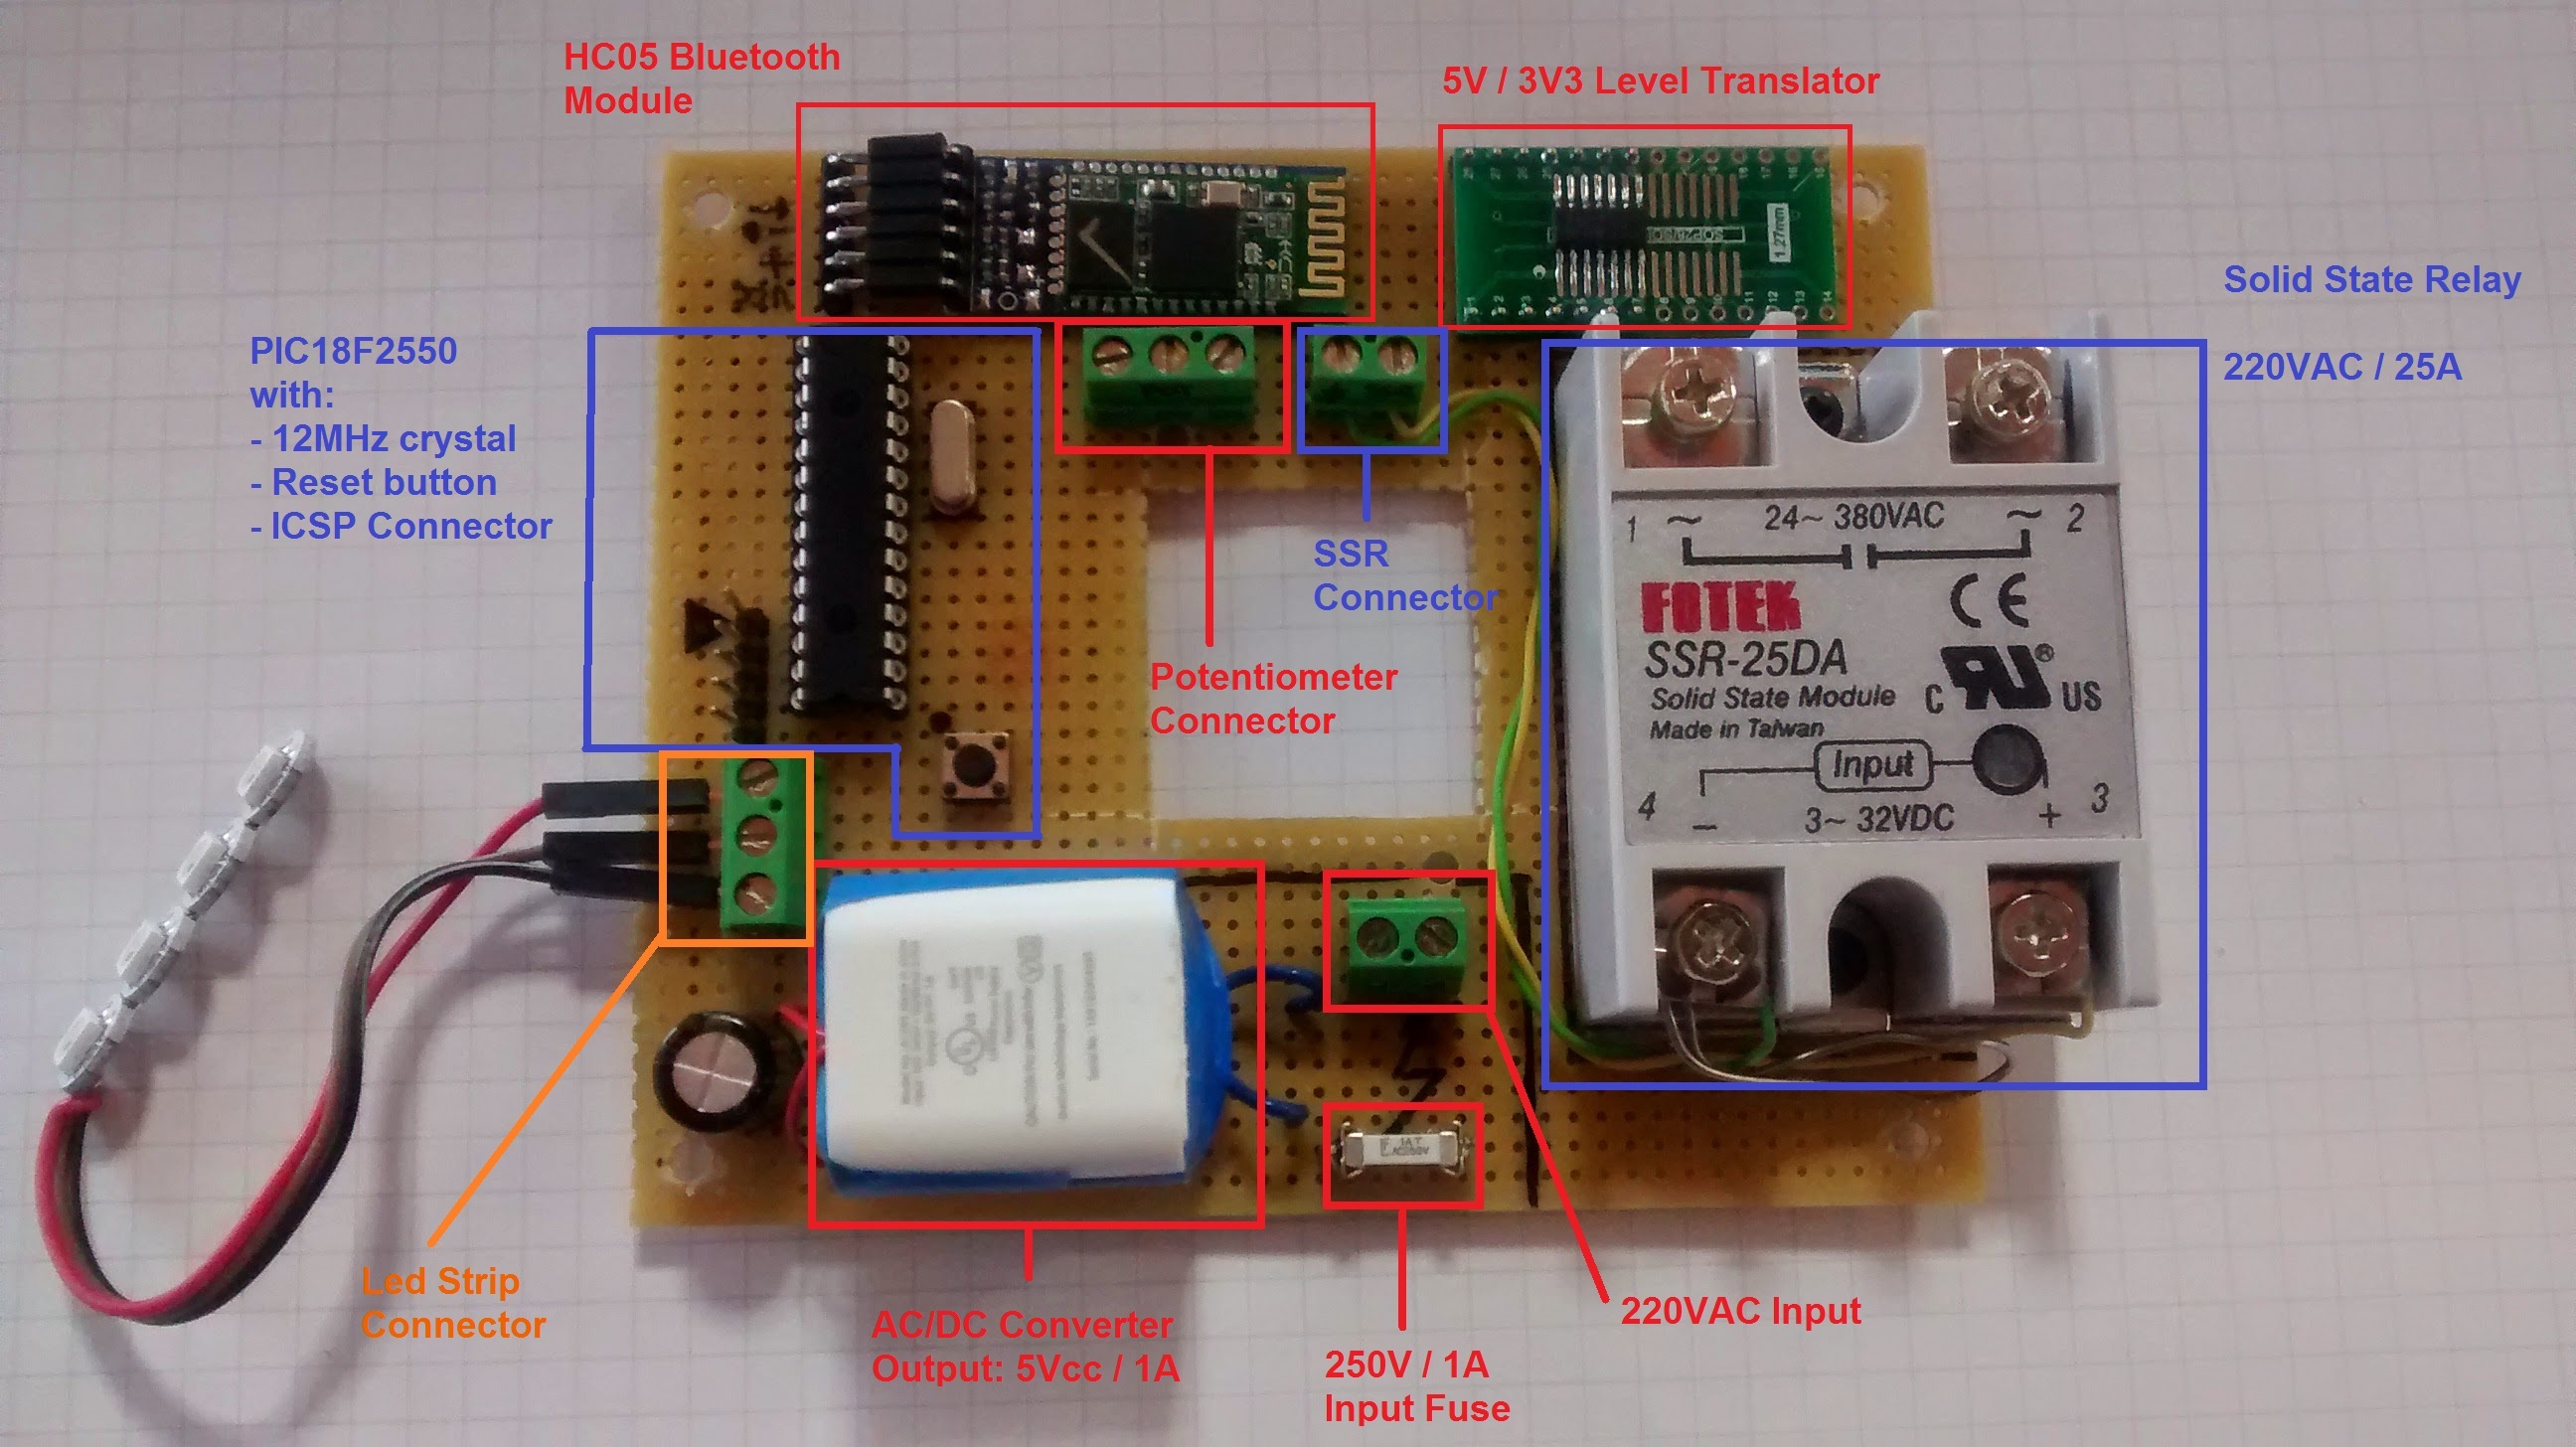 Next comes the low-voltage power supply. [Jesus] needed 5V for the PIC, and used the guts from a cheap USB charger as a quick and dirty 5V converter — a nice hack. To power the HC-05 Bluetooth module, which requires 3.3V, he wired up a low-dropout voltage regulator to the 5V line. A level-converter IC (74LVC07) gets the logic voltage levels straight between the two.
A fuse for the high-voltage power line, screw-terminal connectors all around, and a potentiometer for manual override round out the hardware build.
On the software side, [Jesus] set up the knob to turn on and off the built-in lamp as well as control the colors of the LED ring. That’s a nice touch for when his daughter wants to change the lamp’s color, but doesn’t want to go find her cellphone. But when she does, the SPP Pro app sets the colors by sending pre-programmed serial commands over Bluetooth to the PIC in the lamp.
All in all, a nice build, well-documented, and with enough rough edges that none of you out there can say it’s not a hack. Nice job [Jesus]! We can’t wait to see what he does next… robot lamp anyone?