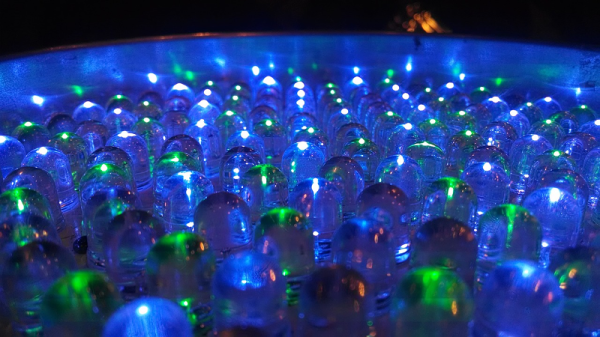
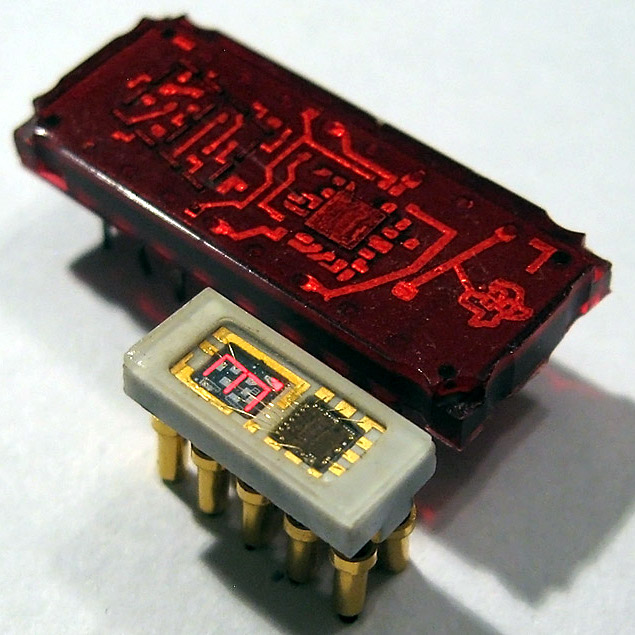
Handheld Arduino Light Painter

Light painting is a technique which allows you to “draw” on a photograph by moving a light past the camera during a long exposure shot. While it can be difficult to master, light painting allows for some incredible effects such as text and images that appear to be hovering in mid-air. Think of it like a very slow but much cooler version of an augmented reality app.

[Reven] recently wrote in to tell us about the Arduino light painter he put together, and while DIY (and even commercial) light painting gear isn’t exactly new at this point, we think he’s raised the bar a bit with his design. With the addition of a slick 3D printed enclosure and on-board display and menu system, his light painter looks exceptionally professional for being built out of hardware he had on hand.

On his blog, [Reven] has done a phenomenal job of documenting the build from start to finish. Not only does he include a detailed Bill of Materials and the STL files so you can build your own version of his light painter, he walks the reader though his design process and explains why he did the things he did. Even if you aren’t interested in building a light painter, there’s almost certainly something of interest for anyone who’s ever looked at a pile of parts on their workbench and wondered how they were going to turn it into a functioning device.

Powered by an Arduino Uno, the light painter provides a user interface on a 16×2 LCD which allows control over not only the brightness of the WS2812 LED strips but selecting and loading different images from the micro SD card. The case was designed in FreeCAD, and while [Reven] mentions there are a number of issues which could be improved, satisfies all his design goals.

We covered the original Adafruit project that [Reven] based his code all the way back in 2013, though there’s certainly been more modern interpretations of the idea since then.

Pavement Projection Provides Better Bicycle Visibility At Night

Few would question the health benefits of ditching the car in favor of a bicycle ride to work — it’s good for the body, and it can be a refreshing relief from rat race commuting. But it’s not without its perils, especially when one works late and returns after dark. Most car versus bicycle accidents occur in the early evening, and most are attributed to drivers just not seeing cyclists in the waning light of day.

To decrease his odds of becoming a statistics and increase his time on two wheels, [Dave Schneider] decided to build a better bike light. Concerned mainly with getting clipped from the rear, and having discounted the commercially available rear-mounted blinkenlights and wheel-mounted persistence of vision displays as insufficiently visible, [Dave] looked for ways to give drivers as many cues as possible. Noticing that his POV light cast a nice ground effect, he came up with a pavement projecting display using four flashlights. The red LED lights are arranged to flash onto the roadway in sequence, using the bike’s motion to sweep out a sort of POV “bumper” to guide motorists around the bike. The flashlight batteries were replaced with wooden plugs wired to the Li-ion battery pack and DC-DC converter in the saddle bag, with an Arduino tasked with the flashing duty.

The picture above shows a long exposure of the lights in action, and it looks very effective. We can’t help but think of ways to improve this: perhaps one flashlight with a servo-controlled mirror? Or variable flashing frequency based on speed? Maybe moving the pavement projection up front for a head-down display would be a nice addition too.

Multi-Coloured LEDs Make For A Beautiful Colour Clock

This project is so pretty, it doesn't need a case!
This project is so pretty in its own right, it doesn’t need a case!

Clocks are a recurring feature among the projects we feature here on Hackaday, with several common themes emerging among them. We see traditional clocks with hands, digital clocks with all forms of display including the ubiquitous Nixie tube, and plenty of LED ring clocks. [Matt Evans]’s build is one of the final category, a particularly nice LED ring clock using wire-ended multi-colour LEDs. Other clocks produce an effect that looks good from across the room, but this one is also a work of beauty when examined in close-up.

Behind it all are four interlocking semicircular PCBs, an STM32F051C6T6 ARM Cortex M0 microcontroller which controls the clock, and a brace of driver chips. The different “hands” of the clock are expressed as different LED colours, and there is a variety of different colour and clock “hand” effects. An acrylic ring completes the effect, by covering the LEDs themselves. He’s put together a video of the clock in action, which you can see below the break.

Continue reading “Multi-Coloured LEDs Make For A Beautiful Colour Clock”

The Internet Of Three-Pointers

When tossing something into the rubbish bin, do you ever concoct that momentary mental scenario where you’re on a basketball court charging the net — the game’s final seconds ticking down on the clock — making a desperate stretch and flicking some crumpled paper perfectly into the basket only for no one to notice your awesome skills? Well, now you can show off how good you are at throwing out garbage.

Well, not strictly garbage. The genesis of this IoT basketball hoop was in fact an inflatable ball on [Brandon Rice]’s desk that he felt would be more fun to fidget with if he could keep score. The hoop and backboard were laser cut on his Epilog cutter, and sport a Particle Photon to track and upload his running point tally to the Internet. An Arduino and IR sensor detect objects passing through the hoop — ultrasound proved to be too slow to keep up with [Rice]’s shots.

Continue reading “The Internet Of Three-Pointers”

Color Spaces: The Model At The End Of The Rainbow

When I learned about colors in grade school everything started with red, yellow, and blue and getting fancier colors was easy. I mixed some blue into my yellow to get green, or into red to get purple, and so on. After painting enough terrifying “art” for my parents, this made intuitive sense. That is until my mind was blown by the revelation that this wasn’t always true! 

To make the same colors with light instead of paint I had to use red, green, and blue, not yellow. It was until much later when trying harness banks of RGB LEDs that this knowledge became useful. I was struggling to make my rogue diodes look quite the way I wanted when I stumbled into the realization that maybe there was another approach. What did the numbers representing R G and B actually mean? Why those parameters? Could there be others? [Elliot Williams] has written about the importance of gamma correction and adjustment for human perception of color, but we can ask a more fundamental question. Why do we represent color this way at all?

Continue reading “Color Spaces: The Model At The End Of The Rainbow”

It’s A Nixie! It’s A VFD! No, It’s A Custom LED Display In A Tube

Like the look of Nixies but they just seem a little overdone? Or perhaps you just don’t want the hassles of a high-voltage power supply? Then maybe these faux-Nixie LED “tube” displays will find a way into your next clock build.

For his 2018 Hackaday Prize entry, [bobricius] decided that what the world needs is a Nixie that’s not a Nixie. To that end, each display is formed by seven surface-mount LEDs soldered to a seven-segment shaped PCB and slipped into a glass tube. The LEDs are in 4014 packages so they’re only 4 millimeters long, but what they lack in size they make up for in brightness. We’re not sure if it’s a trick of the camera, but the LEDs certainly seem to put off a bluish glow that’s reminiscent of vacuum-fluorescent displays — it’s like a Nixie and a VFD all rolled up in one package.  The current case, which hides the clock circuitry on the lower part of the PCB, is just plastic, but this would look spiffy in a fine wooden case.

Could this be another Nixie tube killer that never was? Perhaps, but wherever it ends up, we like the look of it, and we’re glad it’s one of the early Hackaday Prize entries. Have you got something to enter in the greatest hardware competition on Earth? If not, get cracking!

Handy Continuity Tester Packs Multiple Modes Into A Tiny Package

From Leatherman multitools to oscilloscopes with built-in signal generators and protocol analyzers, there seems no end to tools with multiple personalities. Everybody loves multitaskers because they make it feel like you’re getting more bang for your buck, and in most cases that’s true. But a jack of all trades is seldom master of any, and there are times when even the humble multimeter isn’t the best tool for the job.

With that in mind, [sidsingh] has developed what we think is a very nice dedicated continuity tester. With a goal of using only parts on hand, he had to think small to fit everything into the case he had. So he started with a PIC10LF322 to support all the flavors of continuity testing he wanted to support. In addition to straight continuity, the tester can handle diode testing, detecting shorted or open diodes and even differentiating between regular and Schottky diodes. It also has an LED test mode and an interesting “discontinuity” testing mode — it only sounds its buzzer when continuity is broken. The video below shows that mode in action for finding intermittent cable faults, along with all the other modes.

For an ostensibly single-purpose tool, this tester still manages to pack a lot of tests into one very compact package. Simpler continuity testers are good, too — check out this cheap dollar store build, or this slightly more complicated unit based on an ATtiny85.

Continue reading “Handy Continuity Tester Packs Multiple Modes Into A Tiny Package”