Speakers used to be largish electromechanical affairs, with magnets, moving coils, and paper cones all working together to move air around in a pleasing way. They’ve gotten much smaller, of course, small enough to screw directly into your ears or live inside the slimmest of smartphones and still delivery reasonable sound quality. The basic mechanism hasn’t changed much, but that doesn’t mean there aren’t other ways to make transduce electrical signals into acoustic waves.
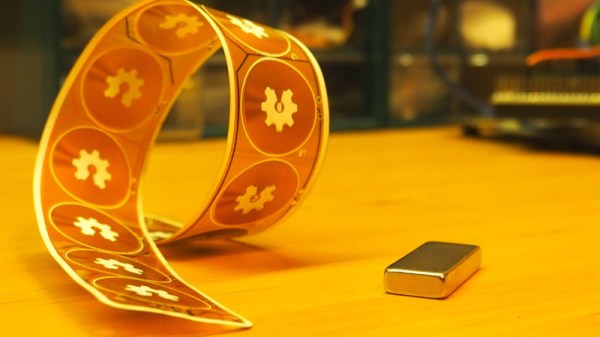
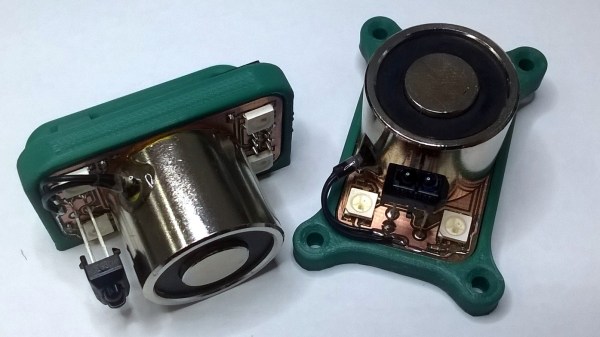
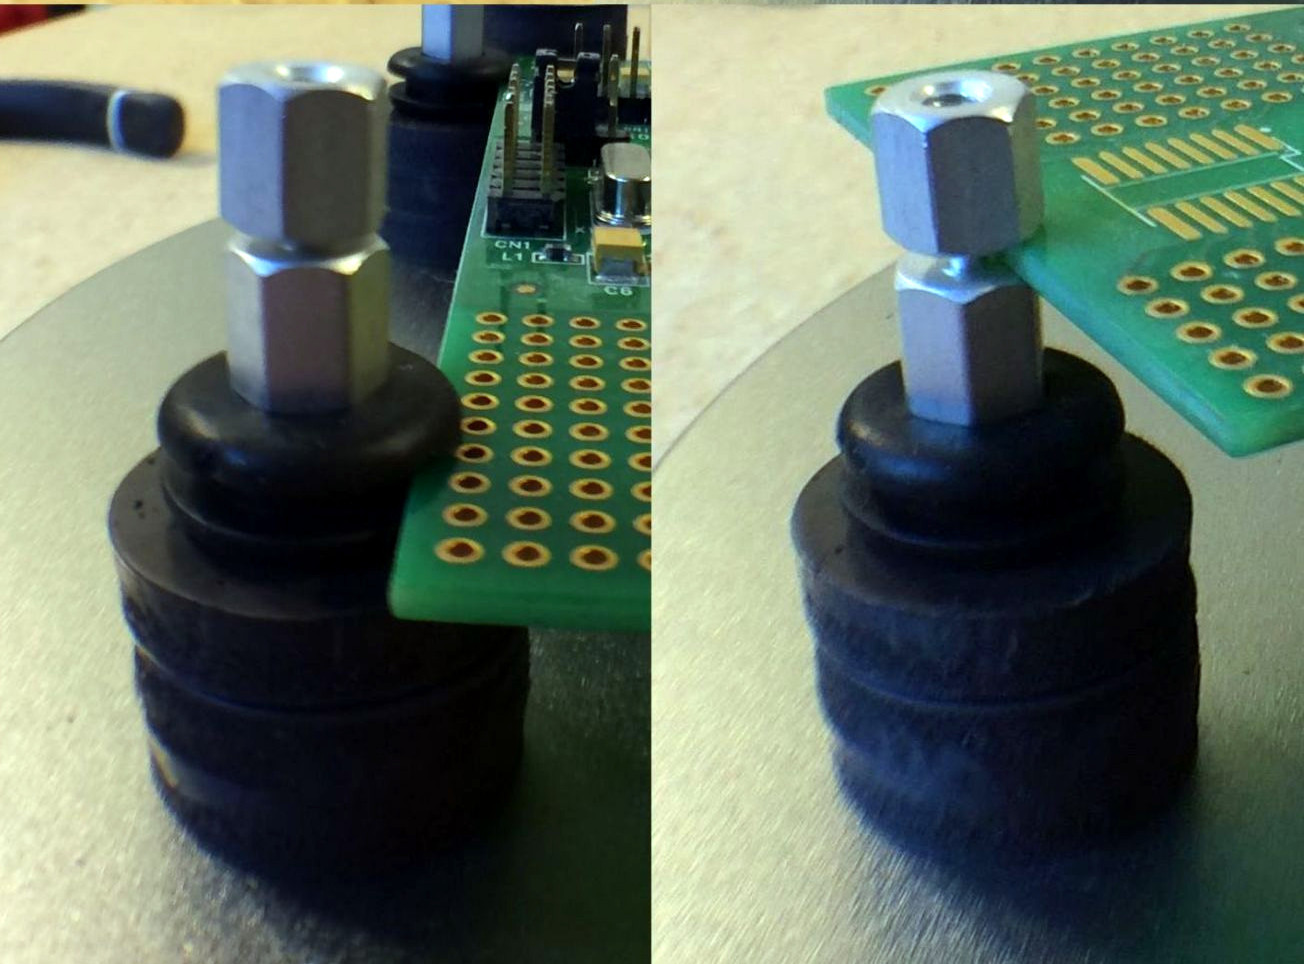
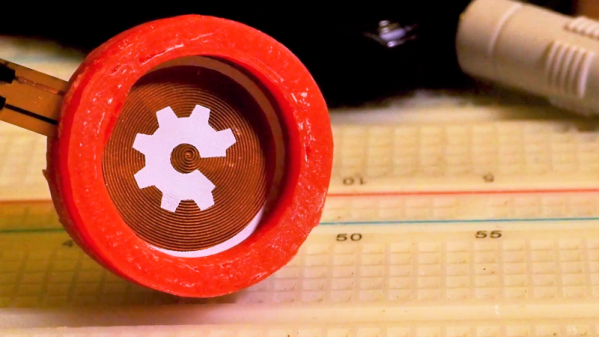
Take these speakers made from flexible printed circuit boards, for instance. While working on his flexible PCB soft actuators, [Carl Bugeja] noticed that the PWM signals coursing through the coils on the thin PCB material while they were positioned over a magnet made an audible beeping. He decided to capitalize on that and try to make a decent speaker from the PCBs. An early prototype hooked to a simple amplifier showed promise, so he 3D-printed a ring to support the PCB like a diaphragm over a small neodymium magnet. The sound quality was decent, but the volume was low, so [Carl] experimented with a paper cone attached to the PCB to crank it up a bit. That didn’t help much, but common objects acting as resonators seemed to work fairly well. Check out the results in the video below.
This is very much a work in progress, but given [Carl]’s record with PCB creations from robotic fish to stepper motors built right into the PCB, we’d say he’ll make substantial improvements. Follow his and others’ progress in the Musical Instruments Challenge part of the 2018 Hackaday Prize.
Continue reading “The Diaphragm Is The Coil In These Flexible PCB Speakers”