While modern game consoles are certainly excellent, there is still something magical about the consoles of yore. So why not bring the magical nostalgia of a GameCube controller to the Switch series of consoles?
This isn’t [Dorison Hugo’s] first attempt at building a Switch dock, but with seven years of development, there are a lot of updates in the project to unpack. One version allows the user to play on the Switch’s screen instead of on a docked display, and another comes with a mechanical lock to prevent the console from being stolen. But what really caught our eye is the modifications made to the OEM Switch docks.
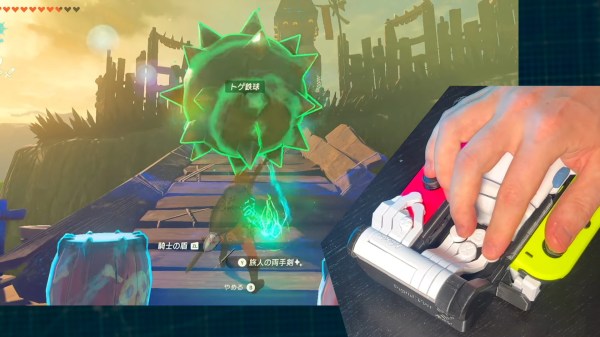
As it turns out, there is enough space inside a Switch dock to stuff in four GameCube ports. Short of spinning a custom board, the trick was picking the right commercial adapter to start with. The Wii U branded adapter [Dorison] was using wouldn’t fit. However, a rather small third-party adapter from Input Integrity got the job done. Space was still rather tight, and the ports needed to be removed from the board to fit. Some cables with simple connectors on the GameCube connector side make cable management a bit simpler later. Holes have to be very neatly cut into the front of the Switch dock to complete the look, with the mods held in with some superglue, epoxy, and hot glue.
Shortly after the completion of the dock, the Switch 2 was released, so naturally, that dock went through a similar process. While there is more internal space for cable management on this iteration of the console, there is too little space for the ports to fit without modification. Shaving off a few millimeters from the top of the ports allows them to fit inside the case, but makes cutting professional-looking holes in the front panel all the more challenging. Unfortunately, there is no good way to connect the adapter’s USB cable to the dock’s PCB, so an extra USB cable became necessary.
Regardless of any imperfections, both modified docks look excellent, with near-OEM quality!