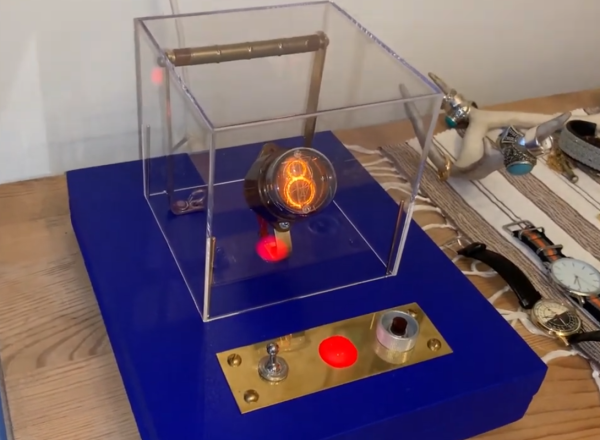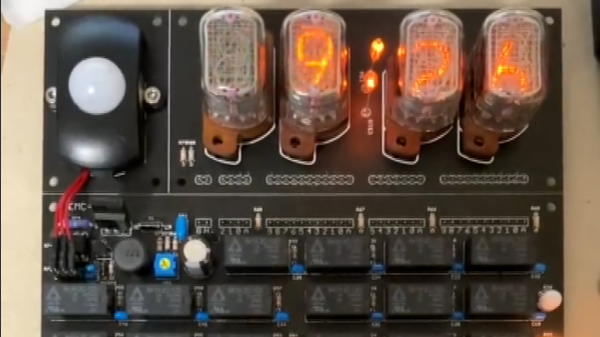
We don’t often get a Tips line submission where the “Subject” line auto-translates as “Yoshi Yoshi Yoshi”, linking to a short video by [Yasunari Industries] (embedded below). For many, it might be hard to tell what this is at a first glance – however, if the myriad of relays clacking won’t draw your attention, the four Nixie digits on the top definitely will! The gorgeous black PCB has two buttons on the bottom, incrementing hour and minute hours respectively, and observant readers will notice how the LEDs near the relays respond to binary-coded-decimal representation of the digits being shown. This appears to be a relay-based clock with Nixie tubes for digit outputs, and on a scale from “practical” to “eye candy”, it firmly points towards the latter!
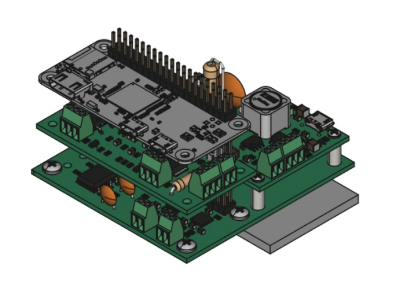
The project’s description is quite laconic, but it’s fun to try to figure out what is what based off the few pictures available. The top part with the Nixies and the PIR sensor (presumably for conserving the Nixie tube resources) is V-scored, and a small jumper PCB on the back connects the Nixie module to the relay board – likely, we might see these boards reassembled in a different form-factor, or perhaps find their way into [Yasunari Industries]’ different projects altogether! We can see a Digispark board in the bottom right corner, and wonder if, with addition of that, this board is able to function as a standalone clock — hopefully it does, because that’s one gorgeous addition. And, of course, it all couldn’t happen without help of a bunch of red wires on the back of the board – the author says that some segments were reversed, and the high-voltage PSU section of the board was mis-wired.
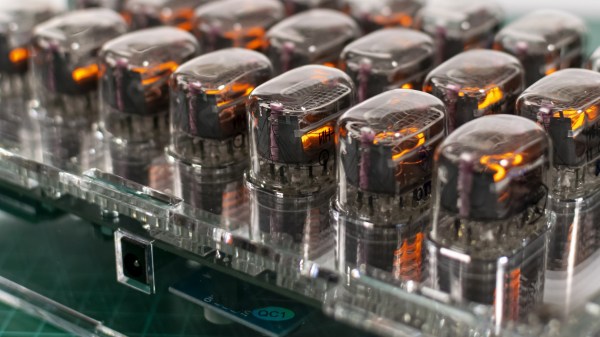
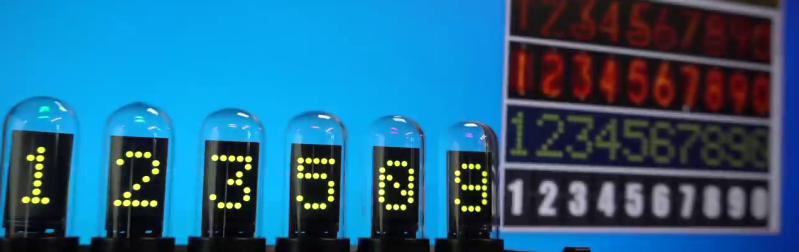
Nixie tubes have a dedicated fan base over here, and we keep covering projects that find yet unexplored ways to use Nixies, such as a circular FFT display, or a high-speed camera calibration fixture. Sometimes, Nixie tubes feel like this special sauce you can add to your creation, which explains their popularity in all kinds of barely even counting-adjacent projects, like this TODO indicator. And when we run out of Nixies, we find ways to imitate them – whether it’s with tiny IPS displays, or with layered laser-cut acrylic!
Continue reading “Relay-Driven Nixie Clock Gets You To Stop Scrolling”