Have you ever wanted to match paint to the color of a pillow, or make a website where the primary color matches your favorite shade of electrolytic capacitor? Then ColorReplica is the project for you.
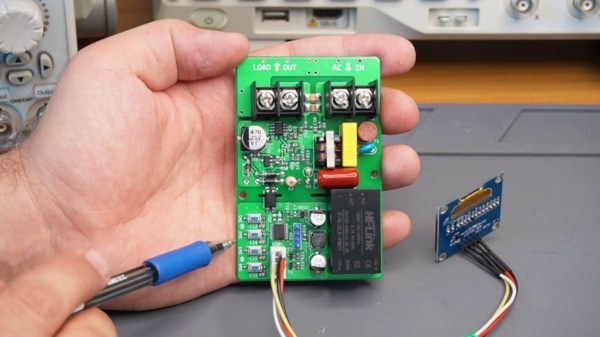
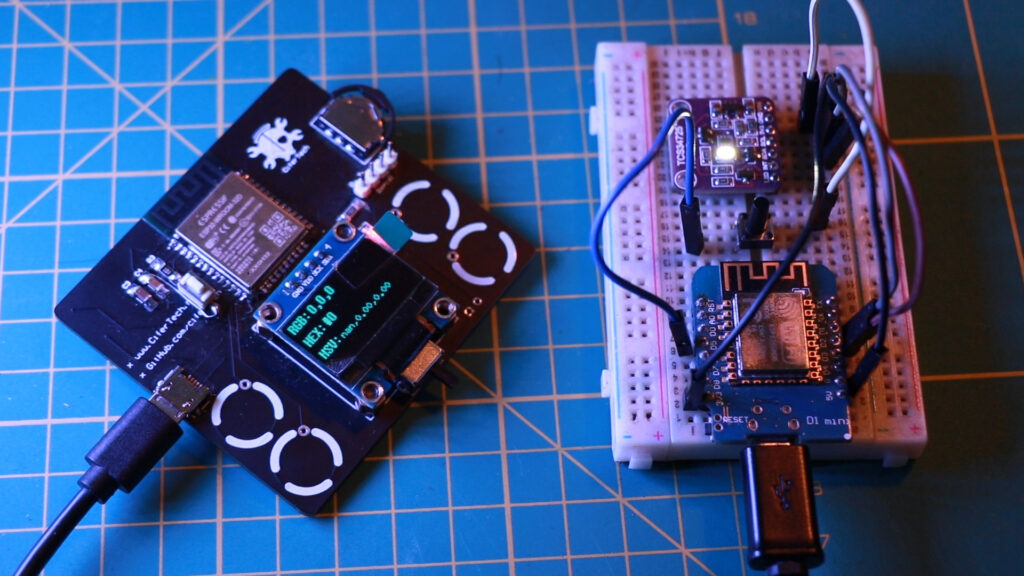 At the heart of this build are two ESP32s, one of which controls the color picker, and the other lights up the 18 WS2812 LEDs and displays information on the OLED screen.
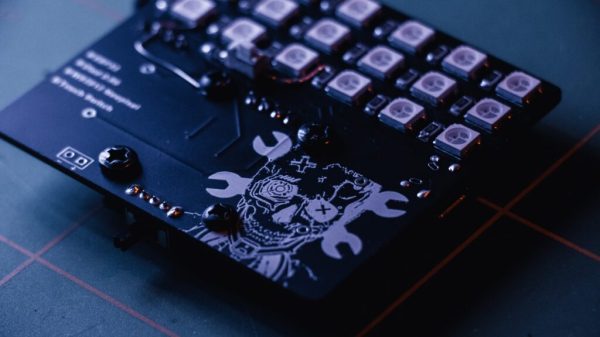
ColorReplica has two modes, ColorPicker and ColorCube. In ColorPicker mode, you just choose what color you want, adjust the brightness level, and choose between static and dynamic modes for the LEDs. [CiferTech] used the ESP32 touch pins extended to pads on the PCB to control different menu variables, which is a nice touch.
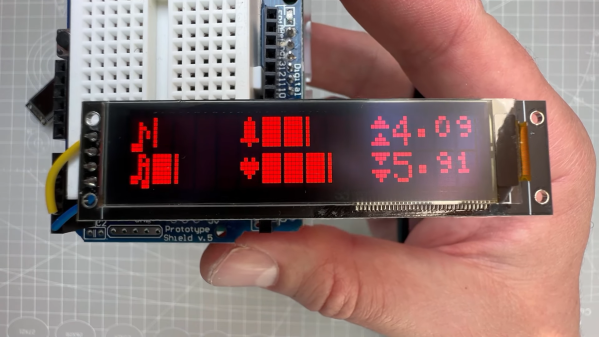
In ColorCube mode, there’s a secondary circuit with a color sensor an another ESP32. Once detected, it transmits the color data to the main device at the push of a button. The RGB LEDs turn that color, and shows the RGB, HEX, and HSV values on the OLED screen. If you’d like to make one of these yourself, everything is available on GitHub.
Want something a big more tangible? Check out this color picker that types HEX codes for you.
Continue reading “ColorReplica Is A Rainbow At Your Fingertips”