There was a time when the average person was worried about the government or big corporations listening in on their every word. It was a quaint era, full of whimsy and superstition. Today, a good deal of us are paying for the privilege to have constantly listening microphones in multiple rooms of our house, largely so we can avoid having to use our hands to turn the lights on and off. Amazing what a couple years and a strong advertising push can do.
![]() So if we’re going to be funneling everything we say to one or more of our corporate overlords anyway, why not make it fun? For example, check out this speech-to-image necklace developed by [Stephanie Nemeth]. As you speak, the necklace listens in and finds (usually) relevant images to display. Conceptually this could be used as an assistive communication technology, but we’re cool with it being a meme display device for now.
So if we’re going to be funneling everything we say to one or more of our corporate overlords anyway, why not make it fun? For example, check out this speech-to-image necklace developed by [Stephanie Nemeth]. As you speak, the necklace listens in and finds (usually) relevant images to display. Conceptually this could be used as an assistive communication technology, but we’re cool with it being a meme display device for now.
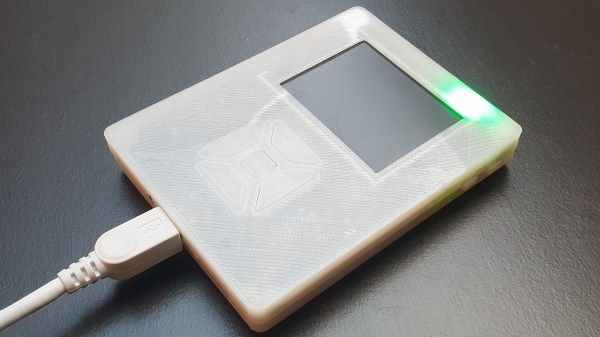
Hardware wise, the necklace is just a Raspberry Pi 3, a USB microphone, and a HyperPixel 4.0 touch screen. The Pi Zero would arguably be the better choice for hanging around your neck, but [Stephanie] notes that there’s some compatibility issues with Node.js on the Zero’s ARM6 processor. She details a workaround, but says there’s no guarantee it will work with her code.
The JavaScript software records audio from the microphone with SoX, and then runs that through the Google Cloud Speech-to-Text service to figure out what the wearer is saying. Finally it does a Google image search on the captured words using the custom search JSON API to find pictures to show on the display. There’s a user-supplied list of words to ignore so it doesn’t try looking up images for function words (such as “and” or “however”), though presumably it can also be used to blacklist certain imagery you might not want popping up on your chest in mixed company.
We’d be interested in seeing somebody implement this software on a Raspberry Pi powered digital frame to display artwork that changes based on what the people in the room are talking about. Like in Antitrust, but without Tim Robbins offing anyone.