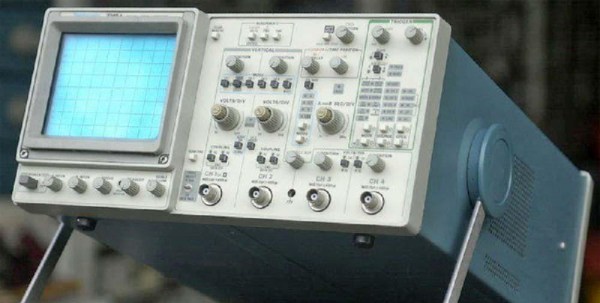
The Tektronix 2000 series of oscilloscopes are a mainstay for any electronics lab. They work, they’re relatively cheap, they’re good, and they’re available in just about any surplus electronics store. [Mr.RC-Cam] has been hoarding one of these for twenty years, and like any classic piece of equipment, it needs a little refurbishment every now and again. Now, it’s time. Here’s how you repair one of the best values in analog oscilloscopes.
This repair adventure began when the scope died. There were no lights, no screen trace, and a brief hiss sound when it was powered on. (Ten points if you can guess what that hiss sound was!) Armed with a schematic, [Mr.RC-Cam] dove in and pulled the power supply, being careful to discharge the CRT beforehand.
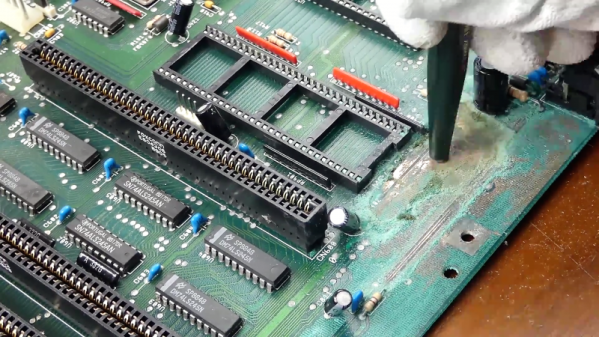
There were no bulging capacitors, no obviously overheated components, and just a little bit of dust. The only solution was to look at the parts with a meter one at a time. Removing the big caps provided access to a row of diodes, which revealed the culprit: a single shorted diode. This part was ordered, and a few other housekeeping tasks were taken care of. The lithium battery on the processor board responsible for storing the calibration constants was replaced, and the new, smaller, caps got lovely 3D printed mounting flange adapters. Now, this old ‘scope works, and we’ve got a lovely story to tell around the electronic campfire.