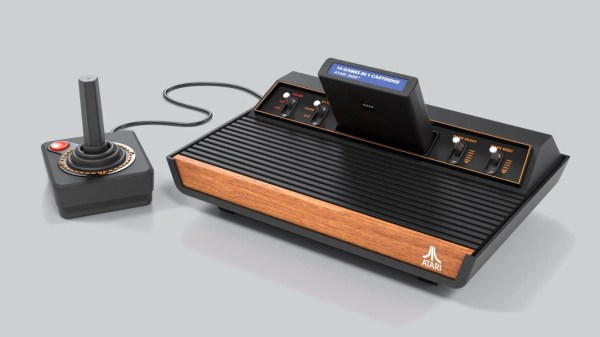
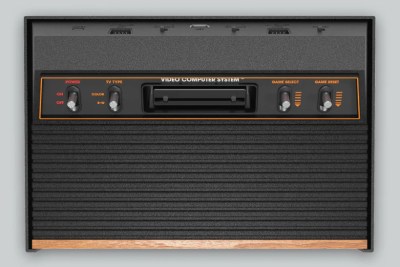
Readers of a certain age no doubt remember the Atari 2600 — released in 1977, the 8-bit system helped establish the ground rules for gaming consoles as we know them today, all while sporting a swanky faux wood front panel designed to make the system look at home in contemporary living rooms.
Now, nearly 50 years later, the Atari 2600 is back. The new system, imaginatively named the 2600+, looks exactly like the original system, albeit at around 80% scale. It will also work the same way, as the system will actually be able to play original Atari 2600 and 7800 cartridges. This is something of a surprise when compared to the previously released retro consoles from the likes of Sony and Nintendo, as they were all limited to whatever games the company decided to pack into them. Of course, this probably has something to do with the fact that Atari has been selling newly manufactured 2600 games for some time now.
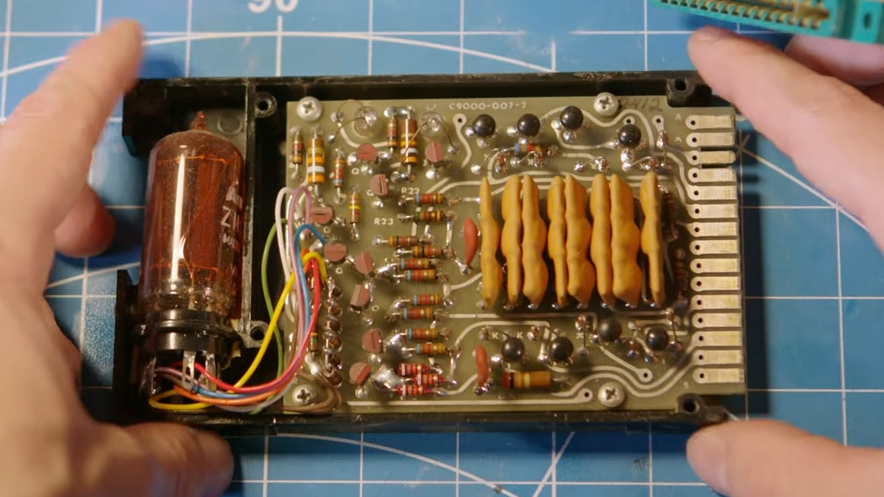
 Although it will play original cartridges, it’s still an emulated console at heart. There aren’t a lot of technical details on the product page, but it does say the 2600+ is powered by a Rockchip 3128 SoC with 256 MB of DDR3 RAM and 256 MB eMMC flash. Some quick searching shows this to be a pretty common board for set-top gadgets, and wildly overpowered considering the meager requirements for emulating a game console from 1977. We wouldn’t be surprised to find it’s running some kind of minimal Linux install and using one of the existing open source emulators.
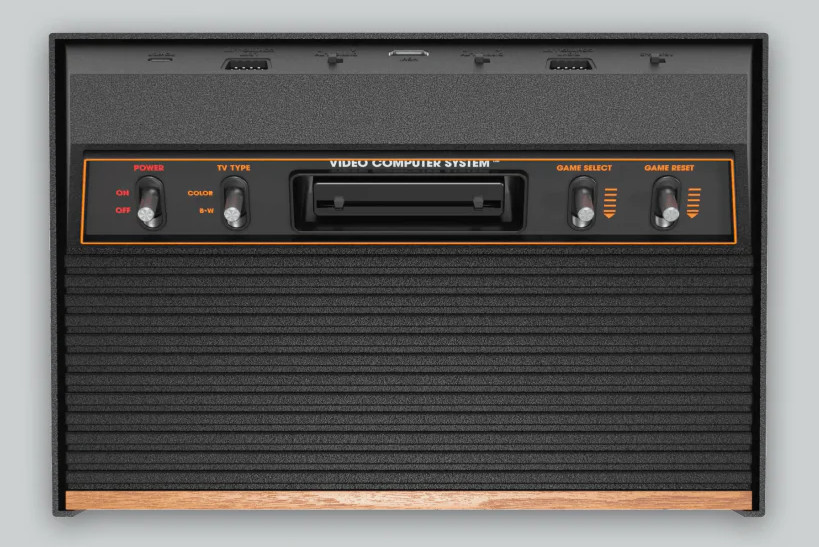
While the 2600+ sports the same 9-pin D-sub controller connectors as the original console, it thankfully embraces modern display technology and outputs over HDMI. Each console will come with a “10-in-1” cartridge that contains some of the console’s most popular titles, as well as a modernized version of the original single-button joystick. (Unlike the original, the 2600+ comes with only a single joystick — the other is sold separately.)
Atari won’t start shipping the 2600+ until this fall, but they’re currently taking preorders for the $130 system. We’re eager to see somebody pull it apart, as the earlier “mini” consoles ended up being ripe for hacking.
Continue reading “Atari Introduces A New Old Console” →