We’ve recently got a look at how [Ken Shirriff] used an industrial CT scanner as a reverse engineering tool. The results were spectacular, with pictures that clearly showed the internal arrangement of parts that haven’t seen the light of day since the module was potted back in the 60s. And now, [Ken]’s cohort [Curious Marc] has dropped a video with more detail on the wonderful machine, plus deep dives into more Apollo-era hardware
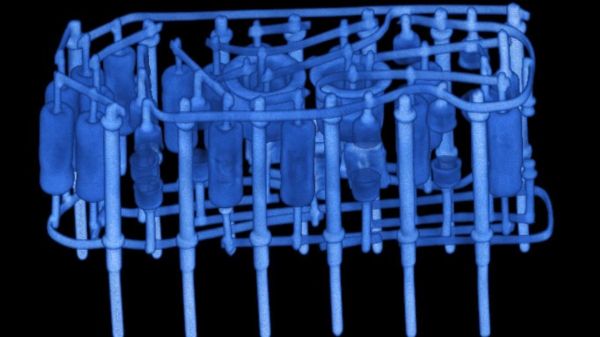
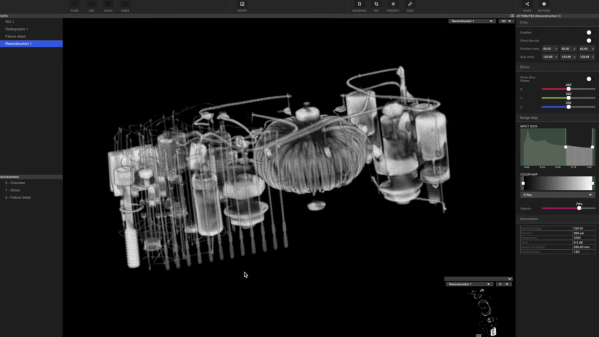
If you liked seeing the stills [Ken] used to reverse engineer the obscure flip-flop module, you’re going to love seeing [Marc] using the Lumafield scanner’s 3D software to non-destructively examine several Apollo artifacts. First to enter the sample chamber of the CT scanner was a sealed module called the Central Timing Equipment, which served as the master clock for the Apollo Command Module. The box’s magnesium case proved to be no barrier to the CT scanner’s beam, and the 3D model that was built up from a series of 2D images was astonishingly detailed. The best part about the virtual models is the ability to slice through them in any plane — [Marc] used this feature to hunt down the clock’s quartz crystal. Continue reading “A Deeper Dive Into Reverse Engineering With A CT Scanner”