I did something silly. I bought a lot of ten “broken” cheesy indoor quadcopters on eBay — to hopefully cobble one working one together and to amuse my son. At this point, I’ve got eight working. The bad news is that they all come with dirt-cheap transmitters that aren’t really conducive to flying at all. They’d be a lot more fun if they could be controlled with a real remote. Enter the hackers.
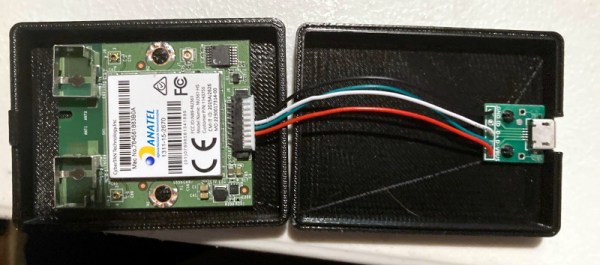
Most all of the cheap quads are based on one of a handful of radio chipsets, although they use different protocols. An enterprising hacker could conceivably just bundle together this handful of radio modules, and the rest would be a simple matter of software. That’s exactly what Pascal Langer’s DIY Multiprotocol TX and supporting firmware does. This hobby project was so successful that compatible hardware is manufactured by more than a few Chinese companies, and non-geeks have them installed in their radios. The module lets you control virtually anything that uses 2.4 GHz. Of course, I’ve got one of them.
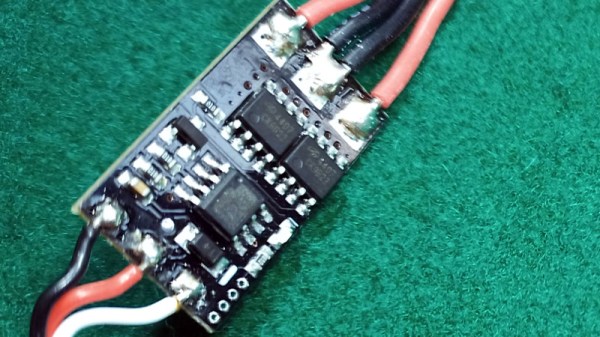
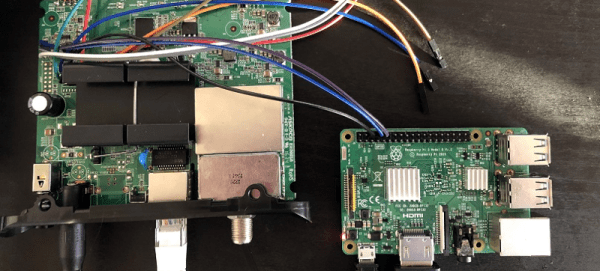
 I opened up the cheesy drone’s transmitter, found that it used a popular chipset, and worked through all the different supported protocols that used it. No dice. But the radio module did have nicely labeled SPI lines, so I reached out to Pascal. A couple of Sigrok sessions later, he’d figured out that it was trying to bind on a different channel, I’d recompiled the firmware, and was playing with the drone’s other functions.
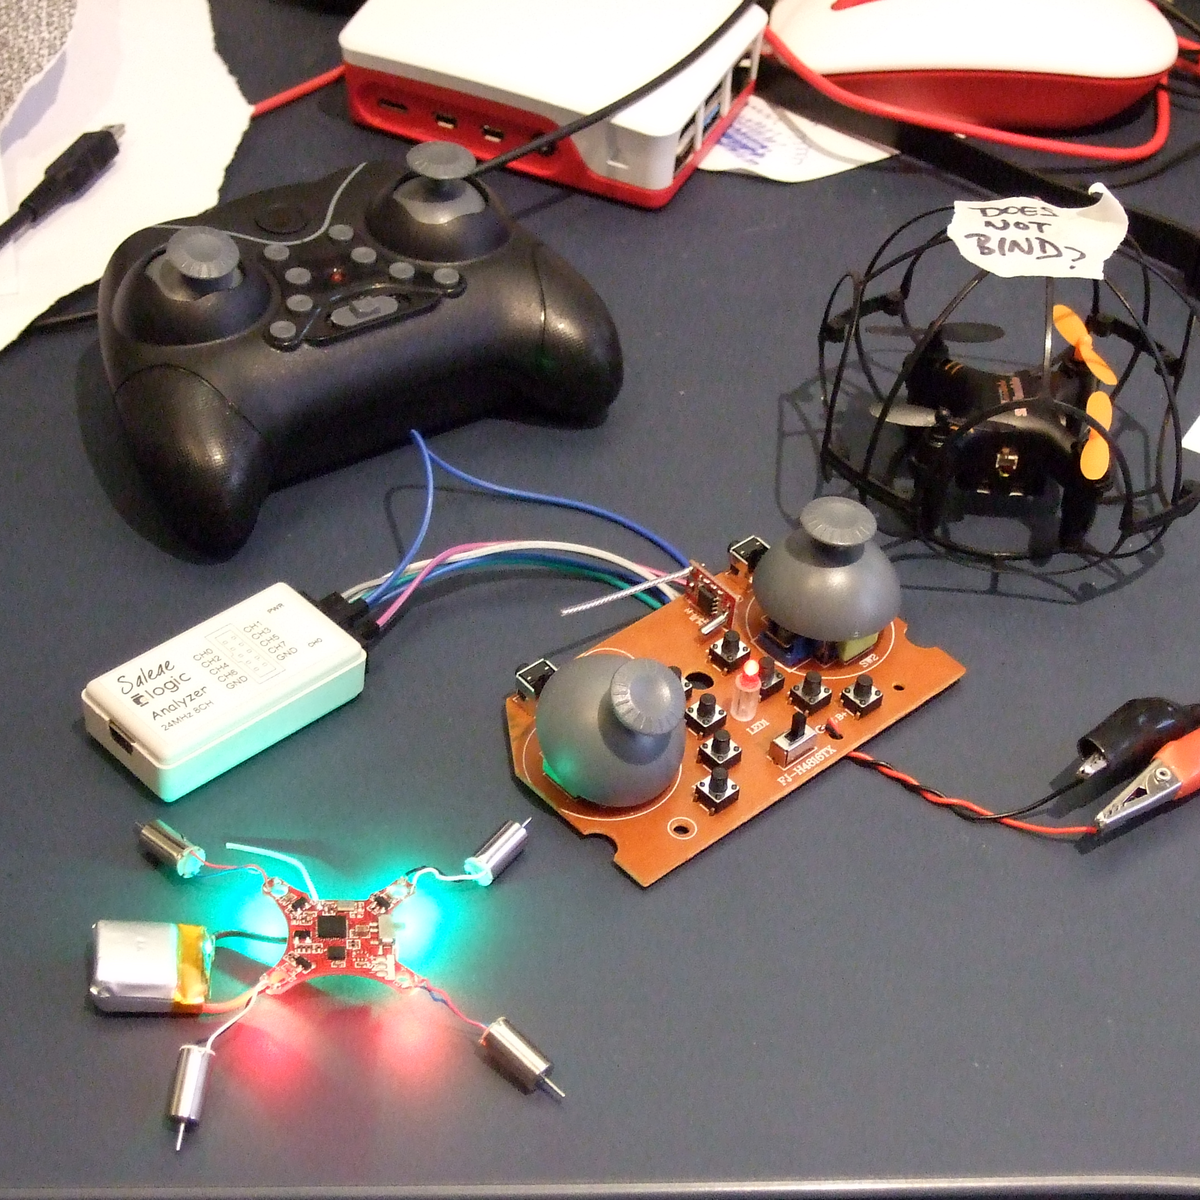
I just love a good SPI-sniffing session. sigrok-cli -d fx2lafw -c samplerate=4000000 -P spi:clk=D0:mosi=D1:cs=D2 -A spi="mosi transfer" --continuous | grep A0 | uniq reads the SPI lines, decodes the packets, filters out the commands, and removes duplicates, in real-time. All that’s left to do is wiggle the sticks, mash buttons, and take good notes.
None of this was hard, and certainly none of it was expensive. I got my drones under the control of my fancy-schmancy remote, and have a good foothold into controlling them algorithmically later on thanks to everyone’s previous work on reverse engineering these protocols. Support for DF Drone’s SkyTumbler will be included in the next DIY Multiprotocol TX release, and I spent about four or five pleasant hours on this project. Maybe only a handful of people will stumble on this particular protocol — or maybe it will just be me. I did it mostly just to scratch my own particular itch.
But that’s one way open source works, thrives, and grows. Here’s to you all out there, from the Deviation team, who did a lot of the early drone protocol reverse engineering, to Pascal for the DIY Module, to the Sigrok folks who made the tools accessible for me to piggyback on everyone’s previous work. Keep on hacking!