Near-field Communication (NFC) has been around a while and is used for example in access control, small data exchange, and of course in mobile payment systems. With such sensitive application areas, security is naturally a crucial element of the protocol, and therefore any lower-level access is usually heavily restricted and guarded.
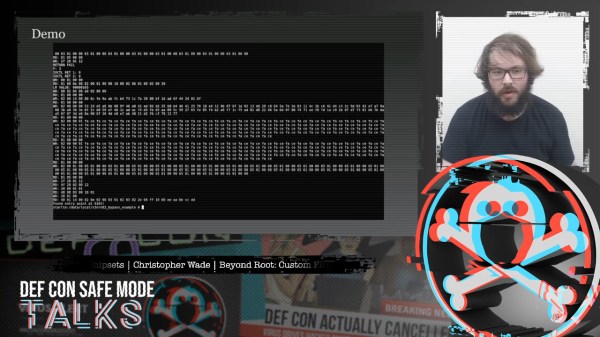
This hardware is especially well-guarded in phones, and rooting your Android device won’t be of much help here. Well, that was of course only until [Christopher Wade] took a deep look into that subject, which he presented in his NFC firmware hacking talk at for this year’s DEF CON.
But before you cry out “duplicate!” in the comments now, [Jonathan Bennett] has indeed mentioned the talk in a recent This Week In Security article, but [Christopher] has since written up the content of his talk in a blog post that we thought deserves some additional attention.
To recap: [Christopher] took a rooted Samsung S6 and searched for vulnerabilities in the NFC chip’s safe firmware update process, in hopes to run a custom firmware image on it. Obviously, this wouldn’t be worth mentioning twice if he hadn’t succeeded, and he goes at serious length into describing how he got there. Picking a brain like his by reading up on the process he went through — from reverse engineering the firmware to actually exploiting a weakness that let him run his own code — is always fascinating and downright fun. And if you’re someone who prefers the code to do the talking, the exploits are on GitHub.
Naturally, [Christopher] disclosed his findings to Samsung, but the exploited vulnerability — and therefore the ability to reproduce this — has of course been out there for a long time already. Sure, you can use a Proxmark device to attack NFC, or the hardware we saw a few DEF CONs back, but a regular-looking phone will certainly raise a lot less suspicion at the checkout counter, and might open whole new possibilities for penetration testers. But then again, sometimes a regular app will be enough, as we’ve seen in this NFC vending machine hack.
Continue reading “Breaking Smartphone NFC Firmware: The Gory Details” →