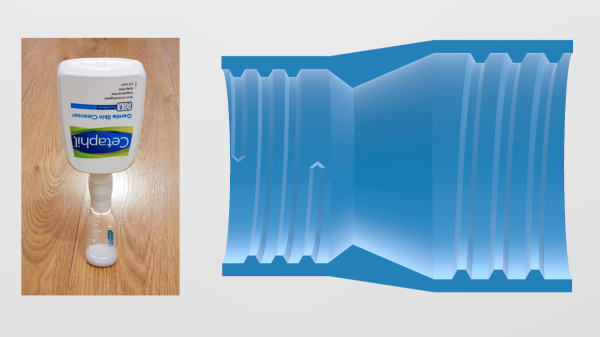
Do you want to design something to match existing threads on a bottle, or a cap? It turns out there’s an easier way than reaching tiredly for the calipers and channeling one’s inner reverse-engineer. Bottle cap threads — whose industry term is the neck finish — aren’t arbitrary things; they are highly standardized, and [Noupoi] researched it all so that you don’t have to! The Bottle Cap Thread Calculator takes a few key measurements and spits out everything needed to model exact matches. Need some guidance on how exactly to use the information the calculator spits out? There is a handy link to a Fusion360 tutorial on creating bottle threads (YouTube video) to demonstrate.
This all came from [Noupoi] wanting to model an adapter to transfer the contents of one bottle to another, smaller bottle. By identifying which thread was used on each bottle, the job of modeling a matching adapter was much easier. It turns out that the bottle necks were an SP 28-415 (larger) and a 24-415 (smaller), and with that information the adapter was far simpler to design. If you want to check the adapter out, it’s available on Thingiverse.
If truly reverse-engineering bottle threads is needed, here’s a method we covered that involves making a simple cast and working from that.
[via Reddit]


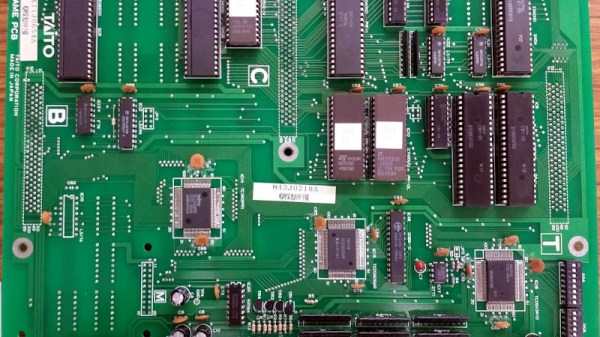
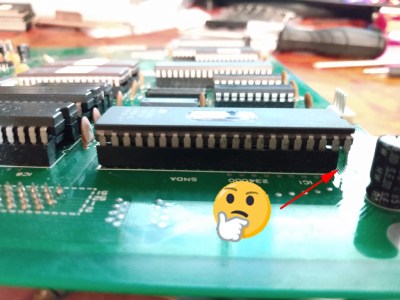 We might expect that the tool of choice would be a logic analyser or similar, but unexpectedly the solution to this hack was found in MAME. The arcade emulator conceals a wealth of information about these boards, from which you can discover their differences and try out possible solutions. The hardware hacks are surprisingly straightforward, a few bodge wires and an extra address line for a larger ROM. A programmable logic array required dumping and rewriting to fix a graphics corruption issue and a little bit of ROM tweaking after emulating a controller problem in MAME was required, but it seems that yes, one game can run on another. Certainly less painful than