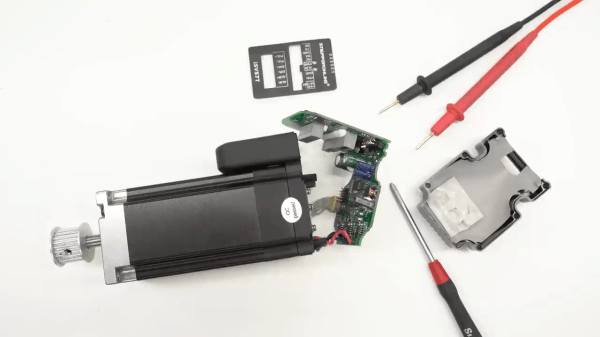
As difficult as it is for a human to learn ambidexterity, it’s quite easy to program into a humanoid robot. After all, a robot doesn’t need to overcome years of muscle memory. Giving a one-handed robot ambidexterity, however, takes some more creativity. [Kelvin Gonzales Amador] managed to do this with his ambidextrous robot hand, capable of signing in either left- or right-handed American Sign Language (ASL).
The essential ingredient is a separate servo motor for each joint in the hand, which allows each joint to bend equally well backward and forward. Nothing physically marks one side as the palm or the back of the hand. To change between left and right-handedness, a servo in the wrist simply turns the hand 180 degrees, the fingers flex in the other direction, and the transformation is complete. [Kelvin] demonstrates this in the video below by having the hand sign out the full ASL alphabet in both the right and left-handed configurations.
The tradeoff of a fully direct drive is that this takes 23 servo motors in the hand itself, plus a much larger servo for the wrist joint. Twenty small servo motors articulate the fingers, and three larger servos control joints within the hand. An Arduino Mega controls the hand with the aid of two PCA9685 PWM drivers. The physical hand itself is made out of 3D-printed PLA and nylon, painted gold for a more striking appearance.
This isn’t the first language-signing robot hand we’ve seen, though it does forgo the second hand. To make this perhaps one of the least efficient machine-to-machine communication protocols, you could also equip it with a sign language translation glove.
servo motor27 Articles
Roll Your Own Servo
Usually, when you want a servo motor, you simply buy one already made. But if you need something unusual, you can turn any DC motor into a custom servo you can control just like [Dejan] did. You can watch a video of the process below.
The custom servo can tune the endpoints, the center point, and the sensitivity. It also can be set to handle continuous rotation. A 12-bit encoder tells the microcontroller where the motor is and the output drivers can handle over 3 A of motor current. The microprocessor is a tried-and-true ATmega328. [Dejan] wanted to make the board as small as possible, and we think 40 mm square isn’t bad at all. There is also a 3D printed gearbox and housing. Overall, a very well-done project.
The motor control uses a PID algorithm. Potentiometers set the end range and sensitivity. A push button allows resetting the center position. DIP switches control the mode. The video shows a computer and an RC controller setting the position of the motors.
We have, of course, seen many variations on this idea. We’ve also seen servos rebuilt for better performance.
Active Racing Simulator Pedal
Racing virtual cars from behind a PC monitor might be cheaper than doing it in the real world, but high-end sim racing peripherals still come with high-end prices. With the increasing popularity of force-feedback pedals [Tristan Fenwick] built built an active pedal that can provide significant resistance.
[Tristan] integrated a load cell into the 3D printed pedal linkage, which is connected to a 130 W NEMA23 servo motor via a 8 mm lead screw. With constant feedback from the load cell, a simple PID controller running on an Arduino to actively adjust the pedal’s position and the amount of resistance it provides.
At ~$250 in parts, it’s a significantly more affordable than the $2300 price tag on a single Simucube pedal, which served as inspiration for this project. There are still some issues to address, such as shaky ADC readings and a lack of computing power on the Arduino, the demo video after the break looks incredibly promising. [Tristan] also notes that 300 kg is overkill and a slightly smaller servo motor would probably also work.
For more incredible simulator inspiration, check out the A-10 Warthog cockpit, a 3D printed flight sim yoke and pedals, and a tank driving simulator from before the age of computer graphics.
Hackaday Prize 2023: Bolt Bot Micro Servo Droids
This Hackaday prize entry from [saul] is the beginning of a reconfigurable kit of 3D printed parts and servo motors for robotics learning. With just access to a printer, a few cheap-as-chips servo motors, an Arduino, and some nuts and bolts, you could be hacking together robot walkers within a few hours of starting!
Bolt Bots is very simple to understand, with all the mechanics and wiring out there in the breeze, but strictly for indoor use we reckon. If you want to add remote control to your application, then drop in one of the ubiquitous 
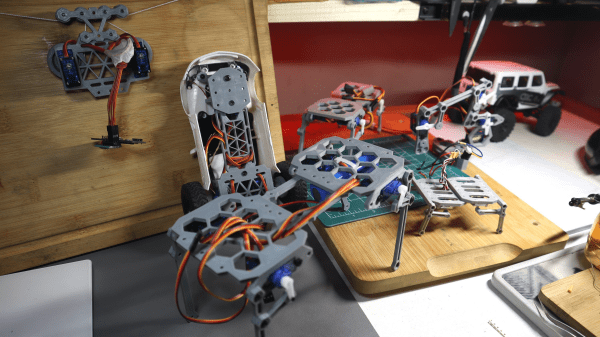
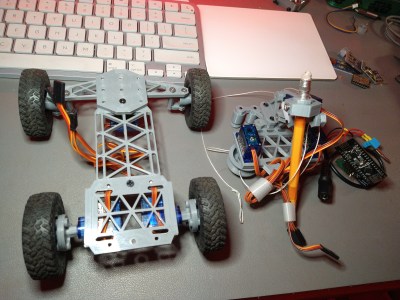
nRF24L01 boards and build yourself a copy of the remote control [saul] handily provides in this other project.
There really isn’t a great deal we can say about this, as it’s essentially a build kit with quite a few configuration options, and you just have to build with it and see what’s possible. We expect the number of parts to proliferate over time giving even more options. So far [saul] demonstrates a few flavors of ‘walkers’, a rudimentary ‘robot arm’, and even a hanging drawbot.
The bolt hardware can be found in this GitHub repo, and the remote control code in this second one.
Servo-based designs are sometimes sneered at due to their dubious accuracy and repeatability, but with a little of effort, this can be vastly improved upon. Also, multi-legged walkers need multiple servos and controllers to drive ’em. Or do they?
Continue reading “Hackaday Prize 2023: Bolt Bot Micro Servo Droids”
Stepper Killer Killer Killed, Repair Attempted
The low-cost servo motor in [Clough42]’s lathe’s electronic leadscrew bit the dust recently, and he did a great job documenting his repair attempts ( see video below the break ). When starting the project a few years ago, he studied a variety of candidate motors, including a ClearPath servo motor from Teknic’s “Stepper Killer” family. While that motor was well suited, [Clough42] picked a significantly lower-cost servo motor from China which he dubbed the “Stepper Killer Killer”.
He does a very thorough post-mortem of the motor’s integrated servo controller, checking the circuits and connections on the interface PCB first. Not finding any obvious problem, he proceeds to the main PCB which contains the microcontroller, motor driver transistors, and power supplies. There is no visible damage, but a check of the logic power supply shows 1.65V where 3.3V is expected. Looking at the board with a smart-phone mounted IR camera, he quickly finds the bad news — the microcontroller has shorted out.
Continue reading “Stepper Killer Killer Killed, Repair Attempted”
Servo Surgery Teaches Us DIY Encoder Implants
Today, we shall talk about how [Adam Bäckström] took a DS3225 servo and rebuilt it to improve its accuracy, then built a high-precision robot arm with those modified servos to show just how much of an improvement he’s got – up to 36 times better positional accuracy. If this brings a déjà vu feeling, that’s because we’ve covered his servo modifications before, but now, there’s more. In a year’s time since the last video came out, [Adam] has taken it to the next level, showing us how the modification is made, and how we ourselves can do it, in a newly released video embedded below.
After ordering replacement controller PCBs designed by [Adam] (assembled by your PCBA service of choice), you disassemble the servo, carefully setting the gearbox aside for now. Gutting the stock control board is the obvious next step, but from there, you don’t just drop the new PCB in – there’s more to getting a perfect servo than this, you have to add extra sensing, too. First, you have to print a spacer and a cover for the control board, as well as a new base for the motor. You also have to print (or perhaps, laser-cut) two flat encoder disks, one black and one white, the white one being eccentric. It only escalates from here!
Continue reading “Servo Surgery Teaches Us DIY Encoder Implants”
Industrial Sewing Machine: Acquired
Well, it’s done. After weeks of trawling Craigslist, an hour-long phone call with an intelligent stranger about a different machine that wasn’t going suit my needs, and a two-week delay while the seller and I waited out their unintentional COVID exposure, I am the proud new owner of a vintage Consew 206RB-3 industrial sewing machine.
So far, it is exactly what I wanted — at least a few decades old, in decent shape, built by a reputable maker, and it has a clutch motor that I can upgrade to a servo motor if I wish. I even like the color of the head, the table, and the little drawer hiding on the left side. Connie Consew is perfect!
Decidedly Not Portable
The internet was right — these things are heavy. According to the manual, the machine head alone weighs 25.5 kg (56 lbs). The motor probably weighs another 50-60 lbs. There’s a small wooden peg sticking up from the table that has the job of holding the head whenever it is tilted back for maintenance or bobbin changes. I’ll admit I didn’t trust the little peg at first, but it does a fine job of supporting all that weight on a single point of contact about an inch in diameter.