Building A 3D Printed Scanning Tunneling Microscope

YouTuber [MechnicalRedPanda] has recreated a DIY STM hack we covered about ten years ago, updating it to be primarily 3D-printed, using modern electronics, making it much more accessible to many folks. This simple STM setup utilises a piezoelectric actuator constructed by deliberately cutting a piezo speaker into four quadrants. With individual drive wires attached to the four quadrants. [MechPanda] (re)discovered that piezoelectric ceramic materials are not big fans of soldering heat. Still, in the absence of ultrasonic welding equipment, he did manage to get some wires to take to the surface using low-temperature solder paste.

As you can tell, you can only image conductive samples

A makeshift probe holder was glued on the rear side of the speaker actuator, which was intended to take a super sharp needle-like piece of tungsten wire. Putting the wire in tension and cutting at a sharp angle makes it possible with many attempts to get some usable points. Usable, in this instance, means sharp down the atomic level. The sample platform, actuator mount and all the connecting parts are 3D-printed with PA-CF. This is necessary to achieve enough mechanical stability with normal room temperature fluctuations. Three precision screws are used to level the two platforms in a typical kinematic mount structure, which looks like the only hard-to-source component. A geared stepper motor attached to the probe platform is set up to allow the probe to be carefully advanced towards the sample surface. Continue reading “Building A 3D Printed Scanning Tunneling Microscope”

Breaking Into A Secure Facility: STM32 Flash

In a perfect world, everything would be open source. Our current world, on the other hand, has a lot of malicious actors and people willing to exploit trade secrets if given the opportunity, so chip manufacturers take a lot of measures to protect their customers’ products’ firmware. These methods aren’t perfect, though, as [zapb] shows while taking a deeper look into an STM microcontroller.

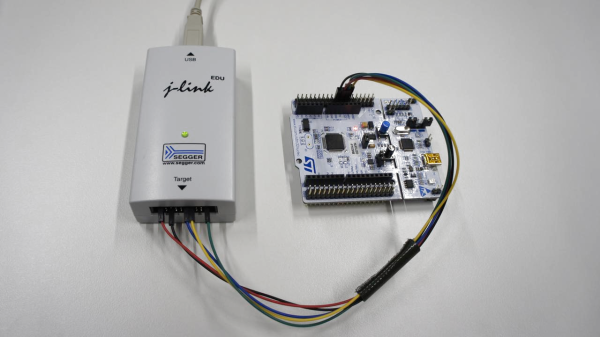
The STM32F0 and F1 chips rely on various methods of protecting their firmware. The F0 has its debug interface permanently switched off, but the F1 still allows users access to this interface. It uses flash memory read-out protection instead, which has its own set of vulnerabilities. By generating exceptions and exploiting the intended functions of the chip during those exceptions, memory values can be read out of the processor despite the memory read-out protection.

This is a very detailed breakdown of this specific attack on theses controllers, but it isn’t “perfect”. It requires physical access to the debug interface, plus [zapb] was only able to extract about 94% of the internal memory. That being said, while it would be in STM’s best interests to fix the issue, it’s not the worst attack we’ve ever seen on a piece of hardware.

Spectrum Chiptunes On An STM

Some of us here at Hackaday are suckers for a bit of chiptune music as the backdrop for many excellent times. The authentic way to create chiptunes is of course the original hardware, but in 2019 it’s far more common to do so with an emulator on a modern computer. That computer doesn’t have to sport a high-end processor and desktop operating system though, as [Deater] shows us with his ZX spectrum chiptune player on an STM32L46G Discovery board.

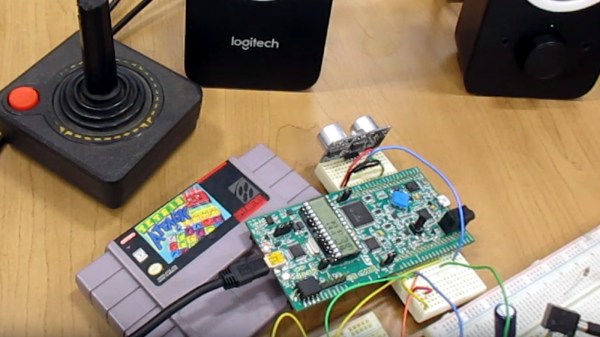
The impetus for the project came he tells us while teaching students to code simple sine wave music players, having code already in the bag for emulating the classic AY-3-8910 sound chip on the Raspberry Pi and the Apple II he decided to port that to the STM32L476 dev board. An earlier version used the internal DAC, but this was refined to send I2S data to an external DAC. The code can be had from GitHub (confusingly buried among code for an LED driver), and we’ve attached a video below of it playing some chiptune goodness.

Of course, Sinclair chiptunes don’t grab all the limelight. There have been plenty of Nintendo and Sega players too. You might also recognize [Deater] from his non-chiptune work, porting Portal to the Apple ][.

Continue reading “Spectrum Chiptunes On An STM”

Live Hacking And A MIDI Keytar

We can’t think of where you’d buy a new, cheap, MIDI keytar that’s just a keyboard and a handle with some pitch and mod wheels or ribbon controllers. This is a format that died in the 90s or thereabouts. Yes, the Rock Band controller exists, but my point stands. In fact, the closest you can get to a cheap, simple MIDI keytar is the Alesis Vortex Wireless 2 Keytar, but the buttons on the handle don’t make any sense. [marcan] of Wii and Kinect hacking fame took note. (YouTube, embedded below.)

Reverse engineering is a research project, and all research projects begin with looking at the docs. When it comes to consumer electronics, the best resource is the documents a company is required to submit to the FCC (shout out to FCC.io), which gave [marcan] the user manual, and photos of the guts of the keytar. The ‘system update download’ files are living on the Alesis servers, and that’s really all you need to reverse engineer a keytar.

The first step is extracting the actual device firmware from whatever software package appears on the desktop when you download the software update. This is a simple job for 7zip, and after looking at a binary dump of the firmware, [marcan] discovered this was for an STM chip. With the datasheet of the chip, [marcan] got the entry point for the firmware, some values, and the real hardware hacking began. All of this was done with IDA.

This is a five-hour hacking session of cross-referencing the MIDI spec and a microcontroller built thirty years after this spec was developed. It’s an amazing bit of work just to find the bit of code than handled the buttons on the keytar grip, and it gets even better when the patched firmware is uploaded. If you want to ‘learn hacking’, as so many submitters on our tip line want to do, this is what you need to watch. Thanks [hmn] for the tip.

Continue reading “Live Hacking And A MIDI Keytar”

Text Projector With — You Know — Lasers

We missed [iliasam’s] laser text projector when it first appeared, perhaps because the original article was in Russian. However, he recently reposted in English and it really caught our eye. You can see a short video of it in operation, below.

The projector uses raster scanning where the beam goes over each spot in a grid pattern. The design uses one laser from a cheap laser pointer and a salvaged mirror module from an old laser printer. The laser pointer diode turned out to be a bit weak, so a DVD laser was eventually put into service. A DVD motor also provides the vertical scan which is just a slight wobble of a mirror. A Blue Pill CPU provides all the smarts. You can find the code on GitHub.

Continue reading “Text Projector With — You Know — Lasers”

Do Other Things Besides Output Video

Small microcontrollers and tiny systems-on-chips are getting more and more popular these days as the price comes down and the ease of programming goes up. A Raspberry Pi is relatively inexpensive and can do pretty much everything you need, but not every chip out there can do something most of us take for granted like output video. For a lot of platforms, it’s next to impossible to do while saving any processor or memory for other tasks besides the video output itself.

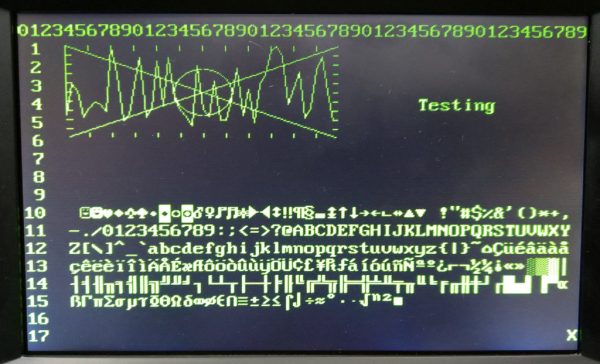
[Dave] aka [Mubes] has been working on the Blue Pill platform which is a STM32F103C8 board. While they don’t natively output video, it’s a feature that provides a handy tool to have for debugging in order to see what’s going on in your code. However, if the video code takes up all of the processor power and memory there’s not much point. [Dave]’s video output program, on the other hand, takes up only 1200 bytes of RAM and 24% of the processor for a 50×18 text display over VGA, leaving a lot of room left for whatever else you need the tiny board to do.

Video output on a device this small and lightweight is an impressive feat, especially while saving room for other tasks. This brings it firmly out of the realm of novelty and into the space of useful tools to keep around. If you want to try the same thing on an ATtiny, though, you might have to come up with some more impressive tricks.

Continue reading “Do Other Things Besides Output Video”

Analog Clock Goes Digital, Or Vice Versa

Designing a good clock takes a lot of considerations. It’s not just hands, faces, and numbers anymore; there are also word clocks, electronic clocks, marble clocks, or water clocks, and just about anything else imaginable can be used to tell time. Of course, electronic clocks are great for their versatility, and this one shows off an analog-looking clock that is (of course) digital, leveraging all of the perks of analog with all of the upsides of digital electronics.

One of the key design considerations that [Sasa] had while building this piece was that it needed to be silent. LEDs certainly fit that description, so the decision was made to go with an WS2812b ring. It runs using a STM ST32F103 Nucleo board (and a cheaper version of it in later versions of this clock) which shows a red LED for the current hour, yellow LEDs for the traditional analog clock divisions, a green LED for the current minute, and glows the rest of the LEDs up to the current minute with a rainbow pattern.

This is a really clean, simple build with good design at its core, and would be easy to replicate if you’re looking for an eye-catching clock to build. As a bonus, all of the schematics and code are available on the project site, so everything you need is there. If you’re looking for more inspiration, there are some clocks that are even more unique, like this marble clock that is a work of art — but is anything but silent.