It’s difficult to convey in an era when a UNIX-like operating system sits in your pocket, how there was once a time when the mere word was enough to convey an aura of immense computing power. If you ran UNIX, your computer probably filled a room, and you used it for Serious Stuff rather than just checking your Twitter feed. UNIX machines may still perform high-end tasks, but Moore’s Law has in the intervening years delivered upon its promise, and your phone with its UNIX-like OS is far more powerful than that room-sized minicomputer of the 1970s. A single chip for a few cents can do that job, which begs the question: just how little do we need to run UNIX today? It’s something [Joerg Wolfram] could advise you upon, because he’s got a functional UNIX running on a microcontroller.
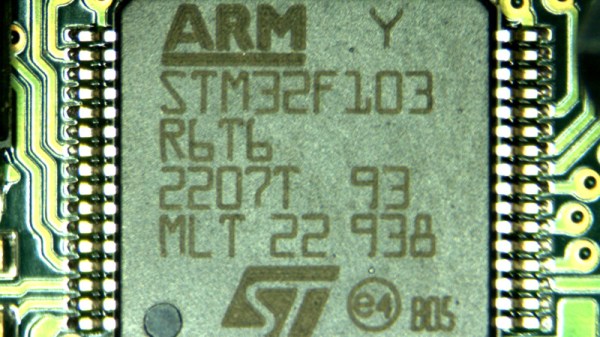
Of course, the UNIX in question is not exactly the same as the one you’d find on a supercomputer, either in the 1970s or now. Mini UNIX is a minimalist version of the operating system developed by [Heinz Lycklama] at Bell Labs four decades ago. It gives you a complete UNIX V6 system for the DEC PDP-11, but which needs only 56K of RAM, and no MMU. Emulating a PDP-11 on an STM32 microcontroller allows it to run happily, and while it’s not the most minimalist of microcontrollers it’s still a pretty cheap part upon which to run UNIX.
It’s doubtful whether a 1970s version of an operating system on a commodity microcontroller will take the world by storm, but that’s hardly the point of such a neat hack. It’s certainly not the first time we’ve seen similar work, though this PIC32 offering has a little more in the way of resources to offer.
Header image: Golonlutoj [CC BY-SA 3.0].
 Where this really stands out is that