Toy Piano Gets Synth Overhaul

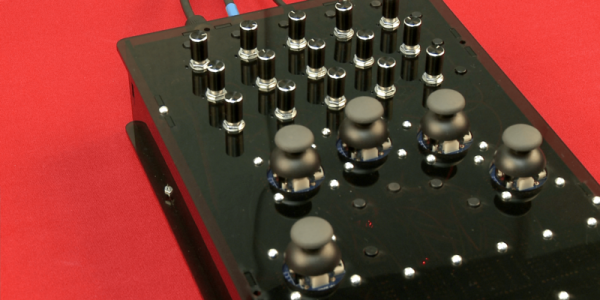
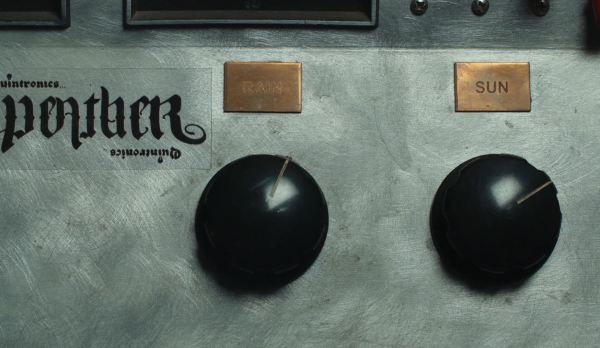
The Peanuts cartoon character Schroeder liked to bang out Beethoven a toy piano. Now, thanks to this hack from [Liam Lacey], Schroeder can switch to Skrillex. That’s because [Liam] built a polyphonic synth into a toy piano. It’s an impressive build that retains the look and feel of the piano, right down to a laser-etched top panel with knobs that match the glossy black styling.

The brains of the synthesizer is a Beaglebone Black using the Maximillian synthesis library. To capture the key presses, he used Velostat, a pressure-sensitive material that changes resistance under pressure. This is probably the only toy piano in the world with fully polyphonic velocity and aftertouch. The build also includes MIDI support, with two ports on the back. [Liam]’s build log is full of more details than we can even summarize here.

This beautiful build won [Liam] first place in the Element 14 Music Tech competition, and it is a well-deserved prize for a clean and elegant way to update a vintage piano.

Continue reading “Toy Piano Gets Synth Overhaul”

Hackaday Prize Entry: A Cute Synthesizer

For electronics aficionados, there are few devices cooler than music synthesizers. The first synths were baroque confabulations of opamps and ladder filters. In the 70s and 80s, synths began their inexorable march toward digitization. There were wavetable synths that stored samples on 27-series EPROMs. Synths on a chip, like the MOS 6581 “SID chip”, are still venerated today. For his Hackaday Prize entry, [Tim] is building his own synthesizer from scratch. It isn’t a copy of an old synth, instead it’s a completely modern synthesizer with a classic sound.

[Tim] is a former game developer and has already released a synthesizer of sorts. Rhythm Core Alpha 2 for the Nintendo DSi and 3DS is a fully functional synthesizer, but the limitations of the Nintendo hardware made [Tim] want to build his own synth from scratch.

The specs for the synth are more of a wish list, but already [Tim] has a few design features nailed down. This is a virtual analog synth, where everything is digital and handled by DSP algorithms. It’s polyphonic and MIDI capable, with buttons and dials for almost every parameter. For the few things you can’t do with a knob, [Tim] is including a touch screen display.

[Tim] already has the synthesis model working, and from the videos he’s put together, the whole thing sounds pretty good. The next step is turning a bunch of wires, breadboards, and components into  something that looks like an instrument. We can’t wait to see how this one turns out!

You can check out a few of [Tim]’s synth videos below.

Continue reading “Hackaday Prize Entry: A Cute Synthesizer”

Curiously Delightful Things Done With Lasers And Projectors

Seb Lee-Delisle has built a career around large installations that use powerful lasers and high-end projects to make people happy. It’s a dream job that came to fruition through his multi-discipline skill set, his charismatic energy, and a mindset that drives him to see how he can push the boundaries of what is possible through live interaction.

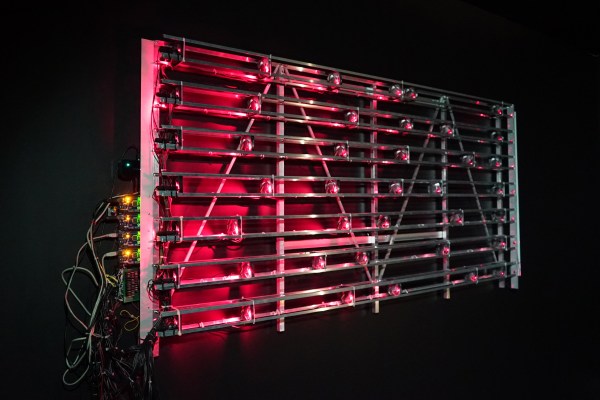
His talk at the Hackaday | Belgrade conference is about his Laser Light Synth project, but we’re glad he also takes a detour into some of the other installations he’s built. The synth itself involves some very interesting iterative design to end up with a capacitive touch audio keyboard that is lit with addressable LEDs. It controls a laser that projects shapes and images to go along with the music, which sounds great no matter who is at the keyboard thanks to some very creative coding. As the talk unfolds we also hear about his PixelPyros which is essentially a crowd-controlled laser fireworks show.

See his talk below and join us after the break for a few extra details.

Continue reading “Curiously Delightful Things Done With Lasers And Projectors”

NES Light Gun Turned (Video) Synthesizer

[Russell Kramer] made our day today. We’re tremendous fans of minimalism in electronics design, dirty noise hacks, and that old NES  light gun. He’s posted up a project that combines all three to make a light-gun controlled, VGA video display that makes bleepy-bloopy noises to boot. Check out the video below!

To appreciate this hack, you really need to read through the project logs in detail. Start with the VGA signal creation, for instance. The easiest way to go these days is to throw a microcontroller at the problem. But because he’s done that to death, [Russell] takes a step back thirty years and generates the sync pulses periodically with a relaxation oscillator and a binary counter IC. The rest of the build follows this aesthetic choice: everything is op amps and CMOS logic. The rainbow effect, for instance, is created from the audio signal through a three-stage, 120-degree phase-shift oscillator sent to the R, G, and B channels. Kudos!

The high-level overview is that the light intensity and position hitting the gun’s sensor is converted into a voltage that drives an audio-frequency oscillator. This audio output is then piped back into the video generator. Watching the video, it’s obvious that pointing the gun at different parts of the screen changes the pitch, but playing a given pitch is nearly impossible on this thing with all the feedback going on. [Russell] added a bit of more control into the system — when the gun’s trigger is pulled, it registers full-brightness regardless of the video input — but even so, we’d be hard-pressed to play “Mary Had a Little Lamb”.

But that’s not the point. The point is awesome, light-gun-waving noisy madness set to a responsive colorful video background. And that’s been achieved in spades!

Continue reading “NES Light Gun Turned (Video) Synthesizer”

A Slew Of Open-Source Synthesizers

Hackaday reader [Jan Ostman] has been making microcontroller-based DIY synthesizers for quite a while now. Recently, he’s opened up the source for a lot of them so that you can play along at home. All of these virtual-analog synths and soundmakers can be realized on an Arduino or AVR ATmega328 if you happen to have one lying around.

Extra parts like a keyboard, some pushbuttons, or some potentiometer knobs to twiddle won’t hurt if you’d like to make something more permanent or more obviously playable, like [Jan] does. On the other hand, if you’d just like to get your feet wet, I’ve tweaked his code to be more immediately plug-and-play. The code is straightforward enough that it’s a good learning platform. So let’s take a quick tour through three drum machines and a string synth, each of which you can build on a breadboard in just a few minutes.

To install on an Arduino UNO, fetch the zip file from this GitHub repository, and move each subfolder to your Arduino sketch directory. You’re ready to play along.

Continue reading “A Slew Of Open-Source Synthesizers”

Embed With Elliot: Audio Playback With Direct Digital Synthesis

Direct-digital synthesis (DDS) is a sample-playback technique that is useful for adding a little bit of audio to your projects without additional hardware. Want your robot to say ouch when it bumps into a wall? Or to play a flute solo? Of course, you could just buy a cheap WAV playback shield or module and write all of the samples to an SD card. Then you wouldn’t have to know anything about how microcontrollers can produce pitched audio, and could just skip the rest of this column and get on with your life.

Harmonic distortion down ~45db on an Arduino
~45db signal to noise ratio from an Arduino

But that’s not the way we roll. We’re going to embed the audio data in the code, and play it back with absolutely minimal additional hardware. And we’ll also gain control of the process. If you want to play your samples faster or slower, or add a tremolo effect, you’re going to want to take things into your own hands. We’re going to show you how to take a single sample of data and play it back at any pitch you’d like. DDS, oversimplified, is a way to make these modifications in pitch possible even though you’re using a fixed-frequency clock.

The same techniques used here can turn your microcontroller into a cheap and cheerful function generator that’s good for under a hundred kilohertz using PWM, and much faster with a better analog output. Hackaday’s own [Bil Herd] has a nice video post about the hardware side of digital signal generation that makes a great companion to this one if you’d like to go that route. But we’ll be focusing here on audio, because it’s easier, hands-on, and fun.

Continue reading “Embed With Elliot: Audio Playback With Direct Digital Synthesis”

Oh Baby, Baby10 – Build A Classic Analog Music Sequencer

Recently I’ve been learning more about classic analog music synthesizers and sequencers. This has led me to the Baby10, a classic and simple analog sequencer design. In this article I’ll introduce its basic operation, and the builds of some awesome hackers based on this design.

Sequencers produce, a sequence of varying voltages. These control voltages (CV) can then be use to control other components. Often this is a simple tone generator. While the concept is simple, it can produce awesome results:

A basic sequencer is a great beginners project. It’s easy to understand the basic operation of the circuit and produces a satisfyingly entertaining result. The Baby 10 was originally published in a column called “Captain’s Analog”, but has now been widely shared online.

baby10
The original Baby10 article.

The circuit uses the 4017, a simple CMOS decade counter. The 4017 takes an input clock signal then sequentially outputs a high pulse on each of 10 output pins. As such, the 4017 does almost everything we need from a sequencer in a single IC! However, we want our sequencer to output a varying voltage which we can then use to generate differing tones.

To accomplish this variable resistors are connected to each of the output pins. A diode in series with the variable resistor stops the outputs fighting against each other (in layman’s terms).

To make the sequencer more visually attractive (and give some feedback) LEDs are often also added to the output of the 4017. A complete Baby 10 sequencer is shown in the schematic below. The original circuit used 1N917s, these are no longer available but the part has been replaced by the 1N4148.

Continue reading “Oh Baby, Baby10 – Build A Classic Analog Music Sequencer”