Join us on Wednesday, March 24 at noon Pacific for the MIDI All the Things Hack Chat with Tim Alex Jacobs!
In our technologically complex world, standards are a double-edged sword. While they clearly make it possible for widgets and doodads to interoperate with each other, they also tend to drift away from their original intention over time, thanks to the march of progress or even market forces. If there’s one thing you can expect about standards, it’s that they beget other standards.
One standard that has stood the test of time, with modification of course, is the Musical Instrument Digital Interface, or MIDI. It’s hard to overstate the impact MIDI has had on the music world since it was first dreamed up in the early 1980s. Started amid a Wild West of competing proprietary synchronization standards, MIDI quickly became the de facto interface for connecting electronic musical instruments together. And as it did, it moved from strictly pro-grade equipment down the market to prosumer and home users, fueled in part by the PC revolution.
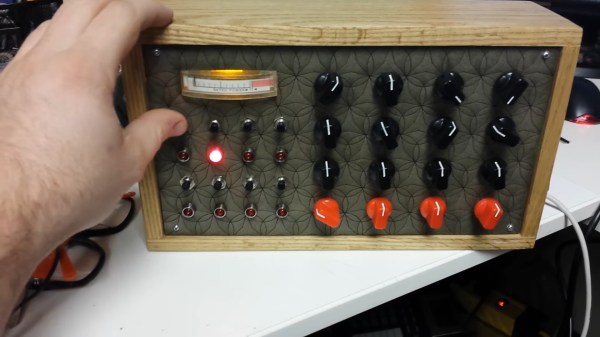
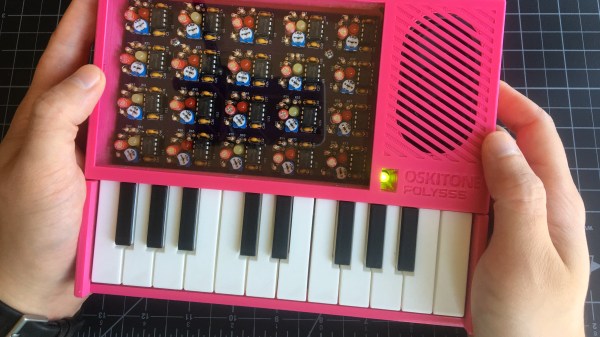
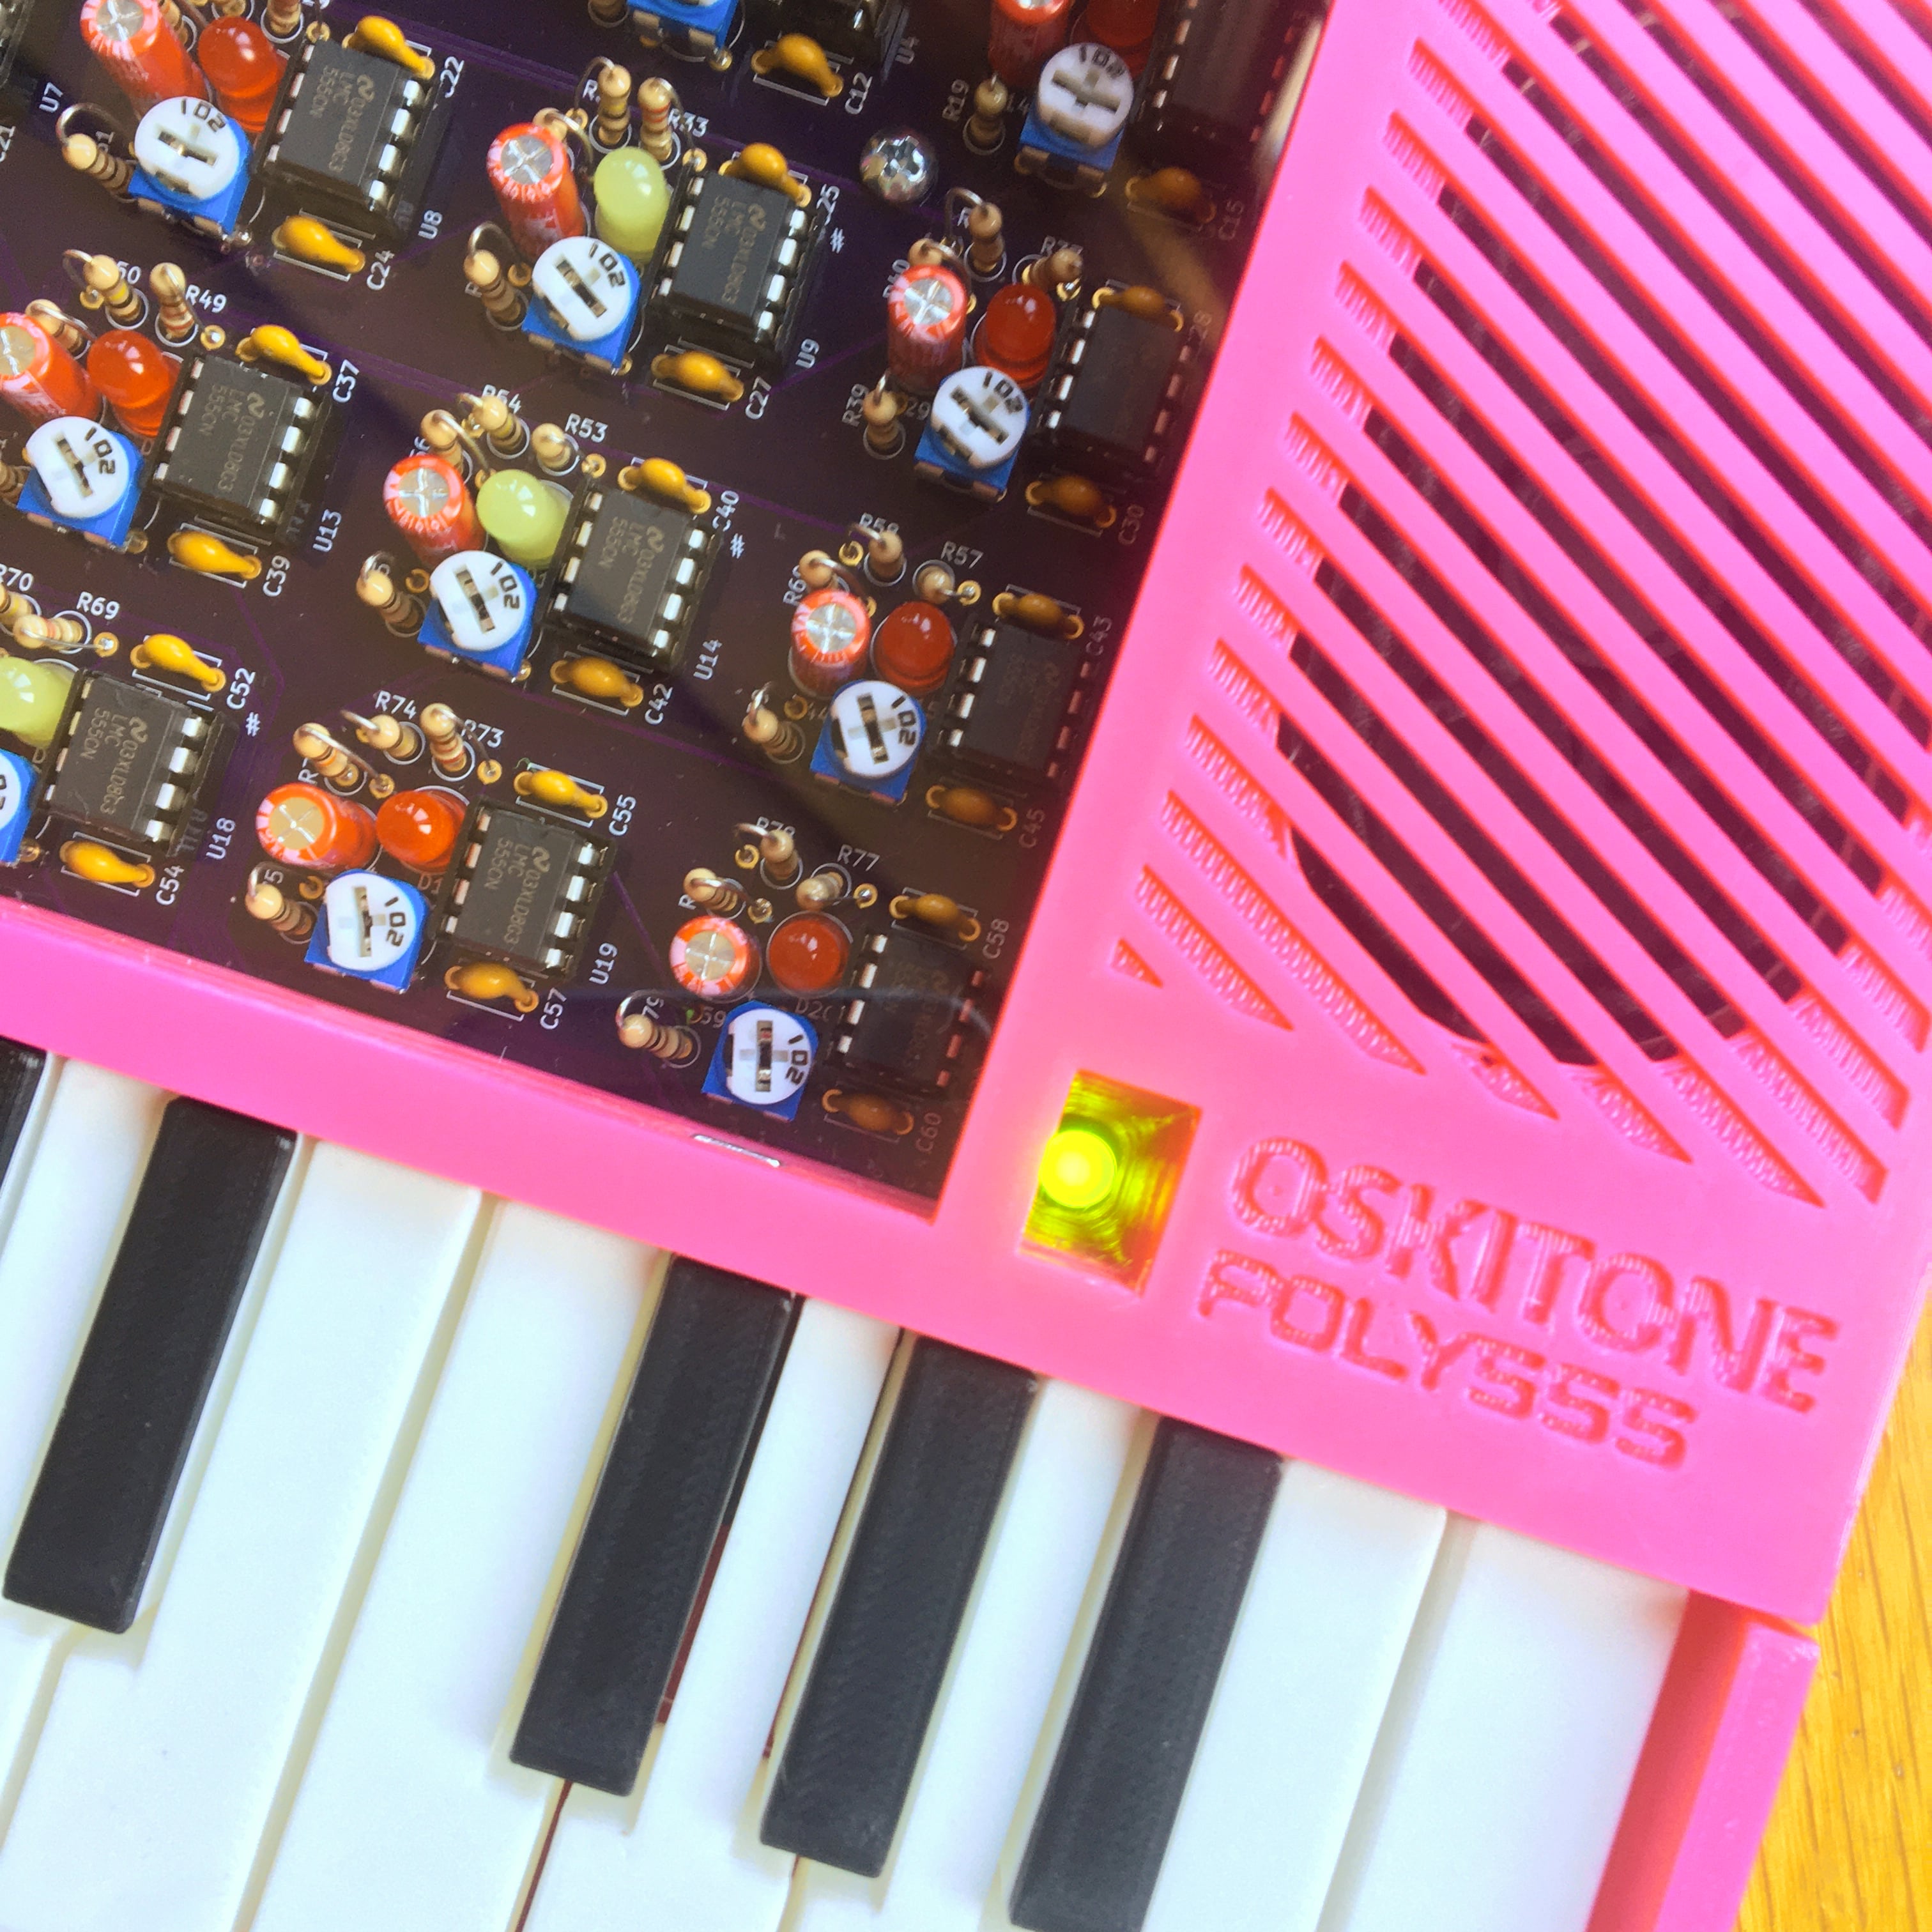
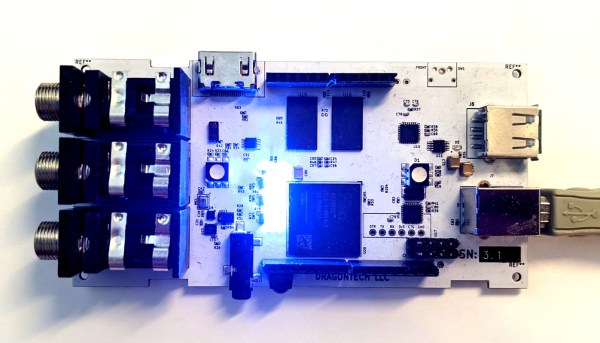
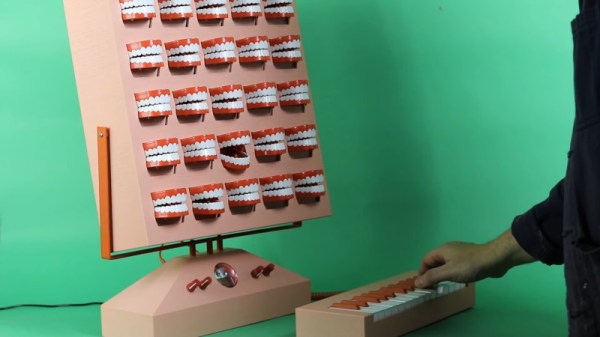
Tim Alex Jacobs, who is perhaps better known as Mitxela on his YouTube channel, has long been interested in applying MIDI to unusual corners of the musical world. We’ve seen him MIDI-fy things that barely qualify as musical instruments, and also build a polyphonic synthesizer so small it fits within the shell of the DIN connector that’s so strongly associated with the MIDI standard. Tim joins us on the Hack Chat this week to talk about his experiences with MIDI, and to help us understand all the ways we can work with the interface in our builds.
 Our Hack Chats are live community events in the Hackaday.io Hack Chat group messaging. This week we’ll be sitting down on Wednesday, March 24 at 12:00 PM Pacific time. If time zones have you tied up, we have a handy time zone converter.
Click that speech bubble to the right, and you’ll be taken directly to the Hack Chat group on Hackaday.io. You don’t have to wait until Wednesday; join whenever you want and you can see what the community is talking about.
Continue reading “MIDI All The Things Hack Chat”