There are all kinds of old wives’ tales surrounding proper battery use floating around in the popular culture. Things like needing to fully discharge a battery every so often, unplugging devices when they’re fully charged, or keeping batteries in the fridge are all examples that have some kernel of truth to them but often are improperly applied. If you really want to know the truth about a specific battery, its behavior, and its features, it helps to dig in and actually take some measurements directly like [Tyler] has done with a vast array of embedded batteries in IoT devices.
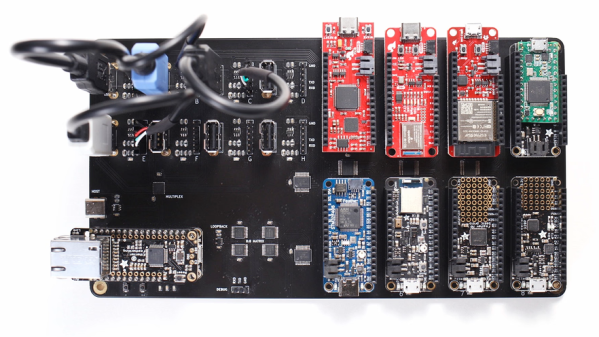
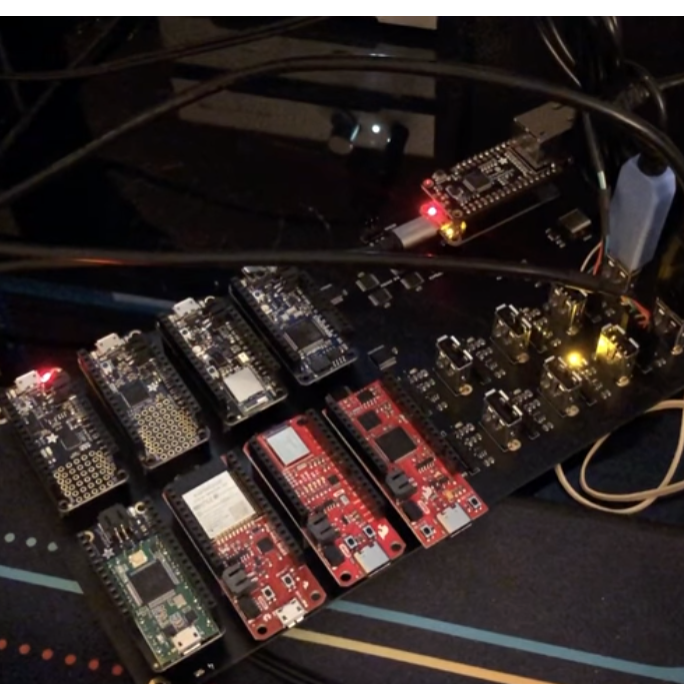
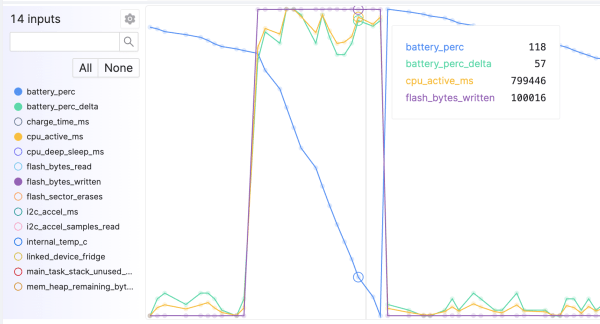
[Tyler] is a firmware engineer by trade, so he is deeply familiar with this type of small battery. Battery performance can change dramatically under all kinds of scenarios, most important among them being temperature. But even the same type of battery can behave differently to others that are otherwise identical, which is why it’s important to have metrics for the batteries themselves and be able to measure them to identify behaviors and possible problems. [Tyler] has a system of best practices in place for monitoring battery performance, especially after things like firmware upgrades since small software changes can often have a decent impact on battery performance.
While working with huge fleets of devices, [Tyler] outlines plenty of methods for working with batteries, deploying them, and making sure they’re working well for customers. A lot of it is extremely useful for other engineers looking to develop large-scale products like this but it’s also good knowledge to have for those of us rolling out our own one-off projects that will operate under battery power. After all, not caring for one’s lithium batteries can have disastrous consequences.