Old wives’ tales, folk knowledge, common sayings, and even cliches and idioms are often taken as givens since they form an often unnoticed part of our vocabulary and culture. There’s so many examples that it’s possible to fill a 17-season TV show busting potential myths like these, and even then there are some that slipped by. For example, the saying “you can’t put toothpaste back in the tube” which, as it turns out, is not as impossible as we might be led to believe.
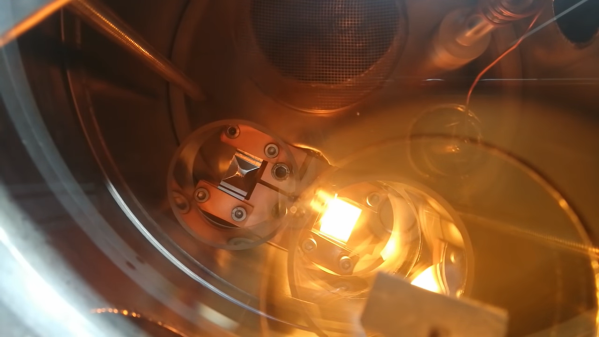
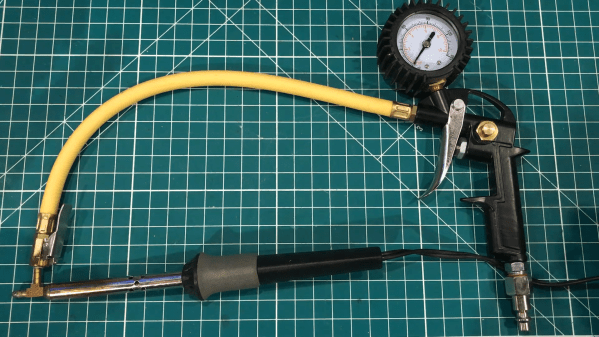
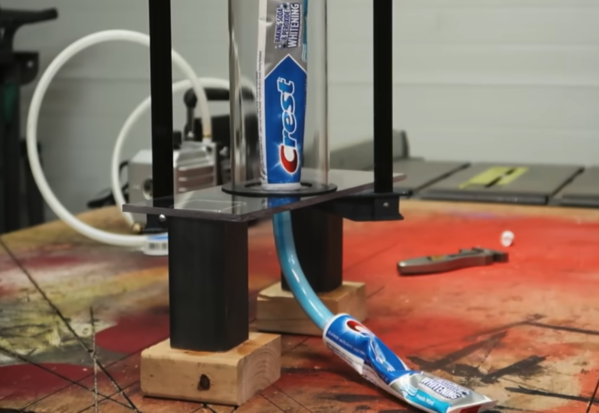
This video is the product of [Tyler Bell] who has taken this idiom on as a challenge. To figure out if it was possible he first got to work building a vacuum chamber, which turned out to be a little easier than he thought it would be. After cutting a piece of polycarbonate tube and sanding it down, all that was needed were some rubber gaskets and fittings for the vacuum pump.
From there, the theory was to put an empty toothpaste tube into the vacuum chamber, pump all of the air out, and let atmospheric pressure “push” the toothpaste back into the tube. During [Tyler]’s first run he thought that it had worked successfully but it turned out that he had just inflated the empty toothpaste tube like a balloon. Further iterations were able to return some of the toothpaste to the tube, but each time some air would eventually work its way into the toothpaste which would immediately fill the remaining space in the tube with air rather than toothpaste.
While not completely successful, he was able to get some toothpaste back into the tube with a relatively small bill of materials. It’s not likely that this experiment will result in a change of this particular idiomatic expression, but it was interesting to put it to the test nonetheless. For other instances of toothpaste and its relationship to tubes, both inside and out, be sure to check out this recent piece on various methods of toothpaste storage.
Continue reading “You Can Put Toothpaste In The Tube (With Effort)”