Laboratory automation equipment is expensive stuff, to such a degree that small labs are often priced out of the market. That’s a shame, because there are a lot of tedious manual tasks that even modest labs would benefit from automating. Oh well — that’s what grad students are for.
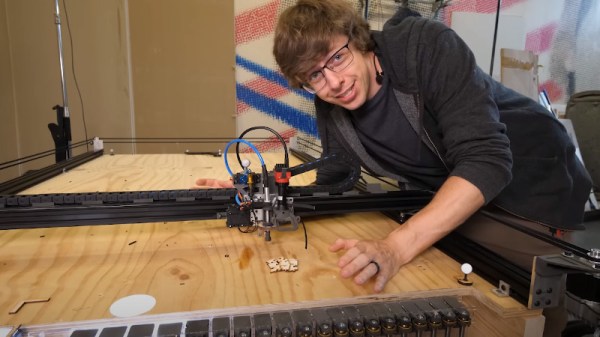
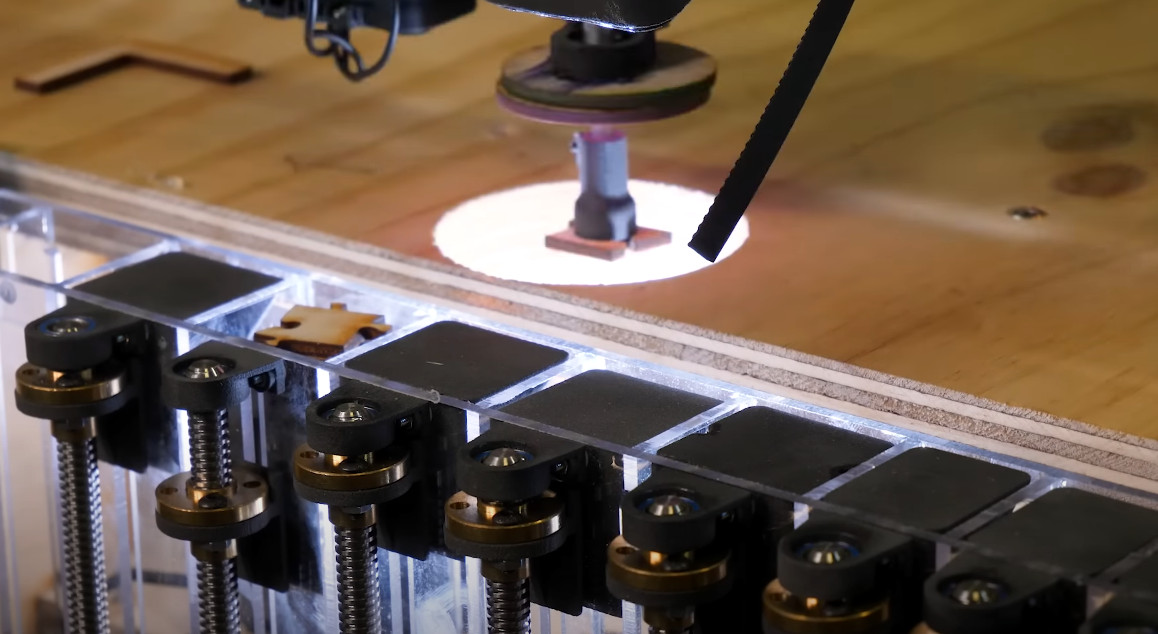
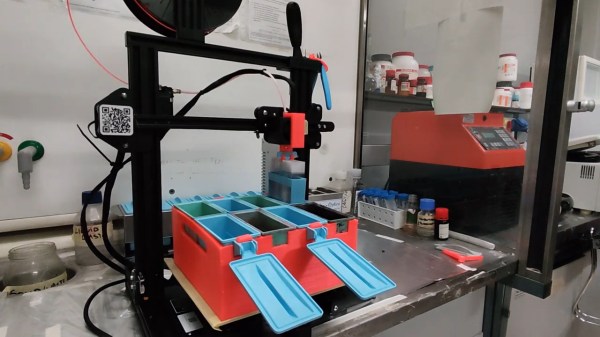
But it actually isn’t that hard to bring a little automation to the lab, if you follow the lead of [Marco], [Chinna], and [Vittorio] and turn a 3D printer into a simple lab robot. That’s what HistoEnder is — a bog-standard Creality Ender 3 with a couple of special modifications that turn it into a tool for automating histology slide preparation. Histology is the study of the anatomy of tissues and uses various fixing and staining techniques to make microscopic features visible. In practice, this means moving baskets of glass slides back and forth between jars of different solutions, a job that’s perfect for a simple Cartesian gantry lab robot with a small work envelope and light loads.
None of the printer modifications are permanent; the 3D printed accessories — a hook for the slide basket and a carrier for standard histology staining jars — can quickly come off the printer to return it to its regular duty. All it takes to run HistoEnder is a bit of custom G-code and some careful alignment of the jar carrier on the print bed. We suppose the bed heater could even be used to warm up the fixing and staining solutions. There’s a brief video of HistoEnder in action embedded in the tweet below.
This isn’t the first time this team has repurposed technology for the lab — remember the fitness band that was turned into an optical densitometer?
Continue reading “3D Printer Repurposed For Light-Duty Lab Automation Tasks”