Minimal MQTT: Building A Broker

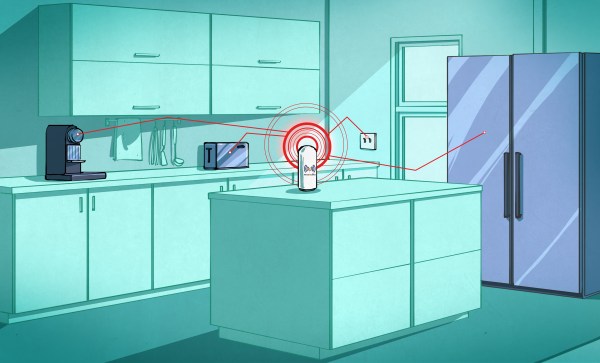
In this short series, we’re going to get you set up with a completely DIY home automation system using MQTT. Why? Because it’s just about the easiest thing under the sun, and it’s something that many of you out there will be able to do with material on-hand: a Raspberry Pi as a server and an ESP8266 node as a sensor client. Expanding out to something more complicated is left as an exercise to the motivated reader, or can be simply left to mission creep.

We’ll do this in four baby steps. Each one should take you only fifteen minutes and is completely self-contained. There’s a bunch more that you can learn and explore, but we’re going to get you a taste of the power with the absolute minimal hassle.

In this installment, we’re going to build a broker on a Raspberry Pi, which is the hub of your MQTT network. Next time, we’ll get an ESP8266 up and running and start logging some data. After that, we’ll do some back-end scripting in Python to make the data speak, and in the last installment, we’ll explore some of the useful frills and fancy bits. Let’s get started!

Continue reading “Minimal MQTT: Building A Broker”

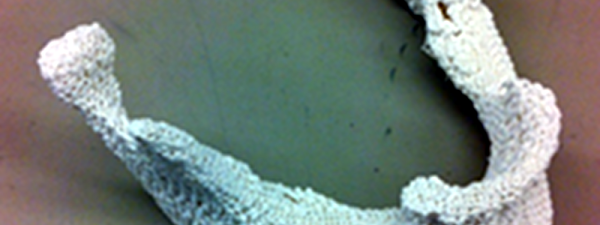
3D Printing Bone

What do you print with your 3D printer? Key chains? More printer parts (our favorite)? Enclosures for PC boards? At Johns Hopkins, they want to print bones. Not Halloween skeletons, either. Actual bones for use in bodies.

According to Johns Hopkins, over 200,000 people a year need head or face bone replacements due to birth defects, trauma, or surgery. Traditionally, surgeons cut part of your leg bone that doesn’t bear much weight out and shape it to meet the patient’s need. However, this has a few problems. The cut in the leg isn’t pleasant. In addition, it is difficult to create subtle curved shapes for a face out of a relatively straight leg bone.

This is an obvious application for 3D printing if you could find a suitable material to produce faux bones. The FDA allows polycaprolactate (PCL) plastic for other clinical uses and it is attractive because it has a relatively low melting point. That’s important because mixing in biological additives is difficult to do at high temperatures.

Continue reading “3D Printing Bone”

The Coming Wide-Spread Use Of Drones In Agriculture

Whether you call them UAVs (Unmanned Aerial Vehicles), UAS (Unmanned Aerial System), Drones, or something less polite – people are more familiar than ever with them. We’ll call them drones, and we’re not talking about the remote-controlled toy kind – we’re talking about the flying robot kind. They have sensors (GPS and more), can be given a Flight Plan (instructions on where to go), and can follow that plan autonomously while carrying out other instructions – no human pilot required. Many high-end tractors are already in service with this kind of automation and we’ve even seen automated harvesting assistance. But flying drones are small and they don’t plant seeds or pull weeds, so what exactly do they have to do with agriculture?

There are certain things that drones are very good at, and there are things in agriculture that are important but troublesome to do or get. Some of these things overlap, and in those spaces is where a budding industry has arisen.

Continue reading “The Coming Wide-Spread Use Of Drones In Agriculture”

An Affordable Ultrasonic Soldering Iron

One of the most interesting facets of our community of hackers and makers comes from its never-ending capacity to experiment and to deliver new technologies and techniques. Ample demonstration of this came this morning, in the form of [Hunter Scott]’s Hackaday.io project to create an ultrasonic soldering iron. This is a soldering technique in which the iron is subjected to ultrasonic vibrations which cavitate the surface of the materials to be soldered and remove any oxides which would impede the adhesion of the solder. In this way normally unsolderable materials such as stainless steel, aluminium, ceramic, or glass can be soldered without the need for flux or other specialist chemicals. Ultrasonic soldering has been an expensive business, and [Hunter]’s project aims to change that.

This iron takes the element and tip from a conventional mains-powered soldering iron and mounts it on the transducer from an ultrasonic cleaner. The transducer must be given an appropriate load which in the case of the cleaner is furnished by a water bath, or it will overheat and burn out. [Hunter]’s load is just a soldering iron element, so to prevent transducer meltdown he keeps the element powered continuously but the transducer on a momentary-action switch to ensure it only runs for the short time he’s soldering. The project is not quite finished so he’s yet to prove whether this approach will save his transducer, but we feel it’s an interesting enough idea to make it definitely worth following.

This is the first ultrasonic soldering project we’ve featured here at Hackaday. We have however had an ultrasonic plastic welder before, and an ultrasonic vapour polisher for 3D prints. It would be good to think this project could spark a raft of others that improve and refine DIY ultrasonic soldering designs.

X-Ray Everything!

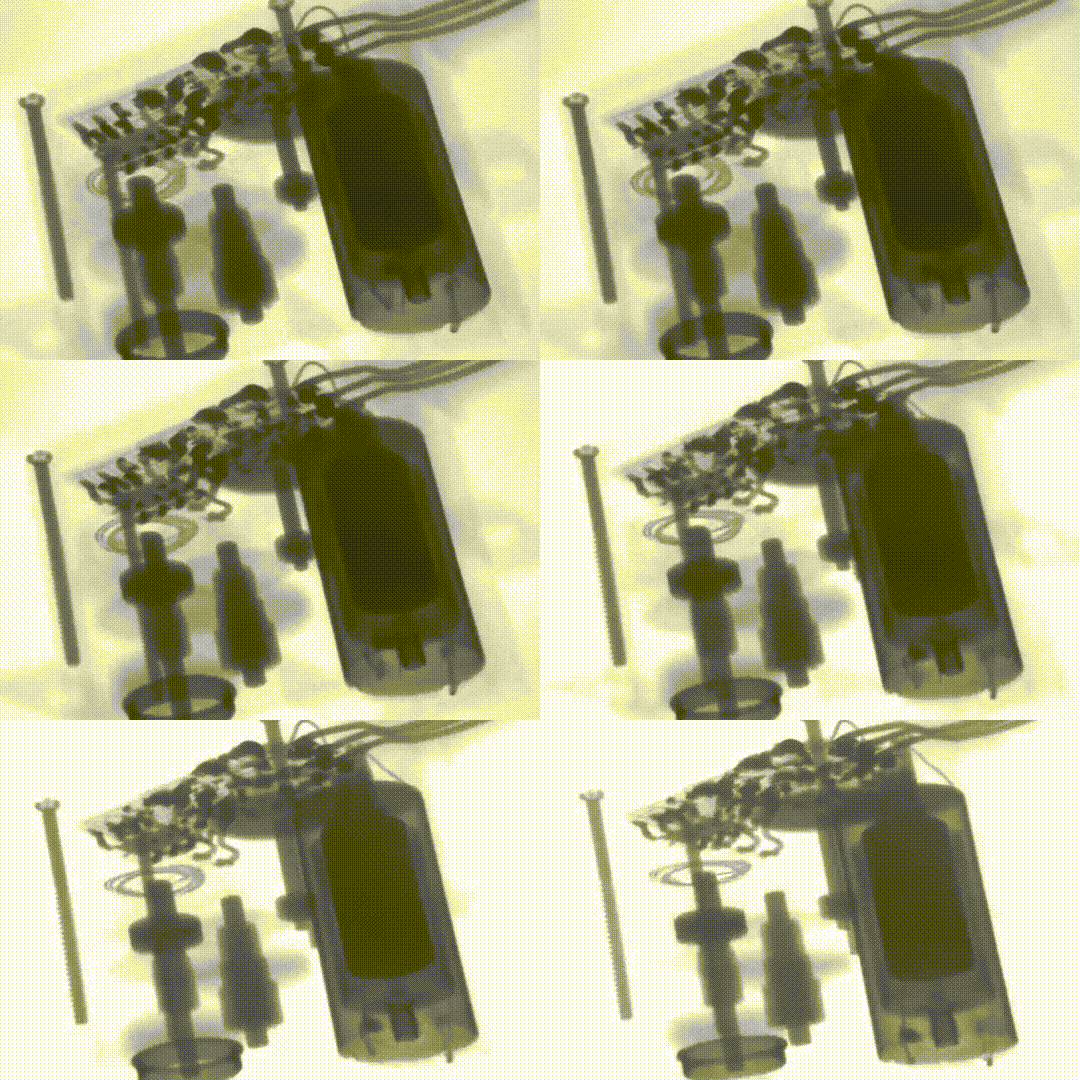
We’re not 100% sure why this is being done, but we’re 110% happy that it is. Someone (under the name of [The X-Ray Playground]) is putting interesting devices under an X-ray camera and posting videos of them up on YouTube. And he or she seems to be adding a few new videos per day.

Want to see the inner workings of a pneumatic microswitch? Or is a running pair of servo motors more your speed? Now you know where to look. After watching the servo video, we couldn’t help but wish that a bunch of the previous videos were also taken while the devices were being activated. The ball bearing wouldn’t gain much from that treatment, but the miniature piston certainly would. [X-Ray Playground], if you’re out there, more working demos, please!

How long the pace of new videos can last is anyone’s guess, but we’re content to enjoy the ride. And it’s just cool to see stuff in X-ray. If we had a postal address, we know we’d ship some stuff over to be put under the lens.

We don’t have as many X-ray hacks as you’d expect, which is probably OK given the radioactivity and all. But we have seen [MikesElectricStuff] taking apart a baggage-scanner X-ray machine in exquisite detail, and a DIY fluoroscope (yikes!), so we’re not strangers. Who needs Superman? We all have X-ray vision these days.

Thanks [OiD] for the tip!

Hackaday Prize Entry: Raimi’s Bionic Arm

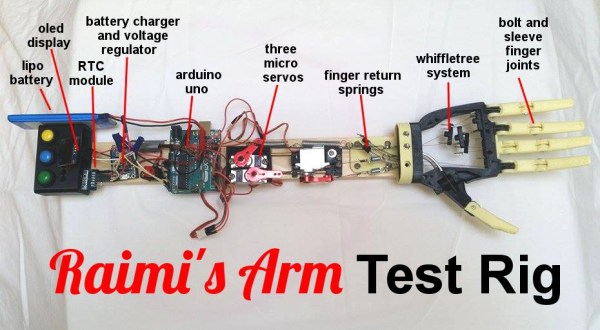
Sometimes, the most amazing teams make the most wonderful things happen, and yet, there is just not enough time to finish all the features before the product ships. This is what happened to Raimi, who came to this world missing a right hand and half of her right forearm. Raimi is now 9 years old, and commercial mechatronic prostheses are still only available to those who can afford them. When Raimi’s father approached [Patrick Joyce] to ask him for help in building an affordable prosthesis, he knew it would matter, and went right to work.

Continue reading “Hackaday Prize Entry: Raimi’s Bionic Arm”

3D Printer Prints Sound

People like music, but they are also visual creatures. Perhaps that’s why music visualization is such a common project. Usually, you think of music visualization as using LEDs or a computer screen. However, [Gieeel] did his music visualization using a 3D printer.

Sure, the visualization is a little static compared to LEDs, but it does make an interesting conversation piece. The actual process isn’t very difficult, once you have the idea. [Gieeel] captured the waveform in Audacity, did a screen capture, and then converts the image to an SVG file using Inkscape.

From there, you can use many different CAD tools to convert the image into a 3D object. [Gieeel] used Autodesk Fusion 360 and had the resulting object professionally 3D printed.

We’ve seen other kinds of sound sculptures before. Of course, we’ve also seen a lot of traditional visualizations, as well.