Machinist’s Accuracy Vs. Woodworker’s Precision

There are at least two ways of making parts that fit together exactly. The first way is the Cartesian way, and the machinists way. Imagine that you could specify the size of both the hole and the peg that you’d like to put into it. Just make sure your tolerances are tight enough, and call out a slightly wider hole. Heck, you can look up the type of fit you’d like in a table, and just specify that. The rest is a simple matter of machining the parts accurately to the right tolerances, and you’re done.

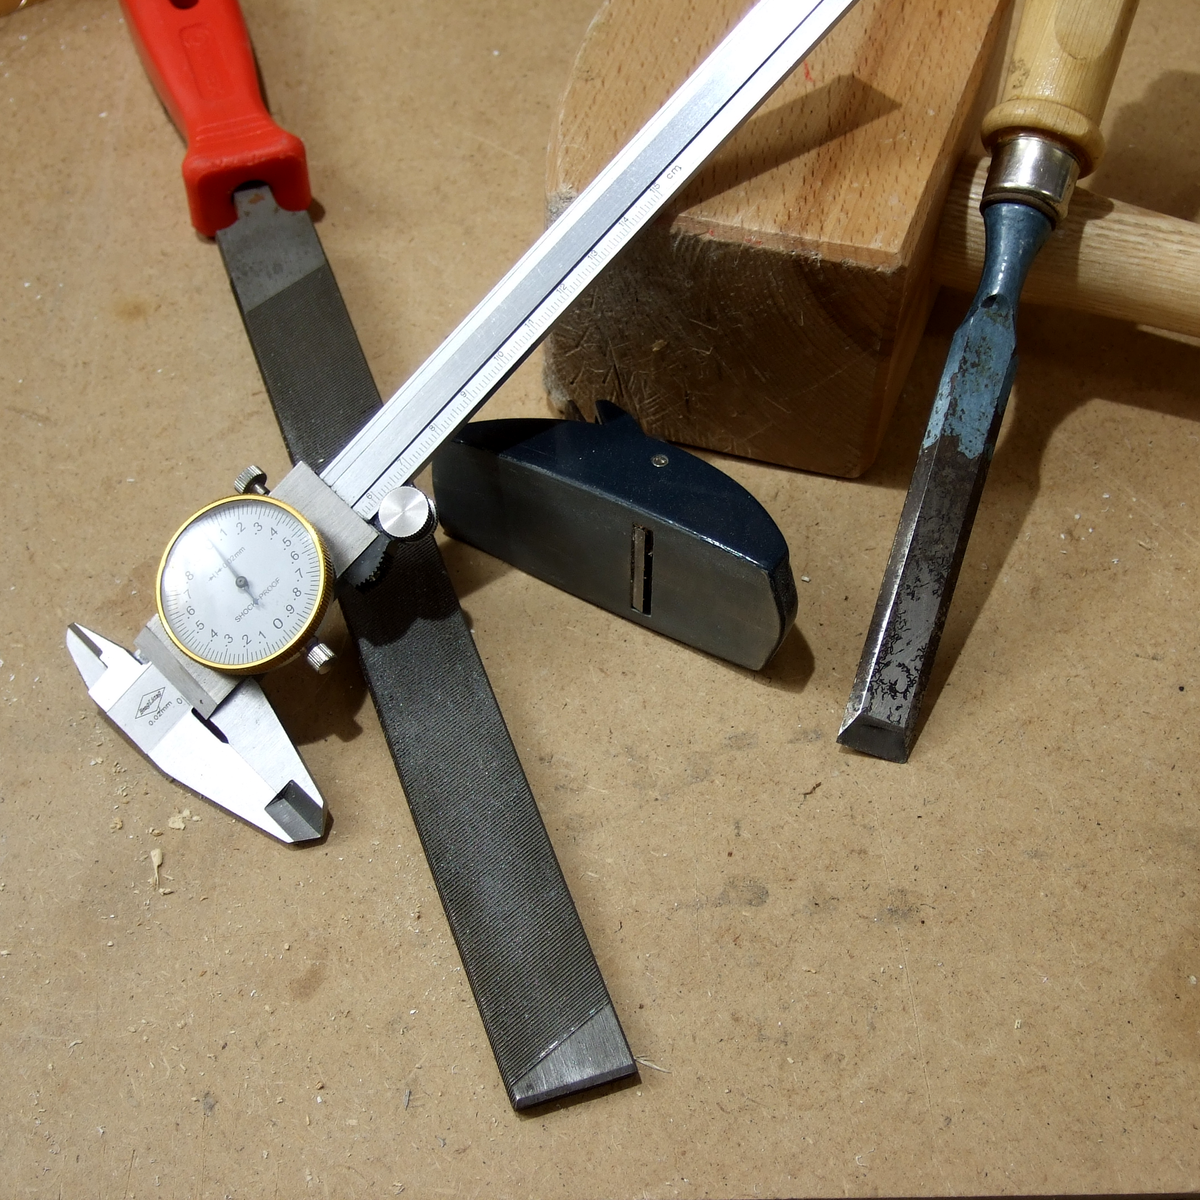
The machinist’s approach lives and dies on that last step — making the parts accurately fit the measure. Contrast the traditional woodworker’s method, or at least as it was taught to me, of just making the parts fit each other in the first place. This is the empirical way, the Aristotelian way if you will. You don’t really have to care if the two parts are exactly 30.000 mm wide, as long as they’re precisely the same length. And woodworkers have all sorts of clever tricks to make things the same, or make them fit, without measuring at all. Their methods are heavy on the jigs and the clever set-ups, and extraordinarily light on the calipers. To me, coming from a “measure carefully, and cut everything to measure” background, these ways of working were a revelation.

This ends up expressing perfectly the distinction between accuracy and precision. Sometimes you need to hit the numbers right on, and other times, you just need to get the parts to fit. And it’s useful to know which of these situations you’re actually in.

Of course, none of this is exclusive to metal or wood, and I’m actually mentioning it because I find myself using ideas that I learned in one context and applying them in the other. For instance, if you need sets of holes that match each other perfectly, whether in metal or wood, you get that precision for free by drilling through two sheets at one time, or by making a template — no measuring needed. Instead of measuring an exact distance from a feature, if all you care about is two offsets being the same, you can find a block of scrap with just about the right width, and use that to mark both distances. Is it exactly 1.000″ wide? Nope. But can you use this to mark identical locations? Yup.

You can make surprisingly round objects in wood by starting with a square, and then precisely marking the centers of the straight faces, and then cutting off the corners to get an octagon. Repeat with the centers and cutting until you can’t see the facets any more. Then hit it with sandpaper and you’re set. While this won’t make as controlled a diameter as would come off a metal lathe, you’d be surprised how well this works for making round sheet-aluminum circles when you don’t care so much about the diameter. And the file is really nothing other than the machinist’s sandpaper (or chisel?).

I’m not advocating one way of working over the other, but recognizing that there are two mindsets, and taking advantage of both. There’s a certain freedom that comes from the machinist’s method: if both parts are exactly 25.4 mm long, they’re both an accurate inch, and they’ll match each other. But if all you care about is precise matching, put them in the vise and cut them at the same time. Why do you bother with the calipers at all? Cut out the middle-man!

Get A Better Look At E3D’s Tool-changing 3D Printer Kit

Want a closer, in-depth look at E3D’s motion system and tool-changing platform? [Kubi Sertoglu] shared his impressions after building and testing the system, which comes in the form of a parts bundle direct from E3D costing just under $3000 USD. The project took [Kubi] about 15 hours and is essentially built from the ground up. The system is definitely aimed at engineers and advanced prosumers, but [Kubi] found it to be of remarkable quality, and is highly pleased with the end results.

E3D Motion system and toolchanger, with four extruders

We first saw E3D’s design announced back in 2018, when they showed their working ideas for a system that combined motion control and a toolchanger design. The system [Kubi] built uses four 3D printing extruders for multi-material prints, but in theory the toolheads could just as easily be things like grippers, lasers, or engravers instead of 3D printing extruders.

One challenge with tool changing is ensuring tools mount and locate back into the same place, time after time. After all, a few fractions of a millimeter difference in the position of a print head would spell disaster for the quality of most prints. Kinematic couplings are the answer to being sure something goes back where it should, but knowing the solution is only half the battle. Implementation still requires plenty of clever design and hard engineering work, which is what E3D has delivered.

Want a closer look at the nitty-gritty? Check out E3D’s GitHub repository for all the details on their toolchanger and motion system.

Negative Reinforcement: Drill Bits Edition

In theory, it’s fun to have a lot of toys tools around, but the sad reality is that it’s only as fun as the organization level applied. Take it from someone who finds organization itself thrilling: it really doesn’t matter how many bits and bobs you have, as long as there’s a place for everything and you put away your toys at the end of the day.

[Cranktown City] is always leaving drill bits lying around instead of putting them back in their bit set boxes. Since he responds well to yelling, he decided to build an intelligent drill bit storage system that berates him if he takes one out and doesn’t put it back within ten minutes.

But [Cranktown City] did much more than that. The system is housed in a really nice DIY stand that supports his new milling and drilling machine and has space to hold a certain type of ubiquitous red tool box beneath the drill bits drawer.

All the bits now sit in a 3D-printed index that fits the width of the drawer. [Cranktown City] tried to use daisy-chained pairs of screws as contacts behind each bit that could tell whether the bit was home or not, but too much resistance interfered with the signal. He ended up using a tiny limit switch behind each bit instead. If any bit is removed, the input signal from the index goes low, and this triggers the Arduino Nano to do two things: it lights up a strip of red LEDs behind the beautiful cut out letters on the drawer’s lip, and it starts counting upward. Every ten minutes that one or more bits are missing, the drawer complains and issues ad hominem attacks. Check out the demo and build video after the break, but not until you put your tools away. (Have you learned nothing?)

Okay, so how do you deal with thousands of jumbled drill bits? Calipers and a Python script oughta do it.

Continue reading “Negative Reinforcement: Drill Bits Edition”

Planetary Escape (-Room In A Box)

The trick to a fun escape room is layers. For [doktorinjh]’s Spacecase, you start with an enigmatic aluminum briefcase and a NASA drawstring backpack. A gamemaster reads the intro speech to set the mood, and you’re ready to start your escape from the planet. The first layer is the backpack with puzzles you need to solve to get into the briefcase. In there, you discover a hidden compartment and enough sci-fi references to put goofy smiles on our faces. We love to see tools reused as they are in one early puzzle, you use a UV LED to reveal a hidden message, but that light also illuminates puzzle clues later.

All the tech in Spacecase makes it a wonder of mixed media. The physical layer has laser engraved wood featuring the font from the 1975 NASA logo, buttons, knobs, LEDs, toggle switches, and a servo. Beneath the visible faceplate is an RGB sensor, audio player, speaker, and at the center is an Arduino MEGA. We’d love to get our hands on Spacecase for a game, and we’re inspired to pull out all the stops and build games with our personal touches. Maybe something with a mousetrap.

This isn’t the first escape room hardware we’ve seen and [doktorinjh] similarly made a bomb diffusing defusing game.

Continue reading “Planetary Escape (-Room In A Box)”

A Technical (But Not Too Technical) Explanation Of Landing Perseverance Rover On Mars

There was a lot of enthusiasm surrounding Mars arrival of Perseverance rover, our latest robotic interplanetary explorer. Eager to capitalize on this excitement, NASA JPL released a lot of information to satisfy curiosity of the general public. But making that material widely accessible also meant leaving out many technical details. People who crave just a little more can head over to How NASA’s Perseverance Landed On Mars: An Aerospace Engineer Breaks It Down In Fascinating Detail published by Jalopnik.

NASA JPL’s public materials mostly explained the mission in general terms. Even parts with scientific detail were largely constrained for a target audience of students K-12. Anyone craving more details can certainly find them online, but they would quickly find themselves mired in highly technical papers written by aerospace engineers and planetary geologists for their peers. There is a gap in between those extremes, and this write-up slots neatly in that gap. Author [Brian Kirby] is our helpful aerospace engineer who compiled many technical references into a single narrative of the landing, explained at a level roughly equivalent to undergraduate level math and science courses.

We get more details on why the target landing site is both geologically interesting and technically treacherous, requiring development of new landing smarts that will undoubtedly help future explorers both robotic and human. The complex multi-step transition from orbit to surface is explained in terms of managing kinetic energy. Condensing a wide range of problems to a list of numbers that helps us understand why, for example, a parachute was necessary yet not enough to take a rover all the way to the surface.

Much of this information is known to longtime enthusiasts, but we all had to get our start somewhere. This is a good on-ramp for a new generation of space fans, and together we look forward to Perseverance running down its long and exciting to-do list. Including flying a helicopter, packing up surface samples of Mars, and seeing if we can extract usable oxygen from Martian atmosphere.

Robot Arm Achieves Amazing Accuracy With Just Servos

While few of us need robotic arms in our daily life, they’re a popular build with makers. Often, the most accessible builds throw together some RC servos and 3D printed parts, with limited accuracy a consequence of the components chosen. [Adam Bäckström] decided to take such a design and push it to its limits, however, with astounding results.

Part of the “special sauce” that makes this arm so capable is the custom optical encoders installed in the servo motors themselves.

[Adam]’s first robot arm build was a major disappointment, when the servos he had purchased for the build turned out to be terrible at holding an angle. With limited funds, he elected to improve on what he had, learning much about precision control techniques along the way. [Adam] taught himself how to implement industrial strength control loops using hobby hardware, by implementing additional encoders into servos and taking into account velocity and torque in addition to just position. With a magnetic encoder on the servo output shaft and a tiny optical encoder hand-built for inside the motor itself, much higher accuracy is achievable by allowing the control system to compensate for backlash.

The results are stunning, with [Adam]’s robot arm able to move incredibly smoothly throughout its range of motion. Perhaps the best demonstration of this is the pencil demo, where the robot arm delicately threads a pencil lead through the tip of a mechanical pencil without breaking. We’d love to see these techniques implemented more often; we imagine they’d be a great addition to a build like this one. Video after the break.

Continue reading “Robot Arm Achieves Amazing Accuracy With Just Servos”

Clock-of-Clocks Adds Light-Pipe Hands For Beauty And Function

We’ve gotten used to seeing “meta clocks,” clocks that use an array of analog clock faces and piece together characters using the hands of the clocks. They’re very clever, and we always like to see them, especially when they come with detailed build instructions like this one does.

What’s also nice about [Erich Styger]’s “MetaClockClock” display is the twist on the original concept. Where most clock-of-clocks depend on the contrast between the hands and the faces of the analog movements, [Erich] added light to the mix. Hidden inside the bezel of each clock is a strip of RGB LEDs; coupled with the clear acrylic hands of the clock, which act as light pipes, each clock can contribute different shapes of different colors to the display. Each clock is built around a dual-shaft stepper motor of the kind used in car dashboard gauges; the motors each live on a custom PCB, while the LEDs are mounted on a ring-shaped PCB of their own. Twenty-four of the clocks are mounted in a very nice walnut panel, which works really well with the light-pipe hands. The video below shows just some of the display possibilities.

[Erich] has documented his build process in extreme detail, and has all the design files up on GitHub. We won’t say that recreating his build will be easy — there are a lot of skills needed here, from electronics to woodworking — but at least all the information is there. We think this is a beautiful upgrade to [Erich]’s earlier version, and we’d love to see more of these built.

Continue reading “Clock-of-Clocks Adds Light-Pipe Hands For Beauty And Function”