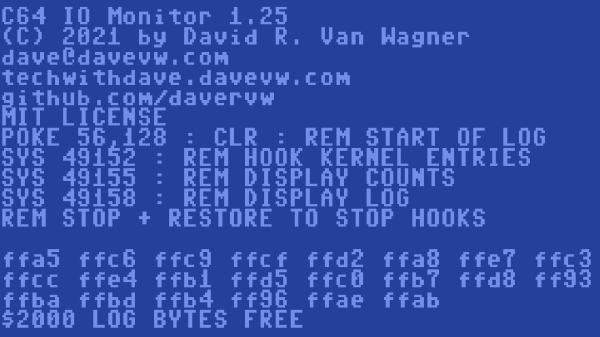
Developing for the Commodore 64 can be a rewarding retrocomputing experience, and thanks to [Dave Van Wagner], things are easier with his C64 IO_Monitor project, which opens the door to logging and tracing Kernal I/O calls for closer inspection. That’s not a typo, by the way. Kernal is what handles the C64’s low-level OS routines. Amusingly, as the story goes, it did in fact originate as a misspelling of kernel, but the name stuck.
What [Dave]’s program does is trace and log all input and output calls going through Kernal, which includes just about any function one might imagine. Things like keyboard input, screen output, and disk or tape I/O are all dutifully counted and logged, allowing one to really peek under the hood at a low level when doing any kind of development work. This kind of tool has turned out to be pretty handy given [Dave]’s penchant for porting Commodore emulators to a variety of (sometimes unusual) platforms.
Interested in giving it a spin? Head to the project’s GitHub repository for all the necessary files as well as some usage details, and enjoy making debugging and development a little less opaque than it otherwise would be.

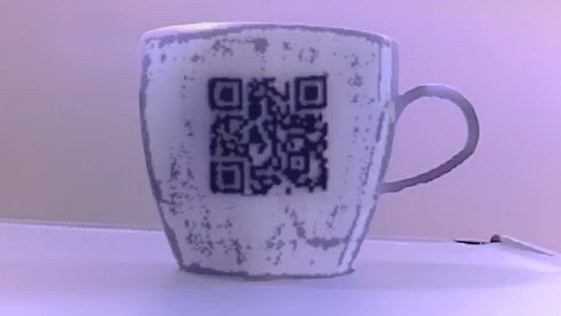
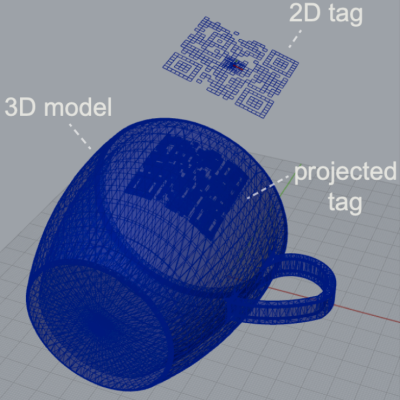 One simple proof of concept is a wireless router with its SSID embedded into the side of the device, and the password embedded into a different code on the bottom to ensure that physical access is required to obtain the password. Mundane objects can have metadata embedded into them, or provide markers for augmented reality functionality, like tracking the object in 3D.
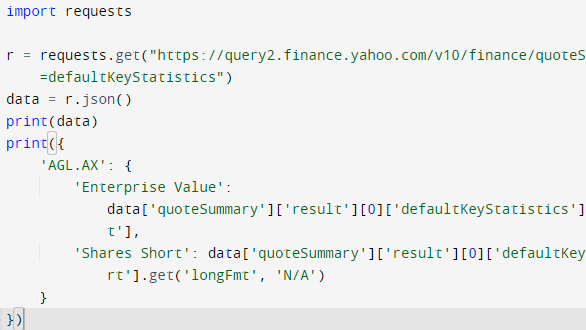
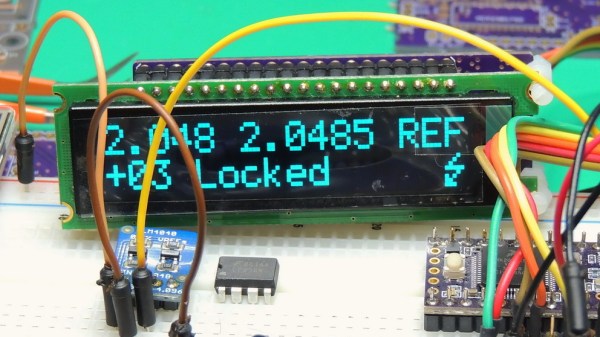
 [Doug] shows that while parsing a web page for a specific piece of data (for example, a stock price) is not difficult, there are sometimes easier and faster ways to go about it. In the case of Yahoo Finance, the web page most of us look at isn’t really the actual source of the data being displayed, it’s just a front end.
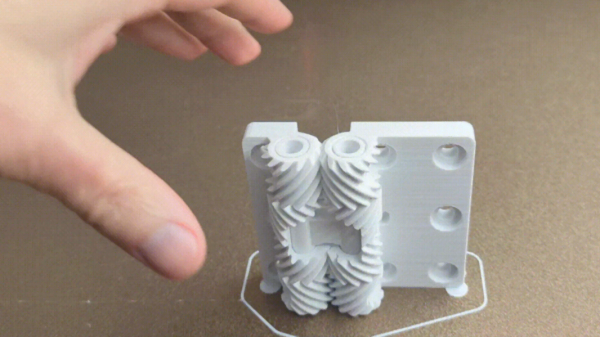
 Of course, hinges — even strong ones — are not particularly hard to find items. They’re available in a mind-boggling array of shapes and sizes. But what’s interesting about this design is that it shows what’s easily within the reach of just about any hobbyist nowadays. Not that long ago, designing and creating an object like this would not have been accessible to most home enthusiasts. Making it without a modern 3D printer would certainly have been a challenge in its own right.
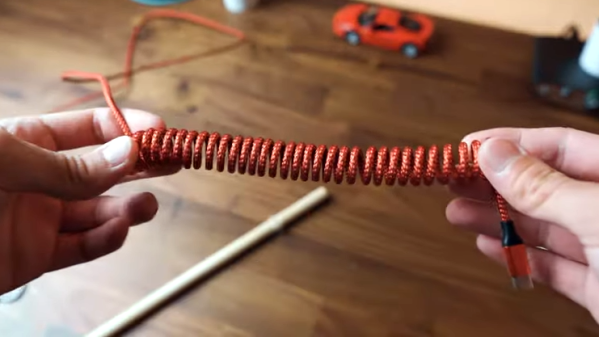
 [Dmitry] is annoyed with long, unruly cables and


