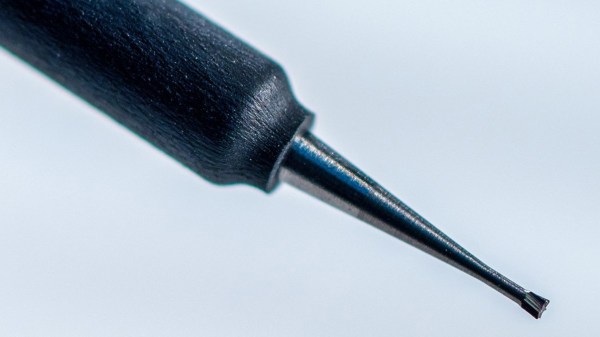
Cross-pollination between different industries can yield interesting innovations, and a few years ago [John Wiltrout] developed some non-slip meter probe adapters. He recently used our tips line to share some details that you won’t see elsewhere, letting us know how the idea came to be.
It started with [John] being frustrated by issues that will sound familiar: probes did not always want to stay in place, and had a tendency to skid around at the slightest provocation. This behavior gets only more frustrating as boards and components get smaller. John was also frustrated by the general inability to reliably probe through barriers like solder masking, oxidation, and conformal treatments on circuit boards. Continue reading “Dentist Tool Hardware Inspires Non-Slip Probe Tips”→
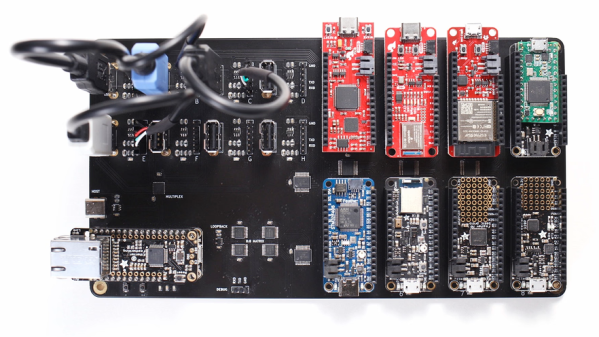
The concept of Continuous Integration (CI) is a powerful tool in software development, and it’s not every day we get a look at how someone integrated automated hardware testing into their system. [Michael Orenstein] brought to our attention the Hardware CI Arena, a framework for doing exactly that across a variety of host OSes and microcontroller architectures.
The Hardware CI Arena allows testing software across a variety of hardware boards such as Arduino, RP2040, ESP32, and more.
Here’s the reason it exists: while in theory every OS and piece of hardware implements things like USB communications and device discovery in the same way, in practice that is not always the case. For individual projects, the edge cases (or even occasional bugs) are not much of a problem. But when one is developing a software product that aims to work seamlessly across different hardware options, such things get in the way. To provide a reliable experience, one must find and address edge cases.
The Hardware CI Arena (GitHub repository) was created to allow automated testing to be done across a variety of common OS and hardware configurations. It does this by allowing software-controlled interactions to a bank of actual, physical hardware options. It’s purpose-built for a specific need, but the level of detail and frank discussion of the issues involved is an interesting look at what it took to get this kind of thing up and running.
The value of automatic hardware testing with custom rigs is familiar ground to anyone who develops hardware, but tying that idea into a testing and CI framework for a software product expands the idea in a useful way. When it comes to identifying problems, earlier is always better.
Donald Reid had a passion for applying himself to challenging problems, and in many ways his life’s work was that of developing a prototype submersible aircraft — or flying submarine — for which his son Bruce was a test pilot. [Jesse Moody] brought to our attention a fantastic documentary he created (with a short teaser trailer here) in which he interviews Bruce, and in the process teaches us all about a story that spanned decades and formed an important part of aviation history. Bruce experienced his share of hair-raising moments while testing the craft, but still has all of his fingers and limbs. Still, in his own words, “you wouldn’t be doing that kind of testing today!”
In many ways, the story revolves around defying assumptions. Without context, a “flying submarine” project might sound like a lone kook’s obsession, but Donald Reid was nothing of the sort. He was a brilliant engineer who was able solve problems by applying his skill and intellect with a laser-like focus. And it turns out that getting a submerged vehicle to successfully transition from waterbound craft to airborne is a source of numerous and novel problems that were not trivial to solve. In fact, these problems needed to be solved in order to develop the Tomahawk cruise missile, which is launched by submarine. And that brings us to the lawsuit that bookended it all.
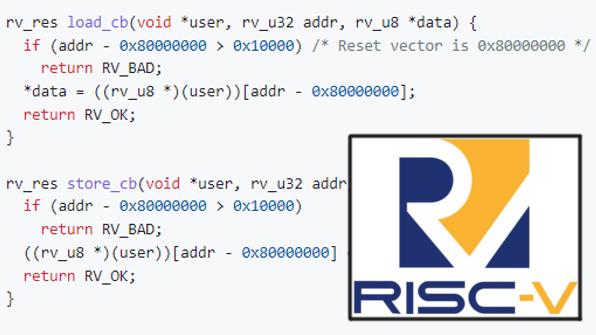
If you have ever wanted to implement a RISC-V CPU core in about 600 lines of C, you’re in luck! [mnurzia]’s rv project does exactly that, providing a simple two-function API.
Technically, it’s a user-level RV32IMC implementation in ANSI C. There are many different possible flavors of RISC-V, and in this case is a 32-bit base integer instruction set (RV32I), with multiplication and division extension (M), and compressed instruction set extension (C).
There’s a full instruction list and examples of use on the GitHub repository. As for readers wondering what something like RISC-V emulation might be good for, it happens to be the not-so-secret sauce to running Linux on an RP2040.
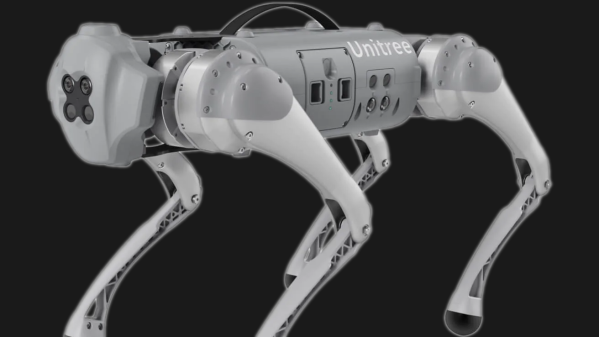
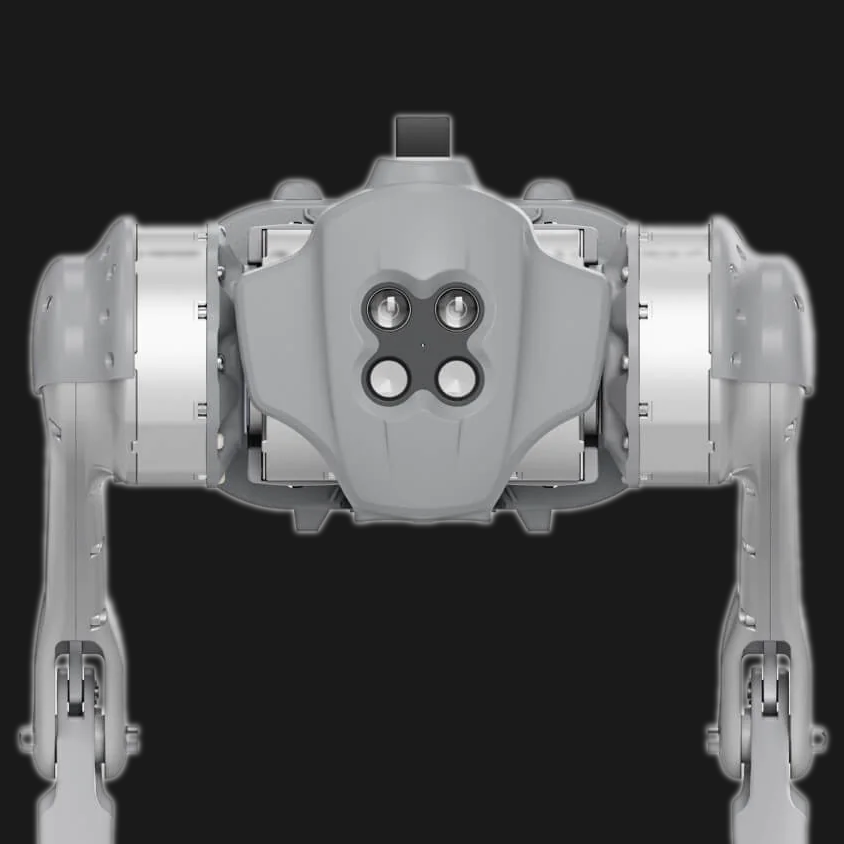
What’s better than a pretty nice legged robot? One with an alternate SDK version that opens up expensive features, of course. The author didn’t like that the original SDK only came as pre-compiled binaries restricted to the most expensive models, so rolled up their sleeves and started writing a new one.
The manufacturer’s SDK limits access to programmatic functions, but that needn’t stop you.
There are a number of commercially-available robotic quadrupeds that can trace their heritage back to the MIT Mini Cheetah design, and one of them is the Unitree Go1 series which sports a distinctive X-shaped sensor cluster on its “face”. The basic models are affordable (as far as robots go, anyway) but Unitree claims only the high-priced EDU model can be controlled via the SDK. Happily, the Free Dog SDK provides a way to do exactly that.
The SDK is a work in progress, but fully usable and allows the user to send various high level and low level commands to the Go1 robots. High level examples include things like telling the robot to perform pushups, turn 90 degrees, or walk. Low level commands are things like specifying exact positions or torque levels for individual limbs. With the new SDK, doing those things programmatically is only a Python script away.
Know any other robots that might be based on the same system? This SDK might work on them, too.
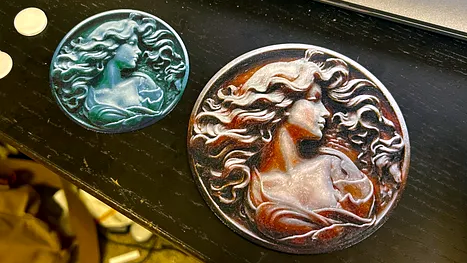
New angles and concepts in 3D printing are always welcome, and we haven’t seen anything quite like [Horn & Rhode]’s 3D prints that do not look anything like 3D prints, accomplished with an experimental tool called HueForge. The concept behind it is simple (though not easy), and the results can be striking when applied correctly.
3D prints that really don’t look 3D-printed.
The idea is this: colored, melted filament is, in a sense, not that different from colored paint. Both come in various colors, are applied in thin layers, and blend into new colors when they do so. When applied correctly, striking imagery can emerge. An example is shown here, but there are several more both on the HueForge project page as well as models on Printables.
Instead of the 3D printer producing a 3D object, the printer creates a (mostly) flat image similar in structure to a lithophane. But unlike a lithophane, these blend colors in clever and effective ways by printing extremely thin layers in highly precise ways.
Doing this effectively requires a software tool to plan the color changes and predict how the outcome will look. It all relies on the fact that even solid-color filaments are not actually completely opaque — not when printed at a layer height of 0.08 mm, anyway — and colors will, as a result, blend into one another when layered. That’s how a model like the one shown here can get away with only a few filament changes.
Of course, this process is far from being completely automated. Good results require a solid amount of manual effort, and the transmissivity of one’s particular filament choices plays a tremendous role in how colors will actually blend. That’s where the FilaScope comes in: a tool to more or less objectively measure how well (or how poorly) a given filament transmits light. The results plug into the HueForge software to better simulate results and plan filament changes.
Print result, showing results of filament blending.
Tilted to catch the light, giving an idea of how the print is structured.
When done well, it’s possible to create things that look nothing at all like what we have come to expect 3D-printed things to look. The cameo proof-of-concept model is available here if you’d like to try it for yourself, and there’s also an Aztec-style carving that gives a convincing illusion of depth.
[Horn & Rhode] point out that this concept is still searching for a right-sounding name. Front-lit lithophane? Reverse lithophane? Filament painting? Color-blended bas-relief? If you have a better idea, we urge you not to keep it to yourself because [Horn & Rhode] absolutely want to hear from you.
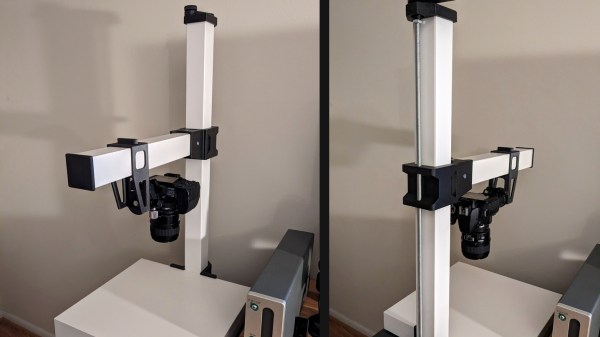
A copy stand is a tool used to capture images of photos, artwork, books, and things of a similar nature. It holds a camera perpendicular to a large and flat surface, upon which the subject rests.
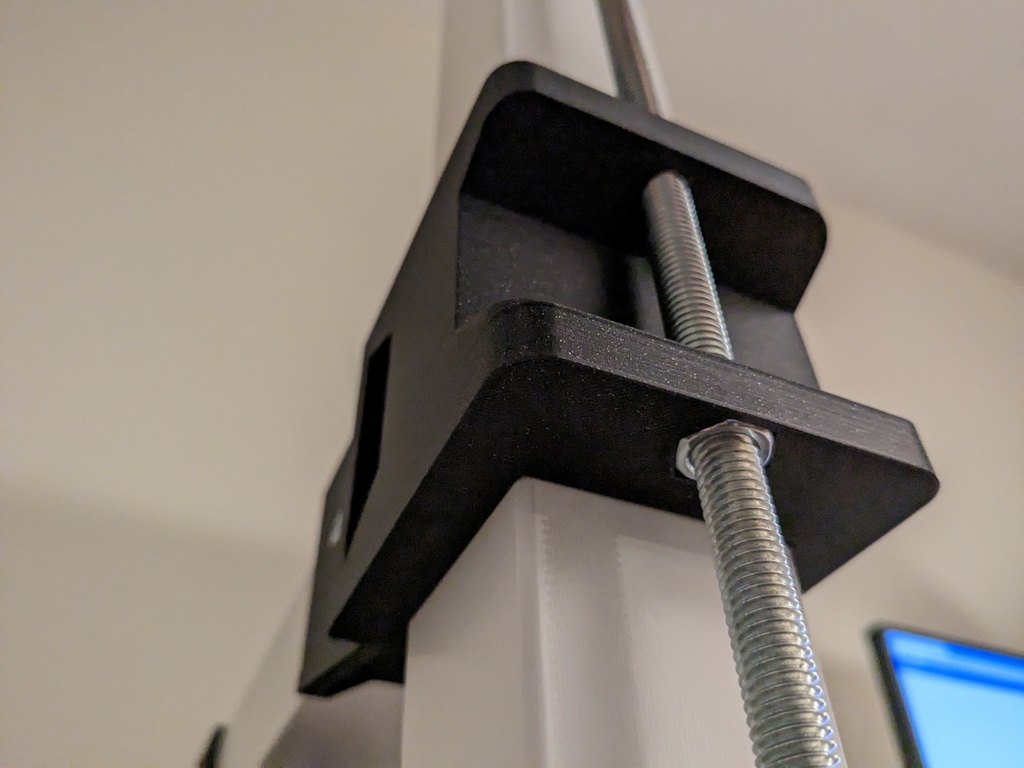
A threaded rod provides effective vertical adjustment.
They are handy, but there’s no need to spend a lot when [BlandPasta]’s DIY copy stand based on a cheap IKEA LACK table can be turned into an economical afternoon project with the help of simple hardware and a few 3D printed parts.
The main structure comes from a mixture of parts from two LACK tables: one small and one normal-sized. A tabletop is used as the bed, and the square legs make up the structural parts with the help of some printed pieces. A threaded rod combined with some captive hardware provides a way to adjust the camera up and down with a crank, while one can manually slide the horizontal camera mount as needed to frame the subject appropriately.
This is a clever remix of IKEA parts, and the somewhat matte white finish of the LACK complements photography well. Adding some DIY LED lighting is about all it takes to get a perfectly serviceable copy stand that won’t break the bank.