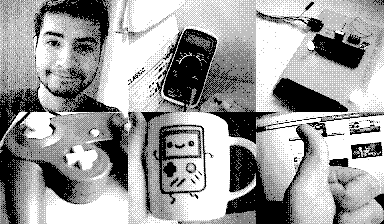
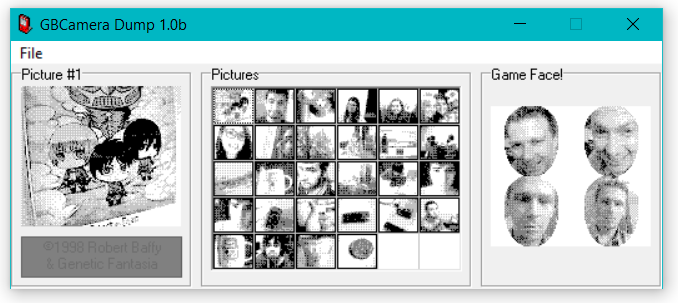
There’s something magical and nostalgic about extremely low resolution in this era of mega-megapixels on every cell phone. And the Game Boy’s big bulbous camera module just looks so cool. [Robson Couto] didn’t stop at simply using the camera — that’s been done before — but actually reversed the card’s protocol so that he could leave it entirely intact. As you can see from the banner image, it was a success.
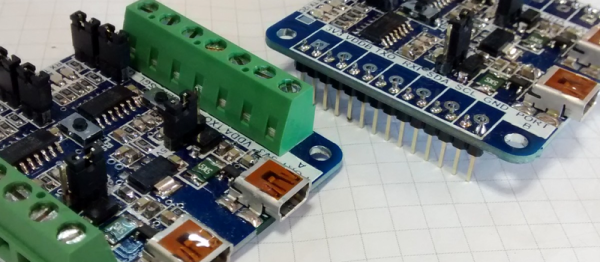
A project like this doesn’t get done overnight, and [Robson] drew on a lot of his own previous work as well as the work of others. For instance, he’d already made a board that interfaces Game Boy Paks to his PC through an ATmega32 and a serial port. He’d also written software that understands the card header format on the PC side. So dumping the ROMs contents should be no problem. But of course, it was.
[Robson] could read one bank of memory, but not any of the others. It turns out that the camera pack uses a clock signal that not many other cards use. It took [Robson] some serious work — a lot of it false starts and dead ends — to get this particular part working.
If you’re into Game Boy hacking, give [Robson]’s writeup a good read. Also note that he’s got fantastic links to previous research in all of his posts. If you couldn’t care less about keeping the cartridge intact, you can simply interface the camera with a TI calculator, use the camera to transmit Morse code, or simply add a thermal printer for a low-res instant camera with style.