When humanity first step foot on the Moon, they couldn’t stay around for very long. The Apollo program was limited by the technology of the era — given the incredible cost per kilogram to put a payload down on the lunar surface, it wasn’t feasible to bring down enough consumables for a lengthy stay. Even if they could have carried sufficient food and water to last more than a few days, the limiting factor would have become how long the crew could realistically remain cooped up in the tiny Lunar Excursion Module (LEM).
![]() In comparison, the Artemis program is far more ambitious. NASA wants to establish a long-term, and perhaps even permanent, human presence on our nearest celestial neighbor. This will be made possible, at least in part, to the greatly reduced launch costs offered by current and near-future launch vehicles compared to legacy platforms like the Saturn V or Space Shuttle. But cheaper rides to space is only part of the equation. NASA will also be leaning heavily on the lessons learned during the International Space Program; namely, the advantages of modular design and international cooperation.
In comparison, the Artemis program is far more ambitious. NASA wants to establish a long-term, and perhaps even permanent, human presence on our nearest celestial neighbor. This will be made possible, at least in part, to the greatly reduced launch costs offered by current and near-future launch vehicles compared to legacy platforms like the Saturn V or Space Shuttle. But cheaper rides to space is only part of the equation. NASA will also be leaning heavily on the lessons learned during the International Space Program; namely, the advantages of modular design and international cooperation.
While NASA and their commercial partners will still end up providing the bulk of the hardware for the Artemis program, many modules and components are being provided by other countries. From the Orion’s European Service Module (ESM) to the Japanese life support systems to be installed on the Lunar Gateway Station, America won’t be going to the Moon alone this time.
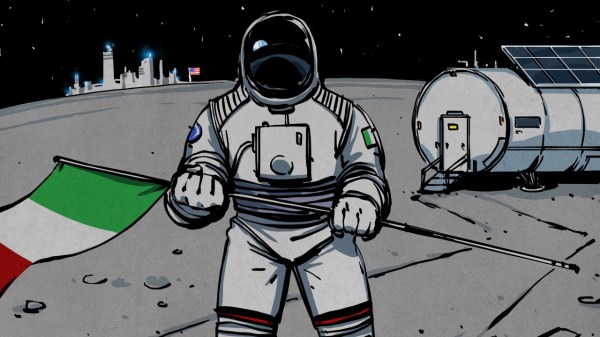
The latest international contribution to the Artemis program comes from the Italian Space Agency (ASI), who have announced their intention to develop a lunar habitation module they’re calling the Multi-Purpose Habitat (MPH) in collaboration with Thales Alenia Space.
Continue reading “Italy Proposes Minimalist Lunar Outpost For Artemis”