A huge part of the work our community does, aside from making things and doing a lot of talking about the things we’d like to make, involves repair. We have the skills to fix our own stuff when it breaks, we can fix broken stuff that other people throw out when it breaks, and we can fix broken stuff belonging to other people. As our consumer society has evolved around products designed to frustrate repairs and facilitate instead the sale of new replacements for broken items this is an essential skill to keep alive; both to escape having to incessantly replace our possessions at the whim of corporate overlords, and to fight the never-ending tide of waste.
Repair Cafés: A Good Thing
So we repair things that are broken, for example on my bench in front of me is a formerly-broken camera I’ve given a new life, on the wall in one of my hackerspaces is a large screen TV saved from a dumpster where it lay with a broken PSU, and in another hackerspace a capsule coffee machine serves drinks through a plastic manifold held together with cable ties.
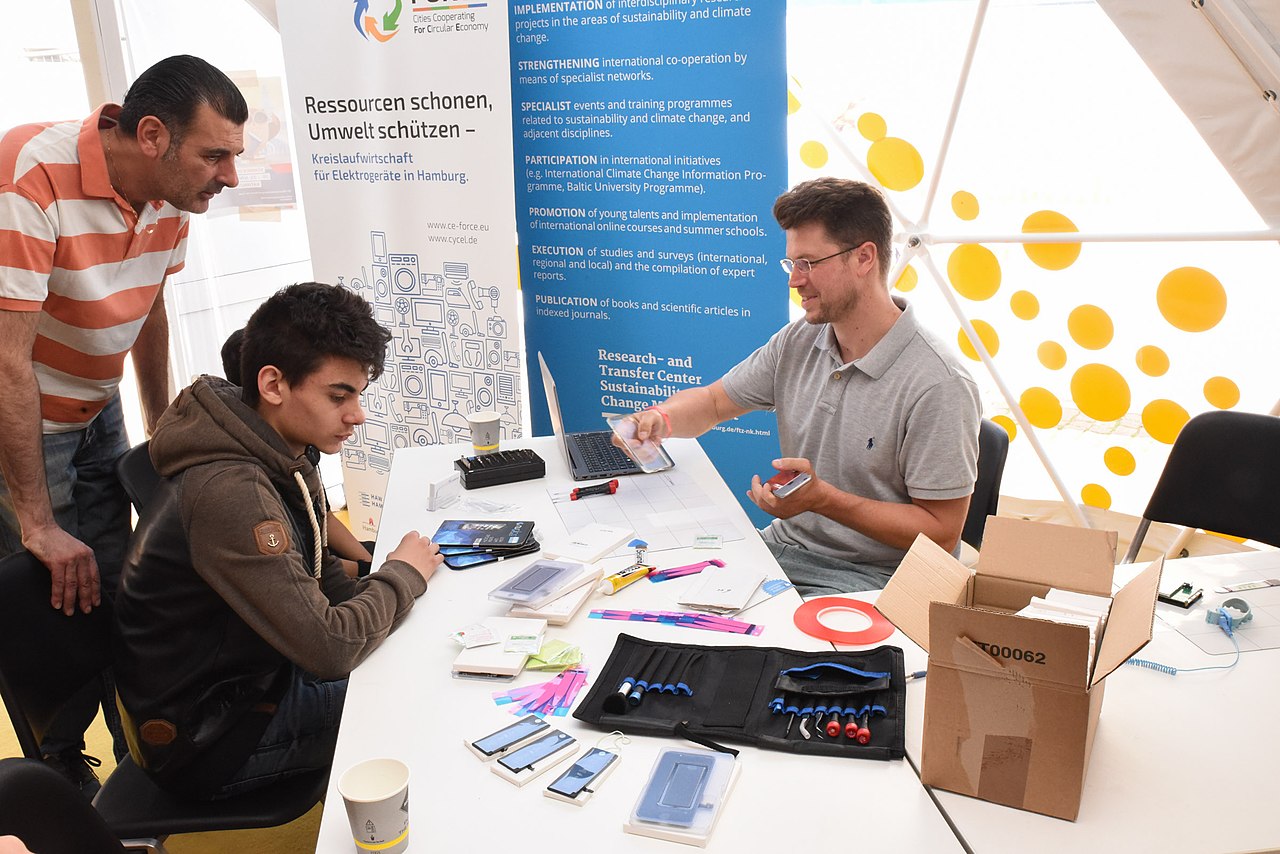
We do it for ourselves, we do it within our communities, and increasingly, we do it for the wider community at large. The Repair Café movement is one of local groups who host sessions at which they repair broken items brought in by members of the public, for free. Their work encompasses almost anything you’d find in a home, from textiles and furniture to electronics, and they are an extremely good cause that should be encouraged at all costs.
For all my admiration for the Repair Café movement though, I have chosen not to involve myself in my local one. Not because they aren’t a fine bunch of people or because they don’t do an exceptionally good job, but for a different reason. And it symbolically comes back to an afternoon over thirty years ago, when sitting in a university lab in Hull, I was taught how to wire a British mains plug. Continue reading “Ask Hackaday: Repair Café Or Not?”