As locked-down as the Amazon Echo Show line of devices are, they’re still just ARM-based Android devices, which makes repurposing it somewhat straightforward as long as what you want is another Android device.
In this case, we’re talking about the first-generation Amazon Echo Show 8, which is a 2019-era device that got jailbroken back in November by [Rortiz2]. The process was then demonstrated in a video by [Dammit Jeff].
Currently only two devices are supported by this jailbreak, with the Echo Show 5 being the other one. If there’s enough interest, there doesn’t appear to be any technical reason at least for why this support couldn’t be extended to other devices. One major reason for jailbreaking is to put LineageOS on your Echo device courtesy of these Echo Show devices recently beginning to show advertisements, with no way to disable this.
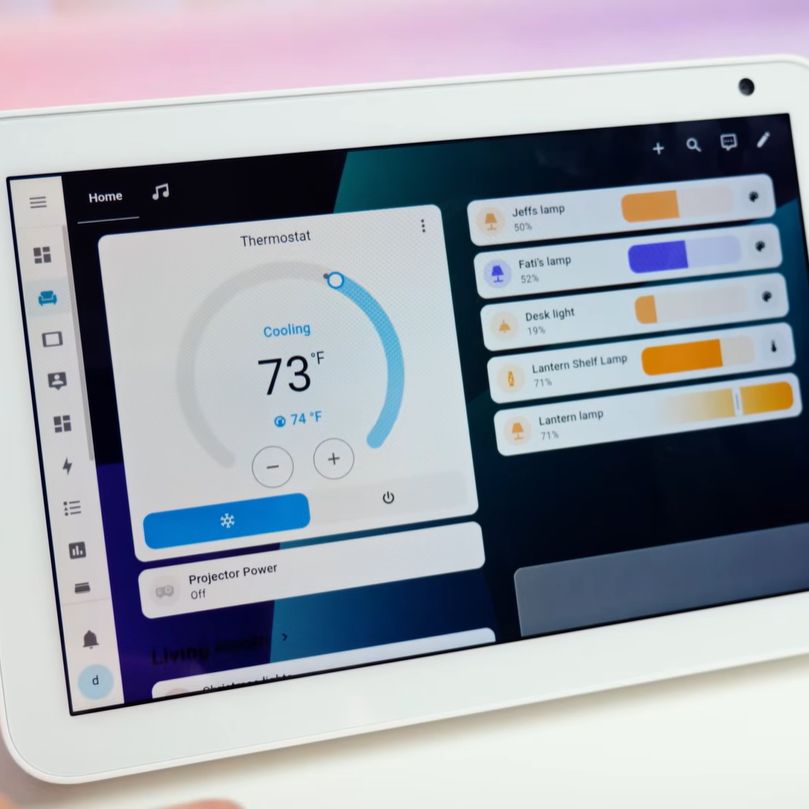
The process of jailbreaking and installing the LineageOS ROM is somewhat long as usual, with plenty of points where you can make a tragic mistake. Fortunately it’s pretty simple as long as you follow the steps and afterwards you can even install the Google apps package if that’s your thing. Just mind the 1 GB RAM and 8 GB of storage on the Echo Show 8. In the case of [Jeff] he mostly replicated the home automation and entertainment features of Amazon’s FireOS with far less locked-down alternatives like Home Assistant.